


How to Update Contact Information in cPanel
II. How to Create an Email Account in cPanel
III. How to Set a Default Address in cPanel
IV. How to Set Up an Autoresponder in cPanel
V. How to Set Up Email Forwarding in cPanel
VI. How to Set Up Email Filters in cPanel
VII. How to Enable Spam Protection in cPanel
VIII. How to Add an MX Entry in cPanel
IX. How to Use Webmail From Within cPanel
X. How To Change Your cPanel Password
XI. How to Update Contact Information in cPanel
XII. How to Change Your cPanel Theme
XIII. How to Change the Primary Language in cPanel
XIV. How to Add a Record With the DNS Zone Editor in cPanel
XV. How to Backup Your Website in cPanel
XVI. How to Use the Disk Space Usage Tool in cPanel
XVII. How to Create Additional FTP Accounts in cPanel
XVIII. How to Password Protect a Directory in cPanel
XIX. How to Use the IP Blocker in cPanel
XX. How to Set Up Hotlink Protection in cPanel
XXI. How to Create a Subdomain in cPanel
XXII. How to Create an Addon Domain in cPanel
XXIII. How to Create a Domain Alias in cPanel
XXIV. How to Set Up Domain Redirects in cPanel
XXV. How to Create a MySQL Database in cPanel
XXVI. How to Use the Index Manager in cPanel
XXVII. How to Create Custom Error Pages in cPanel
XXVIII. How to Set Up a Cron Job in cPanel
As your business grows and changes, user contact information must be current in cPanel. The correct information means that important notifications get received by the appropriate users. When issues arise or updates are needed, the right person can react quickly.
This tutorial walks through how to update your contact information in cPanel.
Requirements
For this tutorial, you need to have the following:
- A server running cPanel.
- cPanel login credentials.
How to Update Contact Information in cPanel
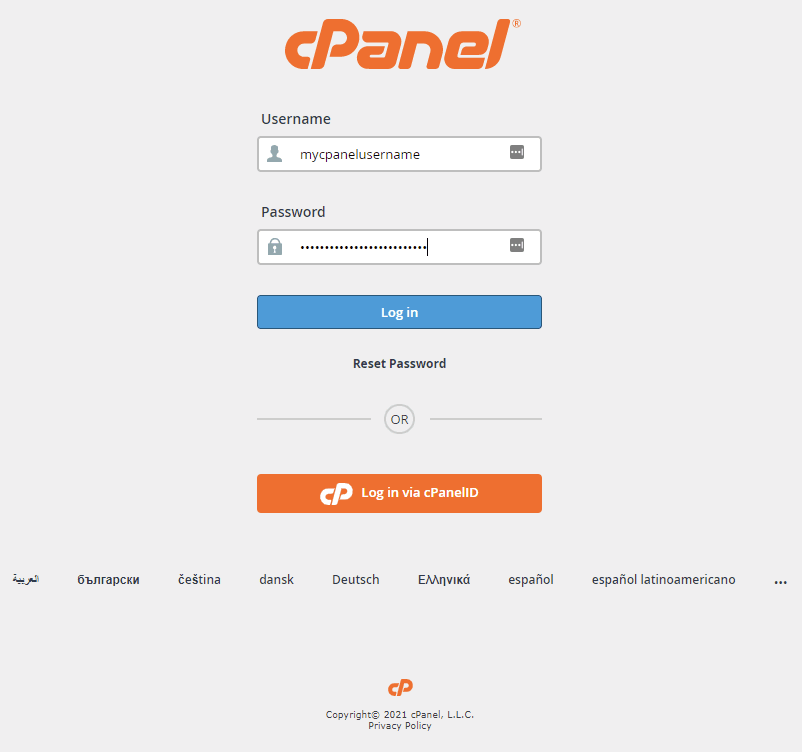
1. Login to cPanel.
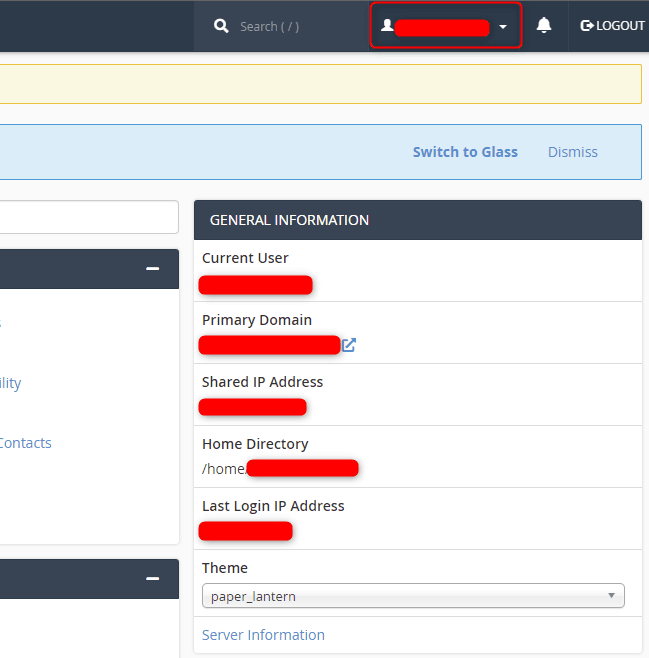
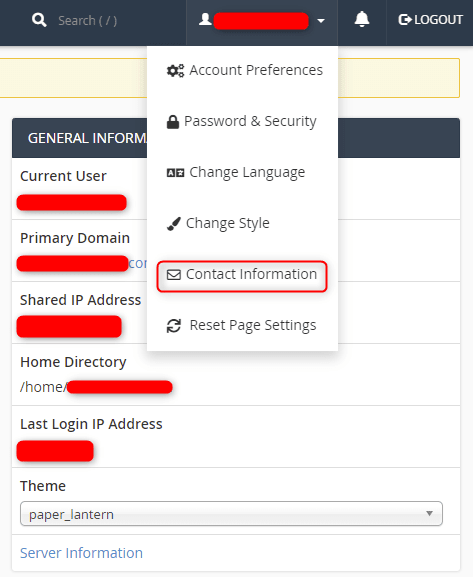
2. Click the username in the upper-right corner to reveal the dropdown menu.
3. Click Contact Information.
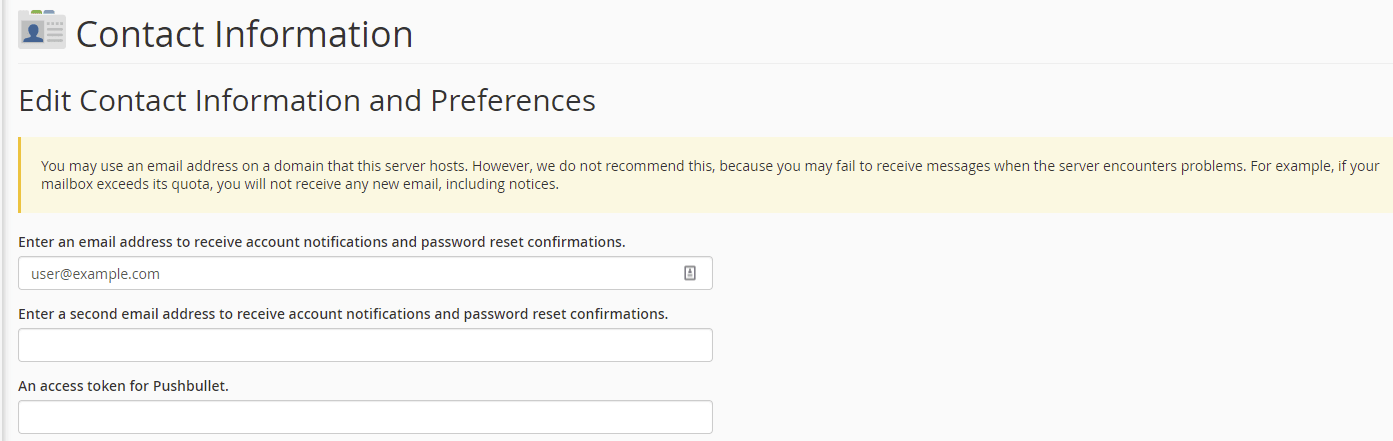
4. Enter a primary email address to receive account notifications and password reset confirmations. There is another field for entering a secondary email address if applicable. Finally, enter your access token for Pushbullet integration for notifications.
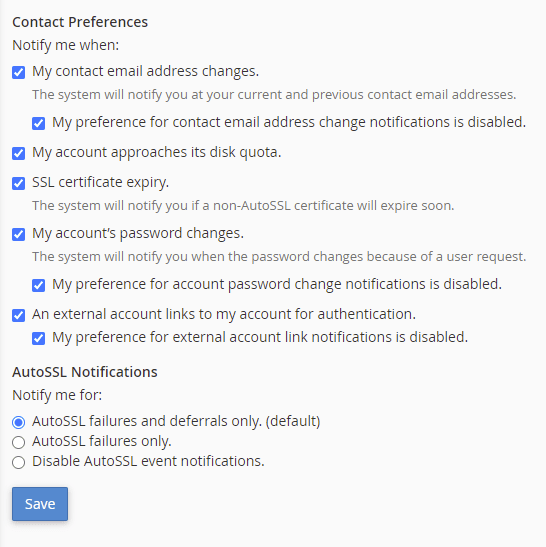
5. Select your Contact Preferences and AutoSSL Notifications and click Save.
Wrapping Up
The contact information and preferences are successfully updated. The appropriate users are notified by email for notifications based on the chosen selections.
Liquid Web offers 24/7/365 support for cPanel servers. Contact our sales team today to set up your dedicated server with cPanel.
Related Articles:


About the Author: Ronald Caldwell
Ron is a Technical Writer at Liquid Web working with the Marketing team. He has 9+ years of experience in Technology. He obtained an Associate of Science in Computer Science from Prairie State College in 2015. He is happily married to his high school sweetheart and lives in Michigan with her and their children.


Our Sales and Support teams are available 24 hours by phone or e-mail to assist.
Latest Articles
In-place CentOS 7 upgrades
Read ArticleHow to use kill commands in Linux
Read ArticleChange cPanel password from WebHost Manager (WHM)
Read ArticleChange cPanel password from WebHost Manager (WHM)
Read ArticleChange the root password in WebHost Manager (WHM)
Read Article