Use SFTP To Connect To WordPress Optimized Template
- Getting Started With WordPress Optimized Template
- How To Deploy A WordPress Optimized Template Server
- Adding Sites To Your WordPress Optimized Template Server
- Use SFTP To Connect To WordPress Optimized Template
- Using WP-CLI With Your WordPress Optimized Template Site
- How To Restore WordPress Optimized Template Backups
- cPanel How To: Change a Domain’s MX Record
In this article, we will be reviewing how to connect to your WordPress Optimized Template using SFTP as the connection medium.

SSH File Transfer Protocol (SFTP) is the most secure way to upload files to your WordPress Optimized Template site. This article is intended specifically for connecting to a WordPress Optimized Template site using the free, cross-platform FTP client FileZilla, but the connection details should apply to any FTP client.
Step #1: Enter the Connection Details
FTP/SFTP connection details are included in the “Welcome to your new WordPress site” email that was automatically sent to you upon adding the site in the Sites section of your Manage dashboard. In case you don’t have that handy, you will use the following information details.

- Host: The domain name or IP address of the site.
- Username: The WordPress admin username created when adding the site.
- Password: The password you assigned to the WordPress admin user when adding the site.
- Port: 22 (Port 21 can be used for a standard FTP connection, but it is not recommended. SFTP should always use port 22 for maximum security. All connection details, other than the port number, are the same either way.)
In FileZilla, enter the hostname or IP address of the server, your username, password, and port number into the Quick Connect toolbar and press the Quickconnect button. This should provide a means to quickly login to your account.

Step #2: Security Settings
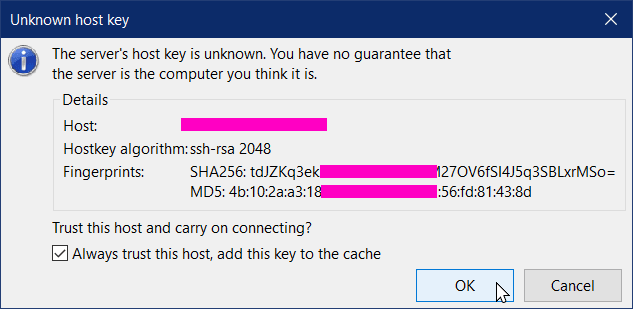
If your site does not have the free standard SSL certificate installed, you will need to click OK to accept the “Unknown host key” message and proceed with the connection. Before you move forward, you should confirm that the Host field matches the website and server you are connecting to. The connection will be secure, and will be encrypted using the server’s self-signed certificate. Below is an image which represents what the unknown host key looks like. Simply click on the "OK" button to accept the certificate.

When you’re ready to get your site’s free standard SSL certificate ordered and installed, please contact Heroic Support®.
Step #3: Upload Files
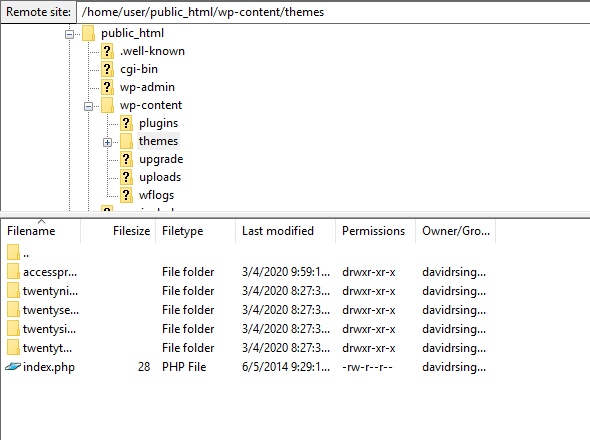
Once connected via SFTP, you will be able to securely transfer files to and from the server. You initially will connect to your account’s home directory (/home/username/), and will need to navigate to the appropriate directory for the content you are uploading. In FileZilla, you can paste the desired path directly into the Remote site field. For reference:

- Document root: /home/username/public_html
- Plugins: /home/username/public_html/wp-content/plugins
- Themes: /home/username/public_html/wp-content/themes
- Uploads: /home/username/public_html/wp-content/uploads
Related Articles:
- Using MySQL Command Line to Create a User
- How to Use Disk Quotas in Dedicated Linux Servers With cPanel
- How to Use Disk Quotas in Dedicated Linux Servers with Plesk
- Remove a MySQL User on Linux via Command Line
- Remove Permissions for a MySQL User on Linux via Command Line
- Grant Permissions to a MySQL User on Linux via Command Line

About the Author: David Singer
I am a g33k, Linux blogger, developer, student, and former Tech Writer for Liquidweb.com. My passion for all things tech drives my hunt for all the coolz. I often need a vacation after I get back from vacation....
Our Sales and Support teams are available 24 hours by phone or e-mail to assist.
Latest Articles
In-place CentOS 7 upgrades
Read ArticleHow to use kill commands in Linux
Read ArticleChange cPanel password from WebHost Manager (WHM)
Read ArticleChange cPanel password from WebHost Manager (WHM)
Read ArticleChange the root password in WebHost Manager (WHM)
Read Article


