


Uploading Files Using Cloud Sites File Manager
Now that you’ve seen how to log into the Cloud Sites File Manager, let’s explore some of the functionality. One of the most used functions of the file manager is uploading files. Instead of using an FTP client to upload files to your site, you can now manage these uploads right within your control panel.
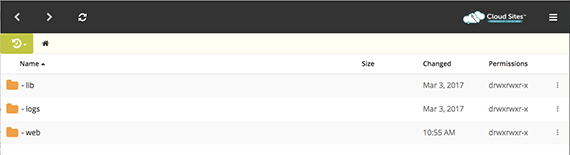
- Once you’re logged into your Cloud Sites Control Panel and select your site, log into the File Manager.
- Click on the Upload icon
 at the bottom of the page.
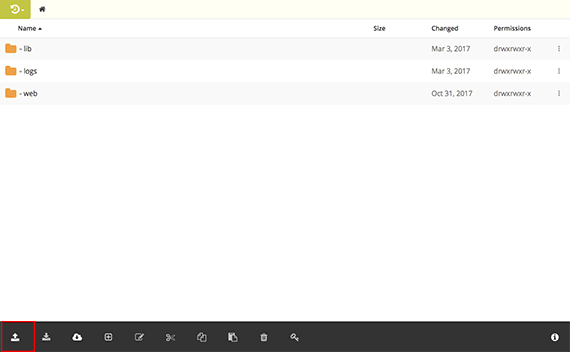
- A pop-up menu will appear after clicking on the icon. Select the type of upload you want to perform. See our article Unzipping Files Using Cloud Sites File Manager for instructions for zipped files. Otherwise, follow the instructions below.

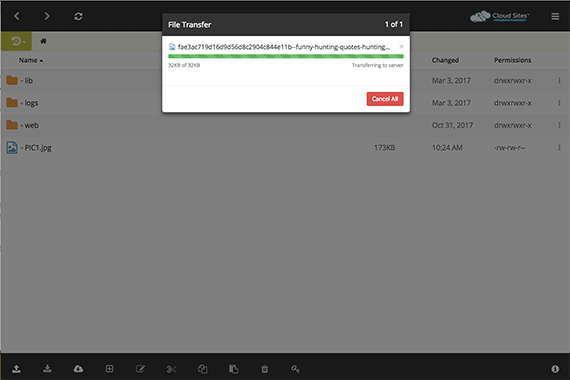
- A window will open with a listing of your files. Once you locate the file to upload, click Open to begin the upload.
- A file transfer pop-up will appear giving you the status of the upload.
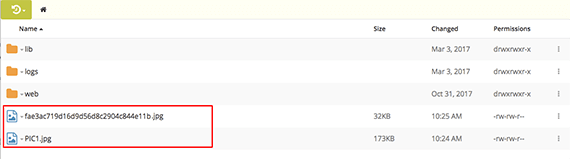
- Once the upload is complete, the file will show in your directory in the File Manager.
Related Articles:


About the Author: Libby White
Former technical writer for Liquid Web. When Libby is not writing for work, she spends time learning more about digital & technical writing, web development, hanging with her family, and taking photographs with her Nikon. Always learning, always growing, never stopping.


Our Sales and Support teams are available 24 hours by phone or e-mail to assist.
Latest Articles
How to use kill commands in Linux
Read ArticleChange cPanel password from WebHost Manager (WHM)
Read ArticleChange cPanel password from WebHost Manager (WHM)
Read ArticleChange cPanel password from WebHost Manager (WHM)
Read ArticleChange the root password in WebHost Manager (WHM)
Read Article