


SQL Databases Migration with Command Line
What if you have dozens of SQL databases and manually backing up/restoring each database is too time-consuming for your project? No problem! We can script out a method that will export and import all databases at once without needing manual intervention. For help with transferring SQL Logins and Stored Procedures & Views take a look at our MSSQL Migration with SSMS article.
Backing Up Databases on the Source Server
1. Open SSMS (Microsoft SQL Server Management Studio) on the source server, log in to the SQL instance and open a New Query window. Run the following query:
SELECT name FROM master.sys.databases
This command will output a list of all MSSQL databases on your server. To copy this list out, click anywhere in the results and use the keyboard shortcut CTRL+A (Command + A for Mac users) to select all databases. After highlighting all the databases right click and select copy.
2. Open Notepad, paste in your results and delete all databases (in the newly copied notepad text) you do NOT wish to migrate, as well as deleting the following entries:
- master
- tempdb
- model
- msdb
These entries are the system’s databases, and copying them is not necessary. Make sure to delete everything except explicitly the databases you need to migrate. You should now have a list of all required databases separated by a line. i.e.
- AdventureWorks2012
- AdventureWorks2014
- AdventureWorks2016
3. Save this result on the computer as C:\databases.txt.
4. Create a new Notepad window, copy/paste the following into the document and save it as C:\db-backup.bat
mkdir %systemdrive%\dbbackups

for /F "tokens=*" %%a in (databases.txt) do ( sqlcmd.exe -Slocalhost -Q"BACKUP DATABASE %%a TO DISK ='%systemdrive%\dbbackups\%%a.bak' WITH STATS" )
5. Now that you’ve saved the file as C:\db-backup.bat, navigate to the Start menu and type cmd and right click on Command Prompt to select Run as Administrator.Type the following command:
cd C:\
And hit enter. Afterward, type db-backup.bat and hit enter once again.
At this point, your databases have begun exporting and you will see the percentage progress of each database export (pictured below).
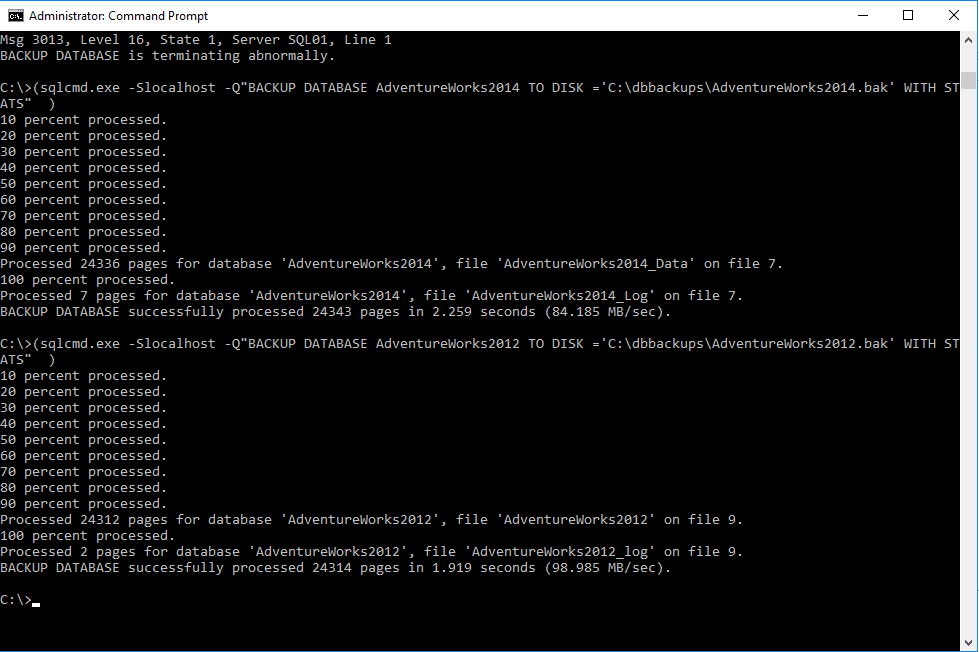
Take note of any failed databases, as you can re-run the batch file when it’s done, using only the databases that may have failed. If the databases are failing to back up, take note of the error message displayed in the command prompt, address the error by modifying the existing C:\databases.txt file to include only the failed databases and re-run db-backup.bat until all databases are successfully exported.
Restoring Databases to the Destination Server
By now you have the folder C:\dbbackups\ that contains .bak files for each database you want to migrate. You will need to copy the folder and your C:\databases.txt file to the destination server. There are numerous ways to move your data to the destination server; you can use USB, Robocopy or FTP. The folder on the C drive of the destination server should be called C:\dbbackups . It’s important to accurately name the file as our script will be looking for the .bak files here. Be sure that the destination server has your C:\databases.txt file as well, as our script will be looking for the database names here.
1. Open a Notepad and copy/paste the following into the document and save it as C:\db-restore.bat
for /F "tokens=*" %%a in (C:\databases.txt) do (

sqlcmd.exe -E -Slocalhost -Q"RESTORE DATABASE %%a FROM DISK='%systemdrive%\dbbackups\%%a.bak' WITH RECOVERY"

)
2. Save the file as C:\db-restore.bat
3. Navigate to the Start menu and type cmd.
4. Right click on Command Prompt and select Run as Administrator. Type the following command:
cd C:\
and hit Enter. Now type db-restore.bat and hit Enter.
Your databases have now begun importing. You will see the percentage of each database’s restoration and the message “RESTORE DATABASE successfully processed” for each database that has been successfully processed.
Take note of any failed databases, as you can re-run the batch file when it’s done, using only the databases that have failed. If the databases are failing to back up, take note of the error message displayed in the command prompt, address the error (you can change the batch file as necessary), modify C:\databases.txt to include only the failed databases and re-run db-restore.bat until all databases are successfully exported.
Congratulations, you have now backed up and restored all of your databases to the new server. If you have any login issues while testing the SQL connections on the destination server, refer to the Migrating Microsoft SQL Logins (anchor link) section of this article and follow the steps therein. To migrate views or stored procedures please refer to the Migrating Views and Stored Procedures section. Every SQL server will have its configurations and obstacles to face, but we hope this article has given you a strong foundation for your Microsoft SQL Server Migration.
Related Articles:


About the Author: Mike Sherman
Mike Sherman was formerly one of our Helpful Humans at Liquid Web and worked on the Windows Enterprise Department. He has over 10 years of technology experience and a wealth of SEO and online marketing knowledge. He now supports IT infrastructures for mid-range companies as a Mid-West MSP.


Our Sales and Support teams are available 24 hours by phone or e-mail to assist.
Latest Articles
In-place CentOS 7 upgrades
Read ArticleHow to use kill commands in Linux
Read ArticleChange cPanel password from WebHost Manager (WHM)
Read ArticleChange cPanel password from WebHost Manager (WHM)
Read ArticleChange the root password in WebHost Manager (WHM)
Read Article