Nginx is an open source Linux web server that accelerates content while utilizing low resources. Known for its performance and stability Nginx has many other uses such as load balancing, reverse proxy, mail proxy, and HTTP cache. With all these qualities it makes a definite competitor for Apache. To install Nginx follow our straightforward tutorial.
Pre-Flight Check
- Logged into an as root and are working on an Ubuntu 16.04 LTS server powered by Liquid Web! If using a different user with admin privileges use sudo before each command.
Installation of Nginx
Step 1: Update Apt-Get
As always, we update and upgrade our package manager.
apt-get update && apt-get upgrade
Step 2: Install Nginx
One simple command to install Nginx is all that is needed:
apt-get -y install nginx
Step 3: Verify Nginx Installation
When correctly installed Nginx’s default file will appear in /var/www/html as index.nginx-debian.html . If you see the Apache default page rename index.html file. Much like Apache, by default, the port for Nginx is port 80, which means that if you already have your A record set for your server’s hostname you can visit the IP to verify the installation of Nginx. Run the following command to get the IP of your server if you don’t have it at hand.
ip addr show eth0 | grep inet | awk '{ print $2; }' | sed 's/\/.*$//'
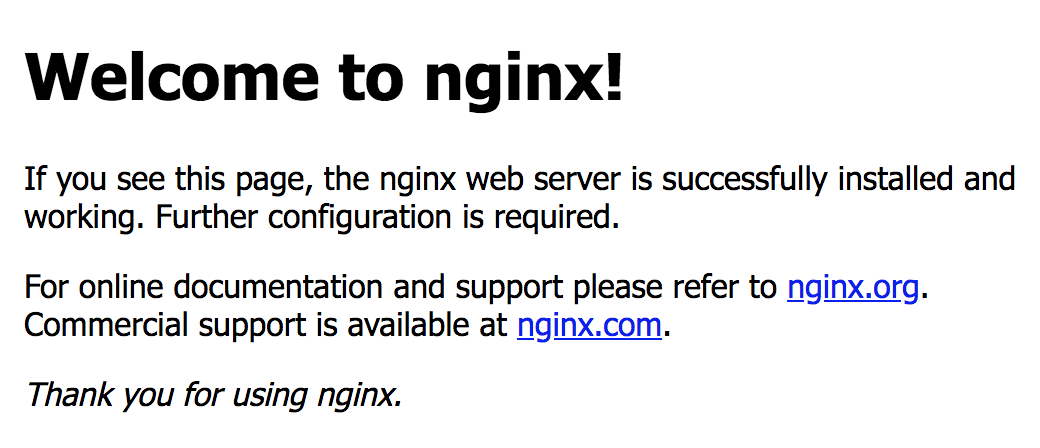
Take the IP given by the previous command and visit via HTTP. (http://xxx.xxx.xxx.xxx) You will be greeted with a similar screen, verifying the installation of Nginx!

Changing Ports for Apache
If you already have Apache established to port 80, you may find the Apache default page when visiting your host IP, but you can change this port to make way for Nginx to take over port 80. Change Apache’s port by visiting the Apache port configuration file:
vim /etc/apache2/ports.conf
Change “Listen 80” to any other open port number, for our example we will use port 8090.
Listen 8090
Restart Apache for the changes to be recognized:
service apache2 restart
All things Apache can now be seen using your IP in the replacement of the x’s. For example http://xxx.xxx.xxx.xxx:8090
Related Articles:

About the Author: Echo Diaz
Throughout Echo's four year stint as a technical support specialist, her passion for breaking down complex concepts had to lead to a career in professional writing. As a former top tier support specialist, she added a distinctive element to her written work that spoke to customer feedback and concerns. Echo occasionally pops her head out from behind her computer to watch her dog energetically run around the yard and unabashedly shovels money into buying tickets to see her favorite musical artists.
Our Sales and Support teams are available 24 hours by phone or e-mail to assist.
Latest Articles
How to use kill commands in Linux
Read ArticleChange cPanel password from WebHost Manager (WHM)
Read ArticleChange cPanel password from WebHost Manager (WHM)
Read ArticleChange cPanel password from WebHost Manager (WHM)
Read ArticleChange the root password in WebHost Manager (WHM)
Read Article


