


How to Configure Cyberduck for Use with Storm Object Storage
Storm Object Storage delivers a durable, secure, highly available solution for storage needs of virtually any size. With object storage access occurs via API calls to the object storage cluster, which replaces the need to rely on additional servers for dedicated storage.
Here we use the client Cyberduck to interact with Storm Object Storage. Cyberduck can be downloaded from here: https://cyberduck.io/?l=en.
- These instructions are intended specifically for configuring Cyberduck for use with Storm Object Storage.
- I’ll be working from a Microsoft Windows 8 desktop with Cyberduck already installed.
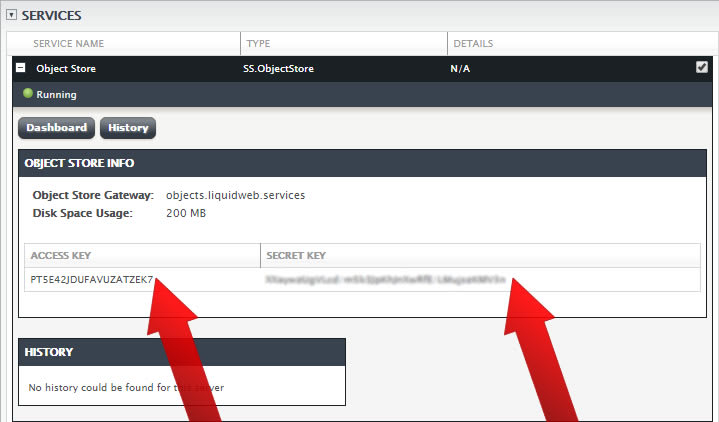
Login to your Manage console and view the details of the Object Store to which you’d like to connect:

Note the Access Key and the Secret Key.
To make setting up Storm Object Storage connections easier in Cyberduck we’ve created a new default Cyberduck profile. This profile contains all the preconfigured settings you’ll need to successfully connect to Storm Object Storage and will load those settings into a connection profile.
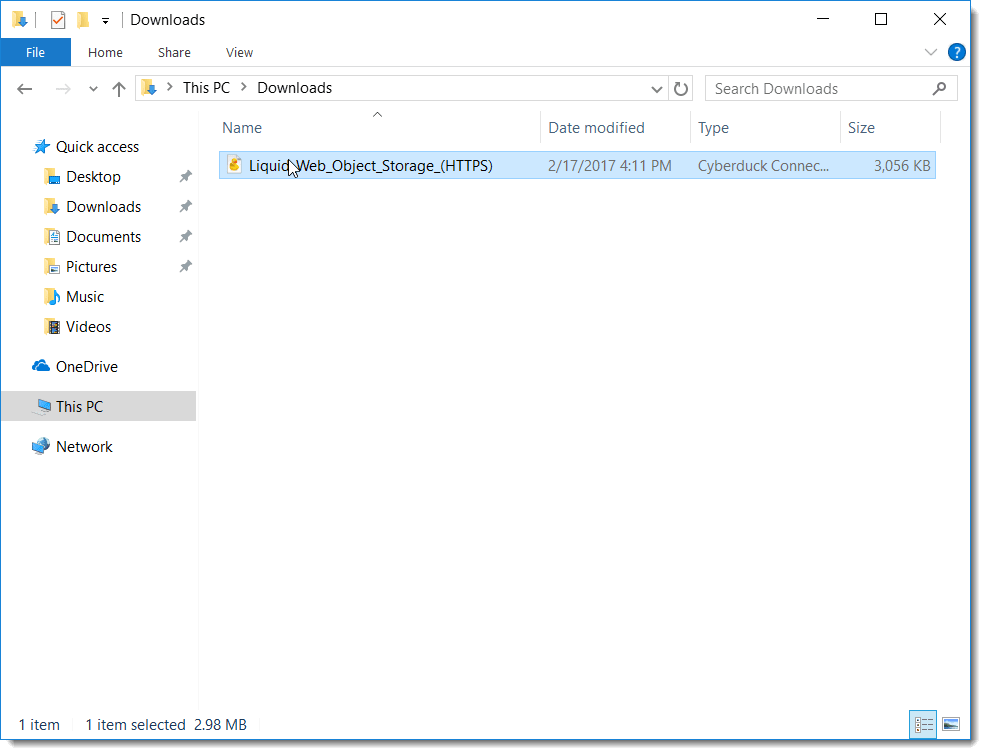
- Download and save the Liquid Web Object Storage Profile for Cyberduck.
- Open the connection profile (by clicking on it). This will start a process that adds a Liquid Web Storm Object Storage profile to the Cyberduck interface.
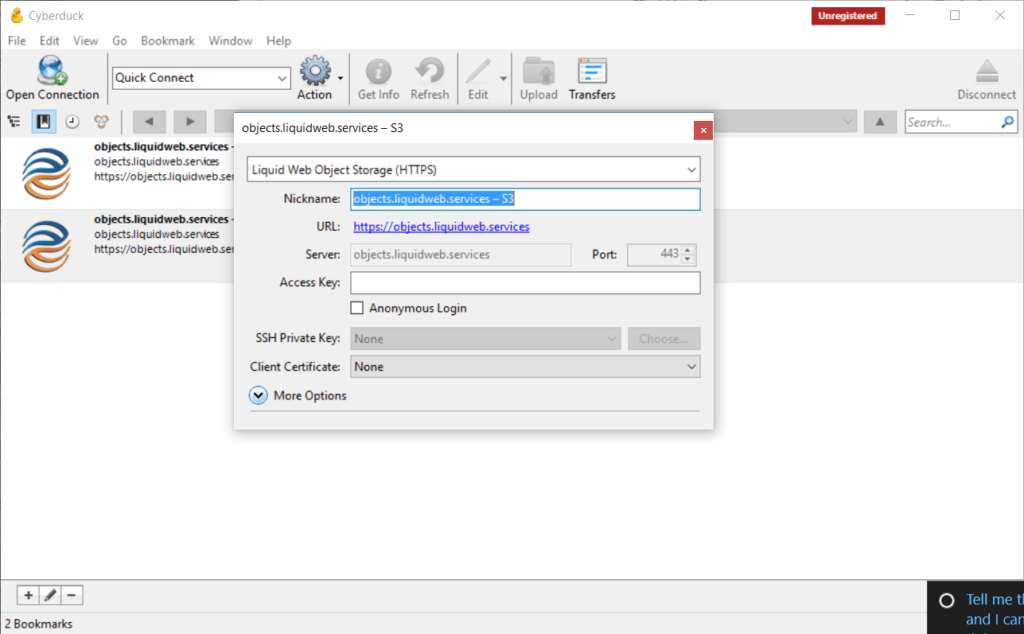
- Once this completes it should open a new Cyberduck connection settings window.
Your Cyberduck app is now configured to work with Liquid Web’s Storm Object Storage. You only need to do this step once, after you’ve done it you can set up new connections to Storm Object Storage as usual.
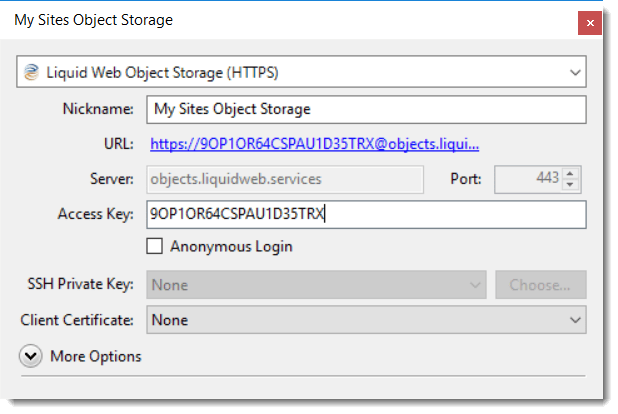
- Enter a nickname for the connection bookmark. (Optional)
- Enter your Storm Object Storage Access Key. Then, close the connection configuration settings window.
- Double-click on the connection you just configured to open the connection to your Storm Object Storage.
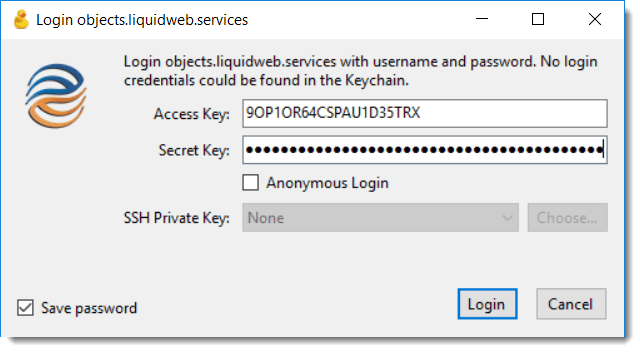
- Enter your Secret Key and click Login.
Related Articles:


About the Author: David Singer
I am a g33k, Linux blogger, developer, student, and former Tech Writer for Liquidweb.com. My passion for all things tech drives my hunt for all the coolz. I often need a vacation after I get back from vacation....


Our Sales and Support teams are available 24 hours by phone or e-mail to assist.
Latest Articles
In-place CentOS 7 upgrades
Read ArticleHow to use kill commands in Linux
Read ArticleChange cPanel password from WebHost Manager (WHM)
Read ArticleChange cPanel password from WebHost Manager (WHM)
Read ArticleChange the root password in WebHost Manager (WHM)
Read Article