


Virtual Desktop Environment — Configuring Kasm Workspaces
What are Kasm Workspaces?
Kasm Workspaces is a container streaming platform popularly used in Virtual Desktop Infrastructure (VDI) solutions to deliver browser, desktop, and application workloads to web browsers. Users can access container applications or the entire operating system through a standard browser with full user interface support, which make a virtual desktop environment. Kasm handles authentication, container orchestration, logging, and more. Common use cases are Remote Browser Isolation (RBI), Desktop as a Service (DaaS), Remote Access Services (RAS), and Open-Source Intelligence (OSINT) collections.
Kasm Workspaces can provide users with a virtual desktop environment segmented from the host operating system and other sessions. This kind of configuration lets users access and use applications and resources in a more secure and controlled environment. So, the Kasm platform allows individuals to access their workspaces anytime and anywhere, using any machine.
Features of Kasm Workspaces and Virtual Desktop Environments
Collaboration Tools
Kasm includes integrated chat systems, screen-sharing capabilities, and the option to share workspaces. One option, beyond your standard screen sharing, is the ability to share the same session but allow others to interact with your session instead of just viewing it.
Document Management
Kasm allows efficient document management. Users can create, edit, and store files within their workspace, which can then be shared between the host and container using File and Volume mapping functions.
Workflow Automation
Workflow automation is another notable feature of Kasm. Through the power of Docker, the deployment of Kasm containers can be automated, saving you time, lowering the chance of errors, and improving security. For example, you can make post-session create scripts that will grant sudo privileges or clone a Git repository and open a code editor.
Benefits of Kasm Workspaces and Virtual Desktop Environments
Increased Productivity
Increase your company's productivity by allowing employees to access their virtual desktop environment used from any device. Kasm Workspaces aids with this productivity by offering a flexible one-stop solution for a significant part of your users' work needs. Using automation as a force multiplier and the ability to use custom images for Docker with group management, Kasm Workspaces also has sharing policies that improve overall productivity.
Bringing everything you need onto one platform eliminates switching between different applications, contributing to increased efficiency.
Enhanced Communication
Kasm platform's integrated communication tools pave the way for better communication. Teams can collaborate and communicate effectively through integrated chat systems and screen sharing, improving team communication.
Cost Savings
Kasm Workspaces brings significant cost savings. It is available as a self-hosted solution, offering flexibility in being able to choose where and on what to run it. Its in-built, auto-scaling features make adjusting and scaling up or down easier based on the demand.
Likewise, having all tools and applications within a single platform contributes to lower costs.
How to Use Kasm Workspaces and Virtual Desktop Environments
Here you will learn how to install Kasm Workspaces and set up a virtual desktop environment capability on an AlmaLinux 8 system. If you need further help, check and follow the official Getting Started documentation installation steps. These steps will cover single-server installation, but it can be installed and used from multiple servers.
Kasm offers a managed cloud-based Software as a Service (SaaS) solution and a self-hosted version. The Kasm Workspaces Community Edition (CE) is free to download and install for testing, non-profit, and non-commercial purposes. There is concurrent session limit of five.
To install the Kasm Workspaces CE version, follow the guidance provided in the next sections that is documented with the major steps involved.
Step 1: Make Sure Your Server Fulfills the Requirements
You can check the main requirements page on Kasm. Your operating system will likely be supported, but since Kasm uses Docker for container streaming, you must ensure that Docker is installed with the appropriate server resources, including those recommended in the documentation and a swap memory partition. You will also need either root access or sudo privileges.
You can use the following commands to check for the current Docker version:
[root@cloudvpstemplate ~]# docker --version
Docker version 24.0.2, build cb74dfc

[root@cloudvpstemplate ~]# docker info | grep "Docker Compose"
  compose: Docker Compose (Docker Inc.)
Step 2: Performing Kasm Workspaces Install on Your Server
In order to set up your and virtual desktop environment, you will need to download the latest version of Kasm. For this example, Kasm Workspaces 1.13.1 will be used. However, as new versions come out, you'll want to make sure you're installing the most current version.
The documentation for single server and multi server installations can be found on the documentation page for the Kasm Workspaces product:
The single server installation instructions have guidance on running the following commands:
cd /tmp

curl -O https://kasm-static-content.s3.amazonaws.com/kasm_release_1.13.1.421524.tar.gz

tar -xf kasm_release_1.13.1.421524.tar.gz

sudo bash kasm_release/install.sh
The download URL in the example above is specific to version 1.13.1. You must use the appropriate link for the version you wish to download and install with regard to the curl command syntax shown in the code block above. If you are unsure of the most recent version number, it can be found by visiting the https://www.kasmweb.com/downloads URL and the content found within the Installation Guide.
The download and extraction to your /tmp directory steps are represented in the following output:
[root@cloudvpstemplate ~]# cd /tmp
[root@cloudvpstemplate tmp]# curl -O https://kasm-static-content.s3.amazonaws.com/kasm_release_1.13.1.421524.tar.gz
  % Total    % Received % Xferd  Average Speed   Time    Time     Time  Current
                                 Dload  Upload   Total   Spent    Left  Speed
100 18.7M  100 18.7M    0     0  33.7M      0 --:--:-- --:--:-- --:--:-- 33.6M

[root@cloudvpstemplate tmp]# tar -xf kasm_release_1.13.1.421524.tar.gz
[root@cloudvpstemplate tmp]# ls -l
total 19200
drwxr-xr-x 8 root root     4096 Jun 24 18:24 kasm_release
-rw-r--r-- 1 root root 19651448 Jun 24 18:24 kasm_release_1.13.1.421524.tar.gz
Now that you have the desired version downloaded and extracted in your /tmp directory, you will need to start the installation script. Root level access is being used in this example, so sudo will not be used:
[root@cloudvpstemplate tmp]# bash kasm_release/install.sh


End User License Agreement
__________________________


KASM WORKSPACES END USER LICENSE AGREEMENT

BY DOWNLOADING, INSTALLING, OR USING THE SOFTWARE, YOU AGREE TO THE TERMS OF
THIS END USER LICENSE AGREEMENT ("EULA"). IF YOU DO NOT AGREE TO THESE TERMS, YOU
MUST NOT DOWNLOAD, INSTALL, OR USE THE SOFTWARE, AND YOU MUST DELETE THE
SOFTWARE AND REQUEST A REFUND OF THE LICENSE FEE.

[Truncated]

Installation Complete


Kasm UI Login Credentials

------------------------------------
  username: admin@kasm.local
  password: 5FLHMwm9ZCrvI
------------------------------------
  username: user@kasm.local
  password: ZMjwCLWOPT1cL
------------------------------------

[Truncated]
You will see a significant installation output with the majority of it being omitted from this article as not relevant. In the end, you will see various credentials; the two most important ones are for the admin and for a normal user — save all of these credentials somewhere.
Kasm will use port 443 by default. So, if you have Apache running on the same port, there will be a conflict. You can specify a different default port to be used during installation with the -L flag if you want port 8443 to be used, as shown in the following example:
sudo bash kasm_release/install.sh -L 8443Step 3: Accessing Kasm Workspaces Administrative Interface
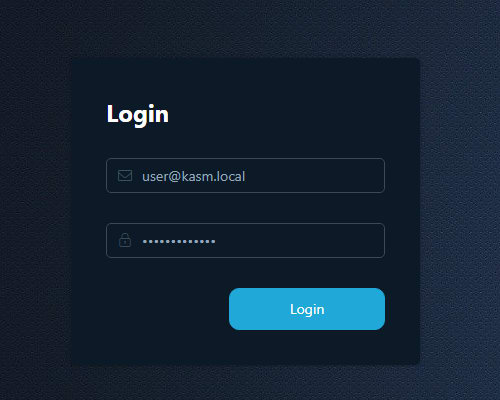
Upon successful installation, you can access Kasm Workspaces and the virtual desktop environment administration area by opening a web browser, navigating to https://<your-server-ip>, and using the admin credentials to log in.
You will see a security warning since Kasm will install a self-signed certificate, but feel free to proceed. Replacing this certificate with one from a certificate authority is possible, but that won't be covered in this article:

Step 4: Create a Workspace to be Used as a Virtual Desktop Environment
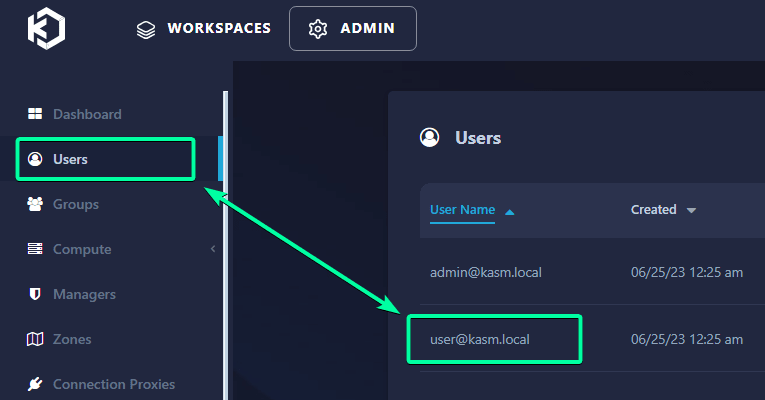
Once logged in, you will be presented with plenty of data points and functionality in the user interface. To get started, focus on creating a workspace environment for the default user, which you can see on the Users page:
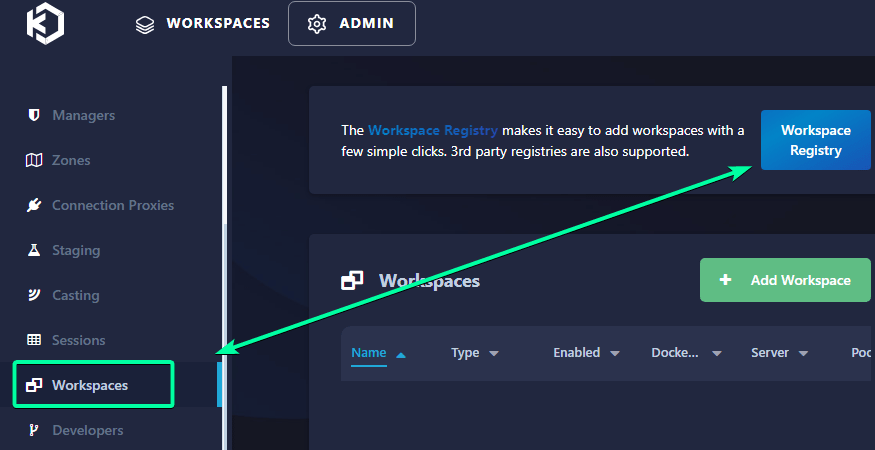
Next, go to the Workspaces page and then click Workspace Registry. You can think of this as a repository from which you can install other Docker images easily:
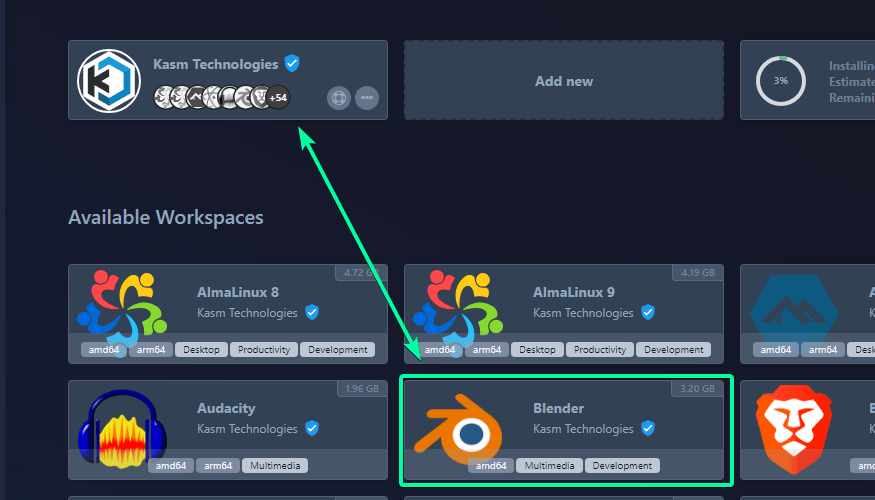
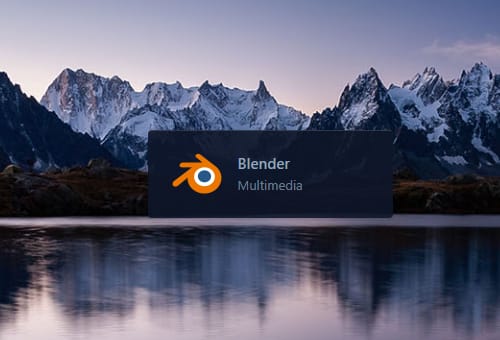
By default, one official registry from Kasm has already been added with images ranging from full desktop environments to standalone applications. These Docker images can be added to your workspace, which will be seen in your user's environment. For this example, select Blender:
Once this is done, proceed to the next step.
Step 5: Customize Your Virtual Desktop Environment
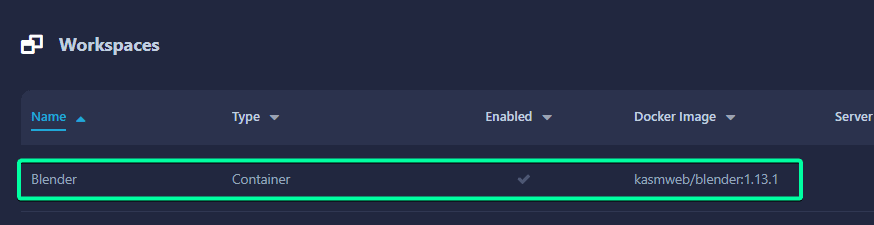
If you exit the Workspace Registry and go back to the Workspaces page, you will see the application you selected:
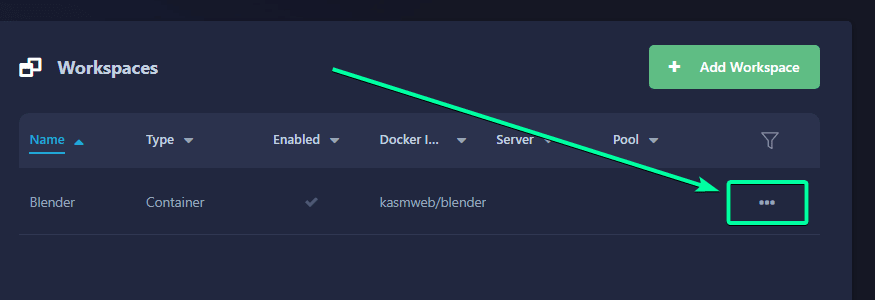
You can define the workspace settings according to your needs, including CPU and memory allocations, session timeout, and more. Giving more resources can greatly help with performance. To do that, click on the ellipsis next to our Workspace image:
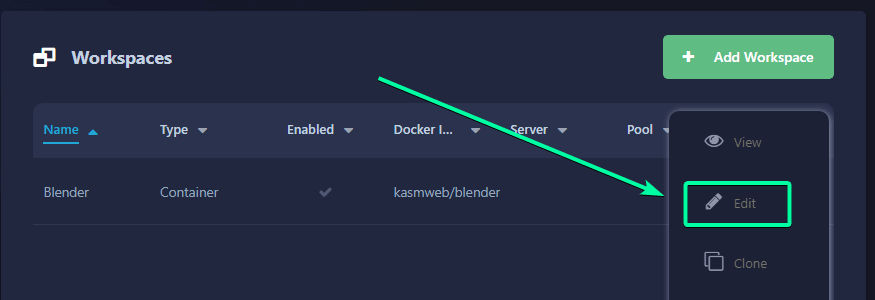
And then click Edit:
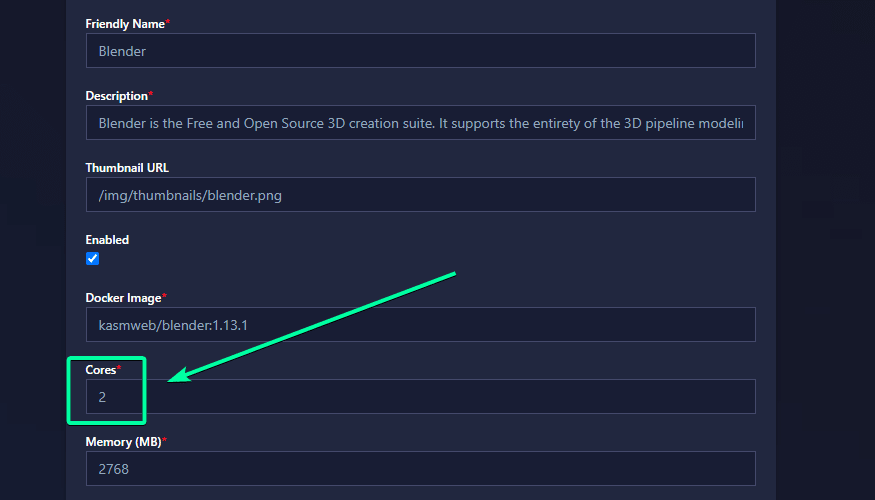
There are a lot of fields here, so just focus on the number of CPU cores you want to dedicate to your image on each session. You will achieve that by increasing the Cores value from 2 to 4:
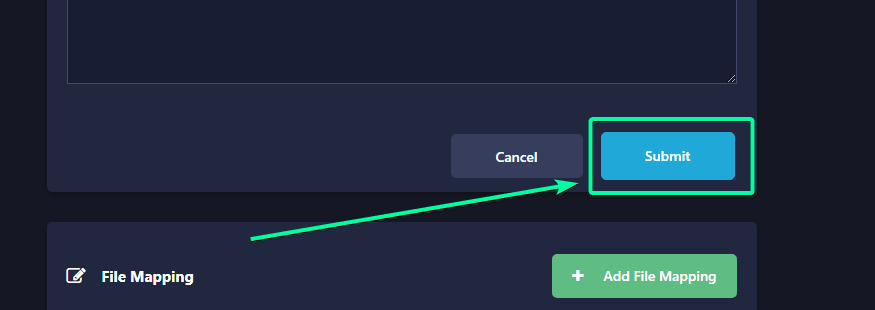
Next, continue by clicking the Submit button at the bottom:
And that is it! You are ready to test your workspace image and use your virtual desktop environment!
Step 6: Accessing Your Kasm Workspaces
As mentioned in a previous step, you are going to the Kasm login URL at https://<your-server-ip>, but using your normal user credentials now:
This time, the interface will be straightforward — only containing the images you installed:
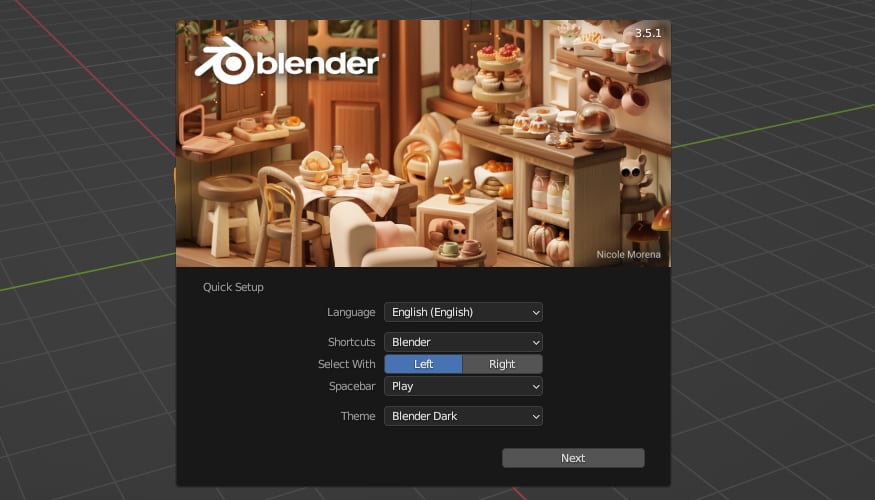
Clicking on it will give you a few options, such as opening it in the same tab or a new tab. After proceeding, a session of Blender will start; you can now manipulate and work in Blender without leaving your browser!
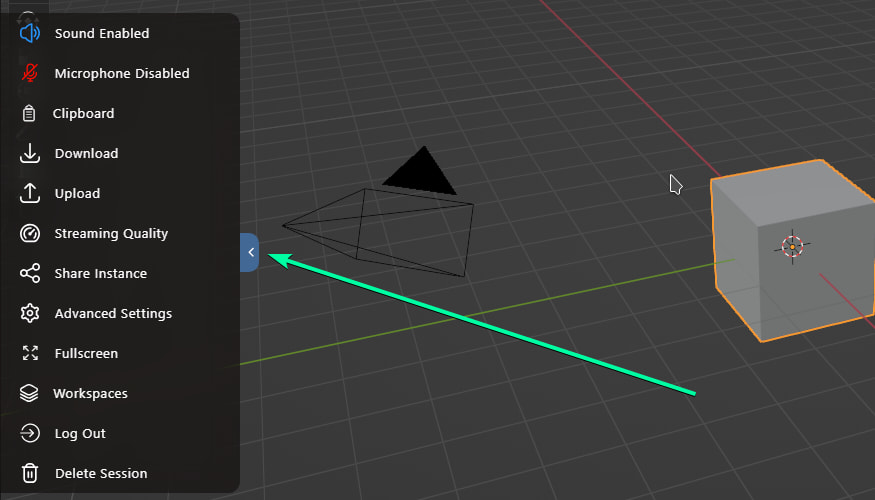
A handy feature is the left sidebar, allowing you to interact with this isolated environment — your successfully created virtual desktop environment. Expanding the sidebar will allow you to screen share, upload or download files, and adjust streaming quality:
Conclusion
Kasm Workspaces is an exciting and unique container streaming platform that delivers a safe, virtual desktop environment from anywhere. Let Liquid Web host your VDI solution.
The Kasm platform supports various applications and can be easily installed, customized, and scaled. Our staff of helpful humans at Liquid Web would love to help your organization deploy and optimize your desktop virtualization project.
Related Articles:


About the Author: Luke Cavanagh
Product Operations Manager at Liquid Web. Devoted husband and Tween wrangler. Synthwave enthusiast. Jerry Goldsmith fan. Doctor Who fan and related gubbins.


Our Sales and Support teams are available 24 hours by phone or e-mail to assist.
Latest Articles
Email security best practices for using SPF, DKIM, and DMARC
Read ArticleLinux dos2unix command syntax — removing hidden Windows characters from files
Read ArticleHow to use kill commands in Linux
Read ArticleChange cPanel password from WebHost Manager (WHM)
Read ArticleChange cPanel password from WebHost Manager (WHM)
Read Article