Adding Images and gallery images to WooCommerce Products
When you build your eCommerce site one of the first things you’ll do is create products. No good web store is complete without having good product images with each item you sell. A good product image can help consumers imagine the item in person and may help lead to more sales. Having a gallery for the product is even better!
How do I add images and gallery images to my products?
You can easily add product images and gallery images either as part of creating the product, or when you edit an existing product. This means that it’s also easy to change your images for an existing product, should it need an update.
Product Images in WooCommerce
From your wp-admin dashboard, you’re going to hover over Product in the left side menu, and either choose Add New, or All Products. If you’re modifying a current product find the item on the All Products page and open it up for editing.
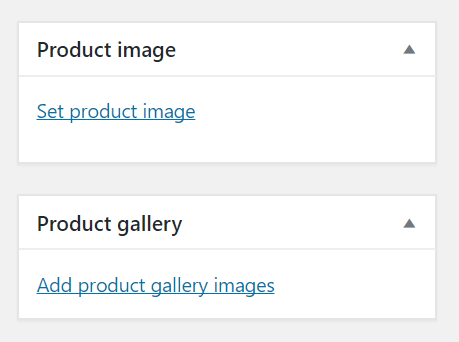
When creating a new product, you can set your main product image and add gallery images as shown below, as part of adding the product. You can also come back to a product to complete the setup, or to change it, and add images in the same way.

You will see Product image and Product gallery sections when you create or edit a product. To add a product image, click on the Set product image link. Clicking this link will open up the WordPress media selector. From here you can either select an already uploaded image, or upload a new one.

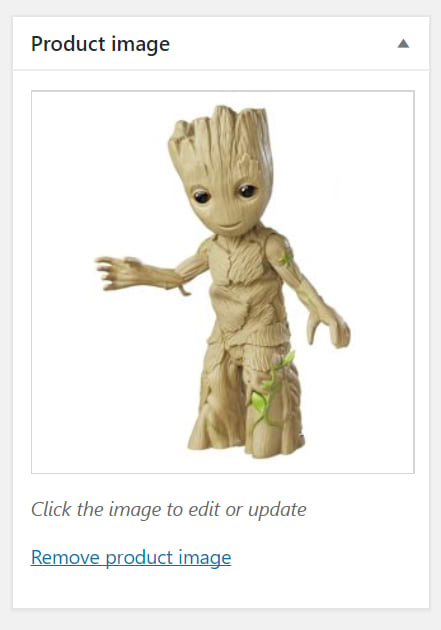
Once you’ve selected, or uploaded, the image you’d like to use hit the Set product image button on the dialog to continue. From there you should now see the image selected in the Product Image box.
 Once your new product image is uploaded you can hit publish, or save draft, to commit the changes!
Product Image Galleries in WooCommerce
So we’ve covered how the main Product Image works, but what about the Product gallery? Good news, it’s actually the exact same process, pretty much. If you have product images that show different angles, product features, or variations – use these here!
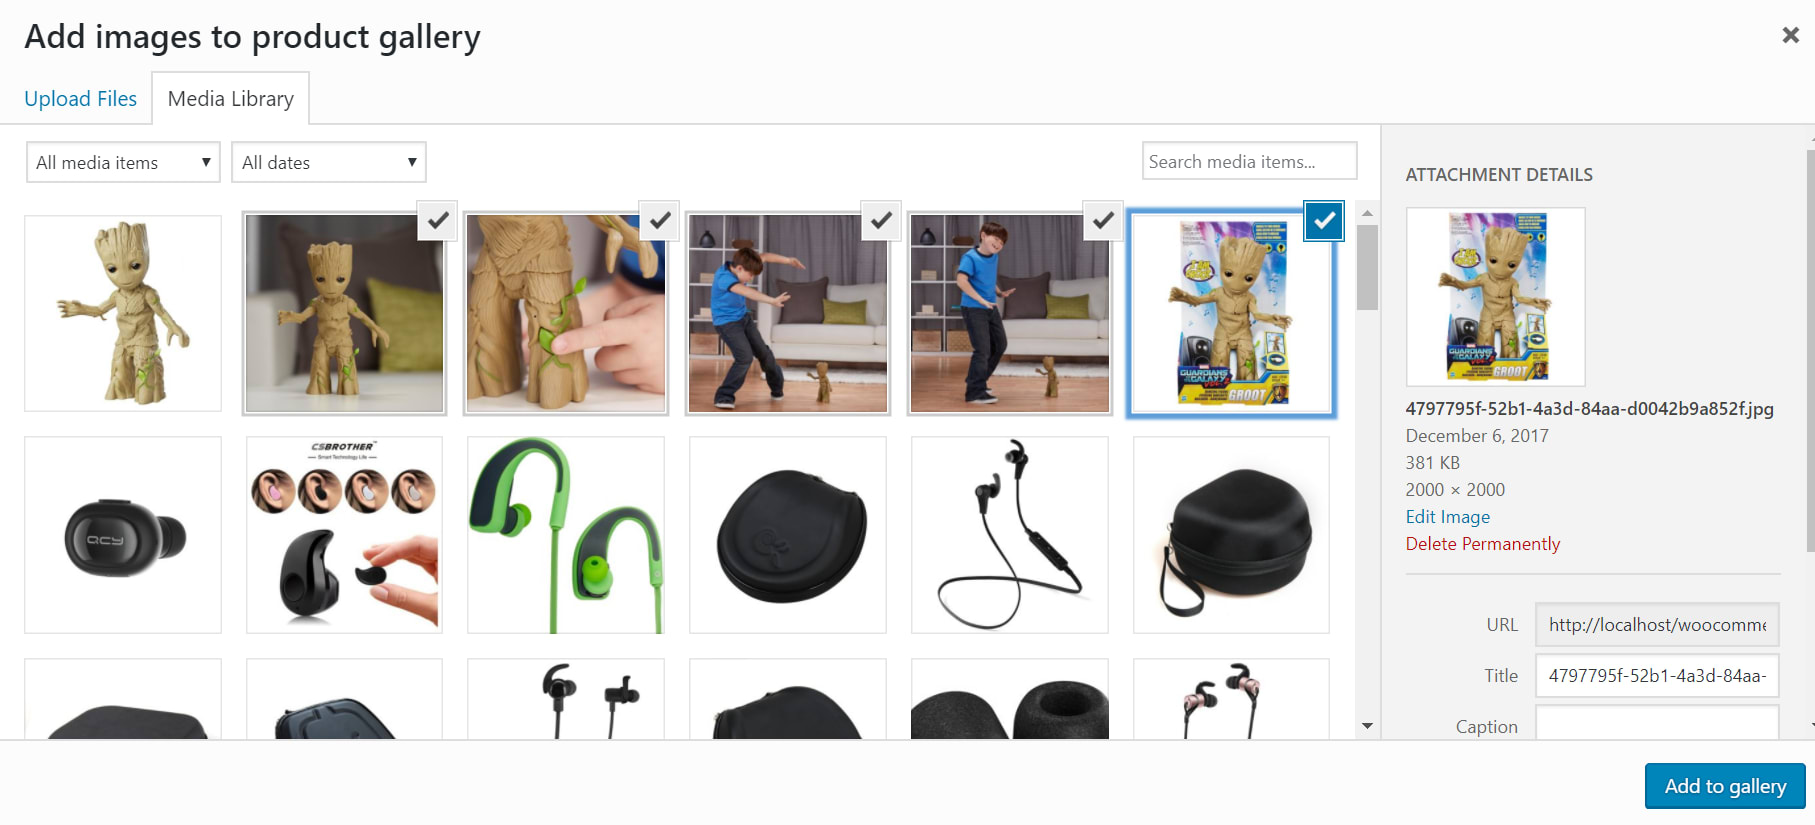
So to add a Product gallery we’ll work from the same product used above. To add a Product gallery, click on the Set product image link. This will open the same type of WordPress media selector box, you can either pick images already uploaded or add new ones.

If you need to change the order of images in the product gallery, you can easily do so by dragging them into the order you prefer. Removing images is a breeze too, simply hover over the image and click the ‘x’ button that shows up. Once you’ve got your Product Gallery setup, be sure to click on the update button to save the changes.
For some instruction on setting up your first in WooCommerce see our article here!
Related Articles:

About the Author: Dan Pock
Dan Pock does technical support at Liquid Web with a background in System Administration, Public Relations, and Customer Service. His favorite things include his cats, Oscar Boots, and Dash Nougat; experimenting with PHP; and making up recipes (or at least attempting to). You can find his coding hijinks on GitHub, where he shares most of his projects and open source work.
Our Sales and Support teams are available 24 hours by phone or e-mail to assist.
Latest Articles
Email security best practices for using SPF, DKIM, and DMARC
Read ArticleLinux dos2unix command syntax — removing hidden Windows characters from files
Read ArticleHow to use kill commands in Linux
Read ArticleChange cPanel password from WebHost Manager (WHM)
Read ArticleChange cPanel password from WebHost Manager (WHM)
Read Article


