


How To Install Discourse
What is Discourse?
Discourse is modern forum software that can be easily installed on your Ubuntu-based Liquid Web VPS or Dedicated server to create a vibrant community-driven discussion board. Some of the more popular companies using Discourse to power their communities are New Relic, Cloudflare, and Docker.
Requirements
Current requirements for Discourse include:
- Ruby 2.5+
- PostgreSQL 10+
- Redis 2.6+
- An outgoing MTA (Discourse does not provide email itself)
Features & Plugins
Discourse has a vibrant feature set of software features. Available options include:
- Infinite scrolling
- Dynamic notifications
- Built-in mobile layout
- Automatically expanding links
- Single sign-on
- Trust system
- Powerful moderation
- Spam blocking
- Social login
- Summarize topics
- Badges/Emoji
- Two-factor authentication
- Diverse plugin options
- One-click upgrades
- Comprehensive API
- 100% open source
Additionally, new plugins are constantly being developed for Discourse. Here are just a few of the currently available plugins.
- Akismet Anti-Spam
- Chat Integration
- OAuth 2.0 & OpenID Connect Support
- SAML Authentication
- Canned Replies
- Sitemap
- Discourse Translator
- Discourse Policy Make
- Calendar Integration
- Topic Tooltip Previews
- Expandable Footnotes
Preinstall Steps
Step 1. Before you install Discourse, you will need to identify a subdomain that you will install the software on. An example subdomain would be “forum.example.com.”
Step 2. Next, we need to ensure that the DNS is set up correctly for that subdomain so your users can access the forum. It should be noted that you can use Cloudflare for your DNS, and it will work fine with your installation.
Step 3. Next, you should be logged in as the root user using the SSH credentials for your VPS server.
Step 4. (Optional) Discourse also suggests that you sign up for a transactional email provider like Mailgun, SendGrid, Mailjet, or Elastic Email before installation as the docker image does not provide that service. Before you begin the setup, you will need to have your SMTP information handy. During the initial setup, Discourse will need the SMTP server name, SMTP user, and SMTP password.
Install
Docker
After you have logged in as the root user, we can begin the docker install by entering the following commands. You should use the root user throughout the rest of the setup and bootstrapping process.
root@host [~]# sudo -s
root@host [~]# git clone https://github.com/discourse/discourse_docker.git /var/discourse
Now, cd into the Discourse folder.
root@host [~]# cd /var/discourse Next, we’ll run the Discourse setup command.
root@host [~/var/discourse]# ./discourse-setupNext, we will be asked a series of questions that are required to move forward with the installation.
Hostname for your Discourse? [forum.example.com]:
Email address for admin account(s)? [me@example.com,you@example.com]:
SMTP server address? [smtp.example.com]:
SMTP port? [587]:
SMTP user name? [user@example.com]:
SMTP password? [pa$$word]:
Let's Encrypt account email? (ENTER to skip) [me@example.com]:
The Discourse setup will create an app.yml file and kick off the bootstrapping process, which can take anywhere from two to eight minutes. Once this portion completes, we will move on to the browser-based setup.
Verify Install and Continue Browser-Based Setup
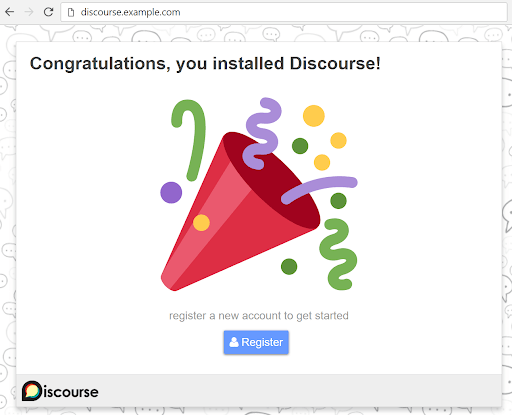
Once the bootstrapping process is complete, you will be able to continue your Discourse forum setup via a web browser on the domain or subdomain.
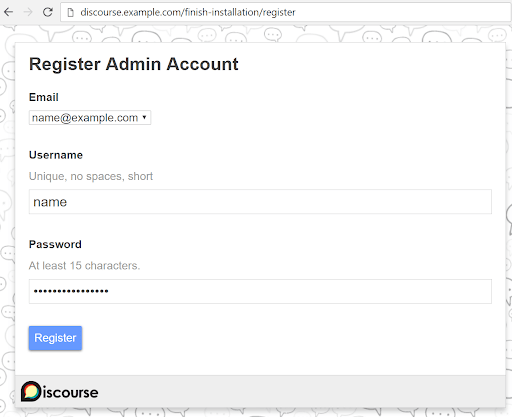
The first time you access Discourse, you will need to set up an admin user. Add your email, username, and password as requested and click on the Register button.
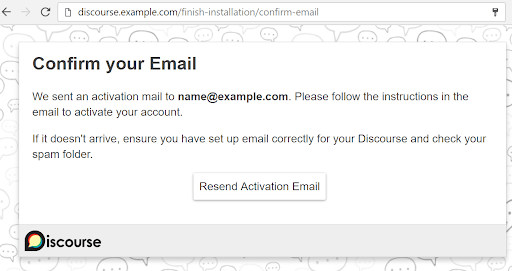
Next, you will need to confirm your email address by clicking on the link provided within the activation email that was sent to the address that was provided on the last screen.
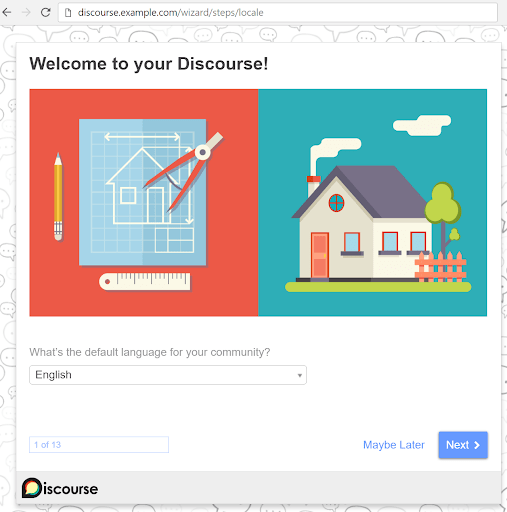
Once the admin's email verification has been completed, you will be taken to the welcome screen where you are asked to complete thirteen additional questions to finish the setup.
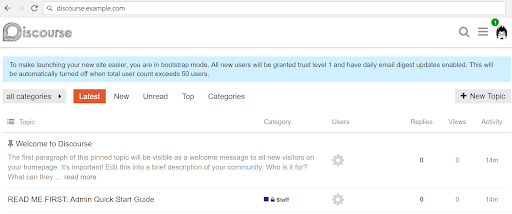
After completing the setup wizard, you will see Staff topics and the READ ME FIRST: Admin Quick Start Guide info. This guide contains advice to further configure and customize your Discourse software.
Ubuntu 18.04
When deploying Discourse to an Ubuntu server, we will use a sudo user instead of the root user since the root installation is discouraged in this type of setup.
Prerequisites
Add sudo User
To add a sudo user, run the following command.
root@host [~]# adduser usernameThen, we need to switch over to that new user.
root@host [~]# su - usernameInstall Discourse Dependencies
As a regular user, run this script in your terminal to set up the Rails development environment.
username@domain.com [~]# bash <(wget -qO- https://raw.githubusercontent.com/techAPJ/install-rails/master/linux)This script will install the following packages onto your system in preparation for Discourse.
- Git
- rbenv
- ruby-build
- Ruby (stable)
- Rails
- PostgreSQL
- SQLite
- Redis
- Bundler
- MailCatcher
- ImageMagick
Once we have run the script and installed the dependencies, let’s move forward and install Discourse itself.
Install Discourse
Clone the Discourse repository into a ~/discourse folder of your choosing.
username@domain.com [~]# git clone https://github.com/discourse/discourse.git ~/discourseSet up the Database
Next, we need to create a role using the same name as your Ubuntu system username.
username@domain.com [~]# sudo -u postgres createuser -s "$USER"Bootstrap Discourse
Now, cd into the folder where Discourse was cloned to.
cd ~/discourseInstall Ruby Gems
Once in the discourse folder, we need to install our Ruby gems.
root@host [~/discourse]# source ~/.bashrc
root@host [~/discourse]# bundle install
Next, we will set up our database configurations. Let's set up our database using the following commands.
bundle exec rake db:create
bundle exec rake db:migrate
Now, run this command to set up our specs.
bundle exec rake autospecAfter that, we can start the rails server (it will only be available on localhost).
bundle exec rails serverWe can then execute this command to have Rails listening on all interfaces, as well as being available remotely.
bundle exec rails server --binding=0.0.0.0Verify Install and Continue Browser-Based Setup
Now, we should be able to connect to the Discourse app on http://localhost:3000 and complete the browser-based setup portion. (see above web browser setup pics)
Lastly, we can set up our categories and install any needed plugins to extend functionality in Discourse.
And that’s it! You now have a fully functional, innovative modern forum to start building your community.
We’d Love To Have You Join Us!
Just as every large business is concerned with their public-facing image and how they are perceived by their local community, online companies also have to be cognizant of their “Brand” as well and how they are recognized. With the immediacy of public feedback now being so easily available to your clients (think Facebook, Twitter, Yelp, and other social media platforms), you need to ensure that you have a voice to reply to the concerns they present.
Utilizing a system like Discourse allows you as a business owner to not only respond to your client's concerns, but also enables you to listen for suggested improvements, attend to feedback, and provide an authoritative reply to those who support your business. Try it today!
Related Articles:


About the Author: Luke Cavanagh
Product Operations Manager at Liquid Web. Devoted husband and Tween wrangler. Synthwave enthusiast. Jerry Goldsmith fan. Doctor Who fan and related gubbins.


Our Sales and Support teams are available 24 hours by phone or e-mail to assist.
Latest Articles
Linux dos2unix command syntax — removing hidden Windows characters from files
Read ArticleHow to use kill commands in Linux
Read ArticleChange cPanel password from WebHost Manager (WHM)
Read ArticleChange cPanel password from WebHost Manager (WHM)
Read ArticleChange the root password in WebHost Manager (WHM)
Read Article