


Deleting a Site in Managed WordPress Portal
If you no longer need a site in your portal, you can delete the site with just one click. This will free up space and keep your portal clutter free.
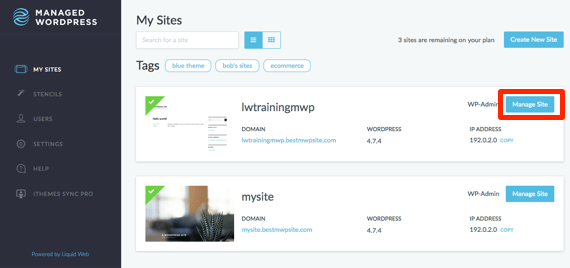
- Log into your Managed WordPress Portal.
- Click on the Manage Site button for the site you want to delete.
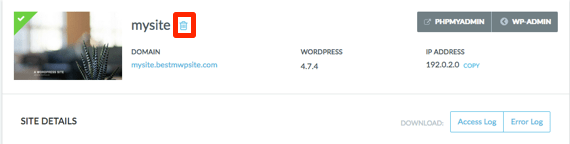
- When the site manager opens, click the trash can icon next to the name at the top of the page.
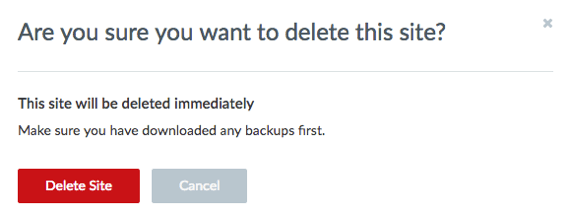
- A pop-up will appear to confirm that you wish to delete the site. Click Delete Site to proceed.
Warning:Even if you delete all the sites from your dashboard, you will still be charged for the product.
- Site deletion will begin and the progress will show on the home page of your Managed WordPress Portal home page.
Related Articles:


About the Author: Libby White
Former technical writer for Liquid Web. When Libby is not writing for work, she spends time learning more about digital & technical writing, web development, hanging with her family, and taking photographs with her Nikon. Always learning, always growing, never stopping.


Our Sales and Support teams are available 24 hours by phone or e-mail to assist.
Latest Articles
Email security best practices for using SPF, DKIM, and DMARC
Read ArticleLinux dos2unix command syntax — removing hidden Windows characters from files
Read ArticleHow to use kill commands in Linux
Read ArticleChange cPanel password from WebHost Manager (WHM)
Read ArticleChange cPanel password from WebHost Manager (WHM)
Read Article