Setup phpMyAdmin on Linux (Ubuntu)
Introduction
This guide will show you how to set up phpMyAdmin on Ubuntu for self-managed servers hosted at Liquid Web. phpMyAdmin is a web-based interface that simplifies working with MariaDB and MySQL databases. Use phpMyAdmin to manage databases, run queries, and handle administrative tasks easily through your browser.
With phpMyAdmin, you can:
- Create, edit, and remove databases and tables.
- Run SQL queries directly from the web interface.
- Import and export data in multiple formats.
- Manage users and set database permissions.
Prerequisites
Before you begin, make sure you have:
- Ubuntu 20.04 or later is installed on your Liquid Web server.
- Root or sudo access via SSH.
- A working LAMP stack (Linux, Apache, MySQL/MariaDB, PHP). If you don’t have this yet, follow the LAMP installation guide for Ubuntu.
Installation Steps
- Connect to your server using SSH
- Update your system:
sudo apt update
sudo apt upgrade- phpMyAdmin is included in Ubuntu’s default repositories. Install phpMyAdmin and its dependencies by running the command:
sudo apt install phpmyadminDuring installation, you will be prompted to:
- Select a web server (choose Apache2 by pressing Space and Enter).
- Configure a database for phpMyAdmin using dbconfig-common (select Yes).
- Enter a password for the phpMyAdmin application database user.
- Enable the phpMyAdmin configuration in Apache by adding the phpmyadmin conf file as an include in the apache2.conf file. This assumes you are using the standard apache configuration.
echo "Include /etc/phpmyadmin/apache.conf" | sudo tee -a /etc/apache2/apache2.conf- Restart Apache:
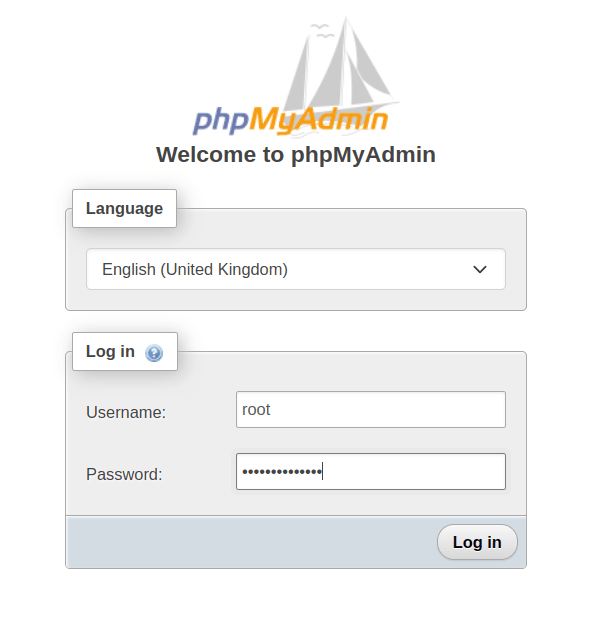
sudo systemctl restart apache2- Access phpMyAdmin by visiting https://your-server-ip/phpmyadmin in your browser. Replace ‘your-server-ip’ with your server’s IP. Alternatively, you can access phpMyAdmin via https://your-hostname.com/phpmyadmin, replacing ‘your-hostname.com’ with your server’s hostname if you adjust your /etc/hosts file locally or once your hostname’s DNS is set up and publicly available.).
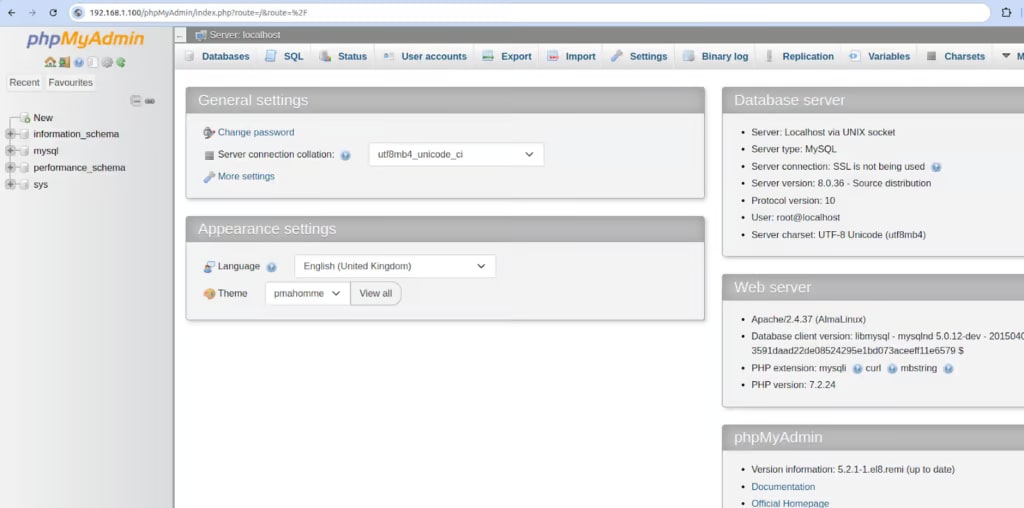
- Log in with your MariaDB / MySQL credentials to manage your databases through the phpMyAdmin dashboard. Root should have access to every database. Other users will be limited to what their permissions allow.
- Once logged in, you should see the phpMyAdmin dashboard.
Restricting Access to phpMyAdmin
- Edit the phpMyAdmin Apache configuration:
sudo nano /etc/apache2/conf-available/phpmyadmin.conf- Inside the <Directory /usr/share/phpmyadmin> block, add allowed IPs:
<Directory /usr/share/phpmyadmin>

    <IfModule mod_authz_core.c>

        Require ip 127.0.0.1 192.168.1.100

    </IfModule>

</Directory>- Test the configuration:
sudo apache2ctl configtest- Restart Apache:
sudo systemctl restart apache2Updating phpMyAdmin
- Update to the latest version:
sudo apt update
sudo apt upgrade phpmyadmin- Restart Apache:
sudo systemctl restart apache2Uninstalling phpMyAdmin
- Uninstall phpMyAdmin
sudo apt remove --purge phpmyadmin- (Optional) Remove its configuration:
sudo rm /etc/apache2/conf-available/phpmyadmin.conf- Restart Apache:
sudo systemctl restart apache2Using phpMyAdmin
With phpMyAdmin installed, you can:
- Create databases – Click New, provide a name, and choose collation.
- Create tables – Add tables within a database, define columns, and set keys.
- Run SQL queries – Use the SQL tab for custom queries.
- Backup databases – Save backups in SQL, CSV, or other formats.
- Restore databases – Upload SQL files to restore data.
- Manage users – Add or remove accounts and adjust privileges.
Frequently asked questions
About phpMyAdmin on Ubuntu with Liquid Web
phpMyAdmin on Ubuntu provides an easy-to-use web interface for handling MariaDB and MySQL databases. When using a self-managed server, you must manage maintenance, security patches, and performance tuning.
With Liquid Web, you get reliable hosting, expert assistance, and customizable plans, ensuring your Ubuntu phpMyAdmin environment stays secure and efficient.