


What is xmlrpc.php and Why Disable It?
Since it was created, WordPress has always had a way to communicate with your website remotely — including different blogging platforms and desktop clients — in order to interact with it. As one of the early software platforms involved, the XML-RPC API system is comprised of the Remote Procedure Call (RPC) protocol and the Extensible Markup Language (XML) for encoding its calls with the Hypertext Transfer Protocol (HTTP) used as the transport protocol.
We will dive into what exactly XML-RPC is, what it is used for, and why you should turn it off on your WordPress website. These guidelines are given with a caveat regarding the Jetpack service, which requires XML-RPC, as discussed on the Jetpack and XML-RPC webpage. If using the Jetpack service, then XML-RPC should not be disabled (rather, as covered in the instructions below, you should whitelist the Jetpack IP range). Otherwise your site cannot connect to Jetpack:
It should be noted here also that the WooCommerce Shipping & Tax plugin (previously called the WooCommerce Services plugin) requires Jetpack.
What is xmlrpc.php?
XML-RPC is a core WordPress API, which has been part of WordPress since its creation in 2003. Since the early days, XML-RPC has been a critical factor in allowing WordPress to connect to the broader internet, rather than to operate in isolation. In early versions, XML-RPC was disabled by default, but that changed in WordPress version 3.5, where XML-RPC is enabled by default. Furthermore, there is no option to disable it anymore in the WordPress backend.
The code for the XML-RPC system is contained in the xmlrpc.php file, which is located in the root directory of the WordPress installation. Experts agree, XML-RPC is considered outdated, a cybersecurity risk, and replaced by the REST API — also included in WordPress core.
How is xmlrpc.php Exploited?
The 17th entry on the Comprehensive WordPress Security Checklist documents some the risks created when using the XML-RPC protocol on your WordPress website. The main reason why you should disable XML-RPC is because of the vulnerabilities it presents as per the known xmlrpc.php exploit. The issue is not with the XML-RPC API system itself but with how it is used by different people with different intentions on your site. And since it is not used anymore in modern web hosting architectures, it is best to deactivate it.
There are two most prominent exploits used when XML-RPC is activated on your site — exposing a security flaw. They are Distributed Denial of Service (DDoS) and Brute Force cyberattacks:
- DDoS (Distributed Denial-of-Service) cyberattacks are when a bad actor overloads a web server with internet traffic to stop other users from accessing your online websites and services. In WordPress, attackers use the PingBack feature to send pingbacks to numerous sites, and with XML-RPC, giving the attacker an unlimited amount of IP addresses to distribute the DDoS attacks.
- Brute Force cyberattacks are used when the attacker tries to gain access to your site via a brute force methodology, where xmlrpc.php is used to test different combinations of usernames and passwords. This security hole allows them to automate the attack with a command that pushes thousands of combinations at once, bypassing the security of your website and gaining access to it.
Disabling xmlrpc.php in WordPress
There are two main ways to disable xmlrpc.php in WordPress:
- Disable WordPress XML-RPC with a plugin.
- Disable xmlrpc.php with the .htaccess file.
Method #1: Disable WordPress XML-RPC With a Plugin
This method can be used if you want to avoid adding any custom code to your website. You can install and activate the Disable XML-RPC-API plugin. The plugin will work immediately and disable all XML-RPC, but you can also configure the plugin to allow specific IP addresses to have access to XML-RPC still if needed:

Method #2: Disable xmlrpc.php with the .htaccess File
If you don't like adding additional plugins to your website, you can also disable XML-RPC using lines of code in the .htaccess file.
The advantages of this method are that you can allow your IP address or your developer's IP addresses to access XML-RPC still while blocking everyone else, and it also won't have any effect on your WordPress website's performance, since it will block XML-RPC requests before they are passed on to WordPress.
In case you run into any issues later, make sure you create a backup of your .htaccess file before making any changes. You can access your .htaccess file via an FTP client, using the File Manager on your control panel, or SSH-ing in your server. Once you have proper access, you can open and edit the .htaccess file via the Vim Text Editor. You will need to add the following code in the .htaccess file and replace the "xxx.xxx.xxx.xxx" with the IP address you want to allow to have access to xmlrpc.php:
# Block WordPress xmlrpc.php requests
<Files xmlrpc.php>
order deny, allow
 deny from all
 allow from xxx.xxx.xxx.xxx
</Files>
The Jetpack service can be whitelisted to include the corresponding IP range so that access to XML-RPC can be limited. This setup is necessary because Jetpack requires XML-RPC to connect your site to your Jetpack account so that Jetpack services can be used on your site.
To allow more than two IP addresses to have access to xmlrpc.php, you can just add another line with the "allow from xxx.xxx.xxx.xxx" underneath the previous allow rule. The code should look like this:
# Block WordPress xmlrpc.php requests
<Files xmlrpc.php>
order deny, allow
 deny from all
 allow from xxx.xxx.xxx.xxx
 allow from xxx.xxx.xxx.xxx
</Files>
We can add the Jetpack IP addresses along with those IP addresses of any other required plugins and services to the Allowlist to whitelist them as needed.
Test to Ensure xmlrpc.php is Disabled
Once you have chosen a method to turn off xmlrpc.php, you need to test if you have successfully disabled the XML-RPC API system on your WordPress website.
You can check if xmlrpc.php is disabled by going to the URL of https://yourdomain.com/xmlrpc.php, where yourdomain.com represents your actual domain, and you should see the "Forbidden - You do not have permissions to access this resource." error message.
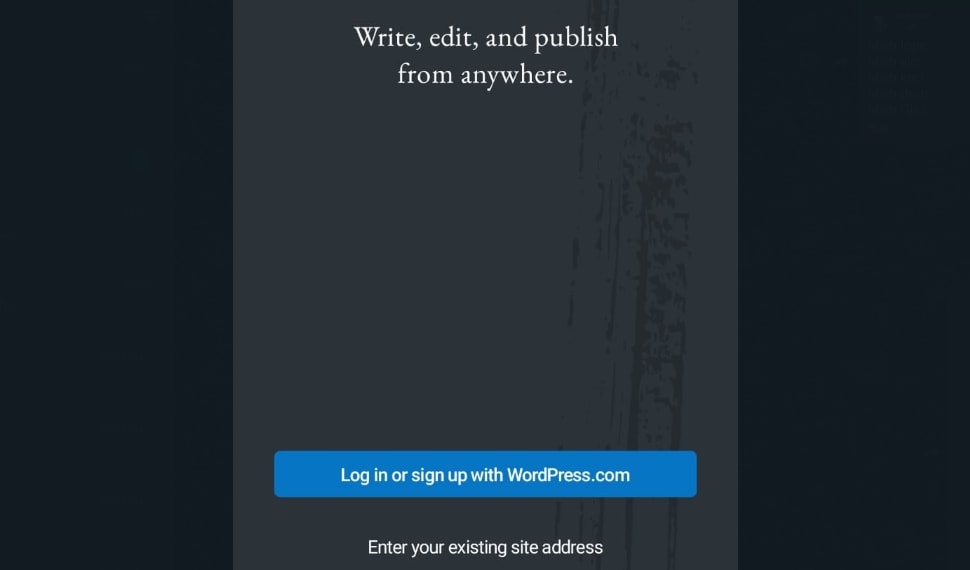
Another method is to install the WordPress Mobile App on your mobile phone or tablet. You can install the app through the Apple App Store or Google Play Store depending on your phone. Once the app is installed, you can open it and click the "Enter your existing site address" button at the bottom of the screen:
Provide the WordPress site you would like to connect to, and click "Continue" at the button at the bottom of the screen:
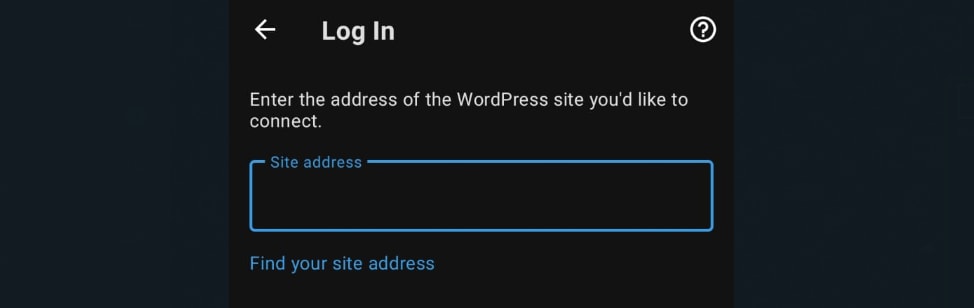
If XML-RPC has been disabled, you will not be able to log in, but you should see the "XML-RPC services are disabled on this site." error message.
Conclusion
XML-RPC via xmlrpc.php was more commonly used before a REST API was added to the WordPress platform. The REST API has mostly replaced the need for XML-RPC. A number of services use the REST API in WordPress and the extended REST API in WooCommerce (before WooCommerce version 2.6, the platform had a REST API separate from WordPress — now known as the legacy API) to connect to your site and update the various components and content elements as needed.
Limiting access to XML-RPC would be the best solution to ensure the stability and security of your WordPress website going forward. For example, you can limit access, but whitelist the Jetpack IP range so it can still use XML-RPC. These methods have been provided in the sections above for your information.
Out technical staff is always ready to help you optimize your website and resolve web hosting issues. The team is made up of Helpful Humans who really care about making your web presence stellar. Contact us for assistance with your Liquid Web hosting products as needed.
Related Articles:


Our Sales and Support teams are available 24 hours by phone or e-mail to assist.
Latest Articles
In-place CentOS 7 upgrades
Read ArticleHow to use kill commands in Linux
Read ArticleChange cPanel password from WebHost Manager (WHM)
Read ArticleChange cPanel password from WebHost Manager (WHM)
Read ArticleChange the root password in WebHost Manager (WHM)
Read Article