


Let’s do a quick preflight check to ensure we have everything we need to get started:
- These instructions are intended for installing MySQL on a single Ubuntu 14.04 LTS node.
- I’ll be working from a Liquid Web Self Managed Ubuntu 14.04 LTS server, and I’ll be logged in as root.
Step 1: Install MySQL
First, you’ll follow a simple best practice: ensuring the list of available packages is up to date before installing anything new.
apt-get update
Installing MySQL is as simple as running just one command:
apt-get install mysql-server php5-mysql
You may receive the following prompt or something similar:
After this operation, 98.2 MB of additional disk space will be used.
Do you want to continue? [Y/n]
Enter Y to continue.
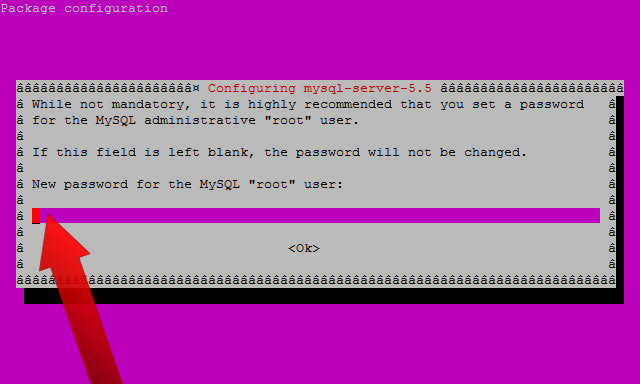
Next, you’ll be asked:
New password for the MySQL “root” user:
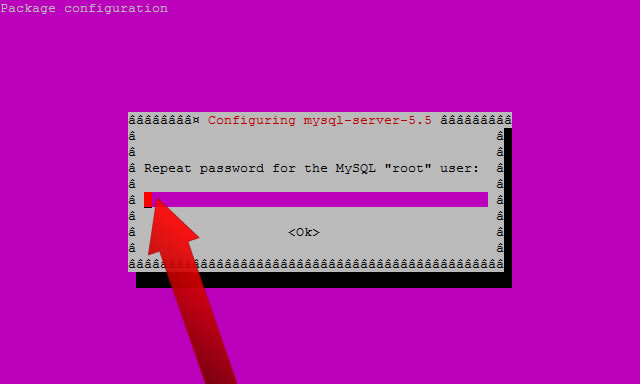
Then you’ll be asked to verify the root MySQL password:
Repeat password for the MySQL “root” user:
Step 2: Configure MySQL for Use
Next, we’ll instruct MySQL to create its database directory structure:
mysql_install_db
Step 3: Secure MySQL
And now let’s secure MySQL by removing the test databases and anonymous user created by default:
mysql_secure_installation
You’ll be prompted to enter your current password. Enter the root MySQL password set during installation:
Enter current password for root (enter for none):
Then, assuming you set a strong root password, go ahead and enter n at the following prompt:
Change the root password? [Y/n] n
Remove anonymous users, Y:
Remove anonymous users? [Y/n] Y
Step 4: Verify MySQL InstallationDisallow root logins remotely, Y:
Disallow root login remotely? [Y/n] Y
Remove test database and access to it, Y:
Remove test database and access to it? [Y/n] Y
And reload privilege tables, Y:
Reload privilege tables now? [Y/n] Y
Step 4: Verify MySQL Installation
You can check the version of the MySQL installation with the following command:
mysql -V
Enter the MySQL command client:
mysql -p
You’ll be asked for the root password for the MySQL server, which was set earlier in this tutorial:
Enter password:
And then you should be greeted with the following:
Welcome to the MySQL monitor. Commands end with ; or g.
Your MySQL connection id is 47
Server version: 5.5.40-0ubuntu0.14.04.1 (Ubuntu)
Copyright (c) 2000, 2014, Oracle and/or its affiliates. All rights reserved.
Oracle is a registered trademark of Oracle Corporation and/or its
affiliates. Other names may be trademarks of their respective
owners.
Type 'help;' or 'h' for help. Type 'c' to clear the current input statement.
mysql>standing by
Exit the command line with the following command:
exit
Stop MySQL:
service mysql stop
Start MySQL:
service mysql start
To check the status of MySQL:
service mysql status
Restart MySQL:
service mysql restart
Choosing the right database can be daunting at times and that’s where we can step in to assist. We will be able to provide detailed info regarding MySQL to ensure you have the latest and most accurate answers possible. Should you need any assistance setting up, modifying or utilizing your database, don’t hesitate to contact Liquidweb support for more answers!
You can reach us on our toll free number at 1-800-580-4985, or use our International number at 517-322-0434. You can also open a ticket with us using the support@liquidweb.com email or, open a ticket from your Manage interface. Lastly, there’s always our chat option if you need fast assistance on smaller issues. Whatever method you choose to reach out to us, do not hesitate to contact us if you run into any problems, as we are always on the lookout to offer our assistance and support! Thank you for hosting with Liquidweb!
Related Articles:


About the Author: J. Mays
As a previous contributor, JMays shares his insight with our Knowledge Base center. In our Knowledge Base, you'll be able to find how-to articles on Ubuntu, CentOS, Fedora and much more!


Our Sales and Support teams are available 24 hours by phone or e-mail to assist.
Latest Articles
How to use kill commands in Linux
Read ArticleChange cPanel password from WebHost Manager (WHM)
Read ArticleChange cPanel password from WebHost Manager (WHM)
Read ArticleChange cPanel password from WebHost Manager (WHM)
Read ArticleChange the root password in WebHost Manager (WHM)
Read Article