
◦ Comprehensive security
◦ 24/7 support
WordPress Guide → Images
WordPress images: How to add them and where to find free photos
They say that a picture is worth a thousand words, and it’s probably true. Which means images are one of the most powerful tools for engaging your website visitors. Whether it’s a blog post, product page, or gallery, visuals add life to your content and create a stronger connection with visitors than words alone.
However, uploading and managing images on your WordPress site can be tricky if you’re not familiar with the right tools and techniques. Let’s talk about how to use images effectively on your WordPress site—from uploading to optimization.
Get fast, reliable hosting for WordPress
Power your site with the industry’s fastest, most optimized WordPress hosting
Why images matter for your website
You probably already know this, but just in case:
- Share-ability: High-quality, relevant images can boost your site’s appeal and make your content more shareable.
- Engagement: Text is boring. Images draw people in.
- Communication: Users have to read a couple paragraphs to understand your services, but one good image communicates more, faster.
However, images that are too large or improperly optimized can slow down your site, which could turn away visitors. So, balancing quality with performance is key.
How to upload images to WordPress
Uploading images to WordPress is easy, and there are several ways to do it.
1. Use the WordPress media library
The media library is where all the images, videos, and other files you upload to WordPress are stored. To upload an image:
A. Log in to your WordPress dashboard.
B. Navigate to Media > Add New Media File.

C. Click Select Files and choose the images from your computer that you want to upload or drag the images into the drop zone. You can select multiple images at once.
Once uploaded, the images will appear in the Media Library, and you can insert them into your posts and pages.
2. Upload images directly to posts and pages
You can also add images while creating or editing posts and pages.
In the Classic Editor:
- Click on the Add Media button above the content editor.
- Select an image from the Media Library or upload a new one.
- Adjust the image’s settings, like alignment, size, and link options.
- Click Insert into post to add the image.
In the Block Editor:
A. Click the [+] to add a new block and select Image.

B. Choose Upload to upload the image directly or Media Library to select an image that’s already been added.

Best practices for image sizes and formats
While uploading images is easy, optimizing them is just as important to keep your site fast and efficient.
Image sizes
Before uploading, resize your images to fit the layout of your site. Large images (over 1MB) can slow down your website significantly, so aim for a file size of less than 100KB, if possible. You can resize images using photo editing software or online tools like TinyPNG before uploading them.
In WordPress, you can also control the image size when inserting it into a post or page. WordPress offers several default sizes, including Thumbnail, Medium, Large, and Full Size. It’s best to use the appropriate size for the space it will occupy, which helps reduce page load times.
Image formats
WordPress supports several image formats, but keeping your site light for best performance generally means sticking with a newer, compressed format:
- WebP: A newer format that offers excellent compression without sacrificing quality. It’s not supported by all browsers yet, but it’s a great choice when supported.
- AVIF: A highly efficient image format that offers superior compression compared to JPEG and WebP, without losing image quality. It’s gaining popularity, but browser support is still expanding.
There are a lot of online tools that make it very easy to convert your larger image files (like JPEG or PNG) to a WebP or AVIF file.
WordPress does also support larger image formats, like:
- JPEG: Best for photographs and images with lots of colors, which users might zoom or rotate.
- PNG: Ideal for images with transparency or simple graphics (like logos).
- GIF: Great for animations, but use sparingly as they can be large.
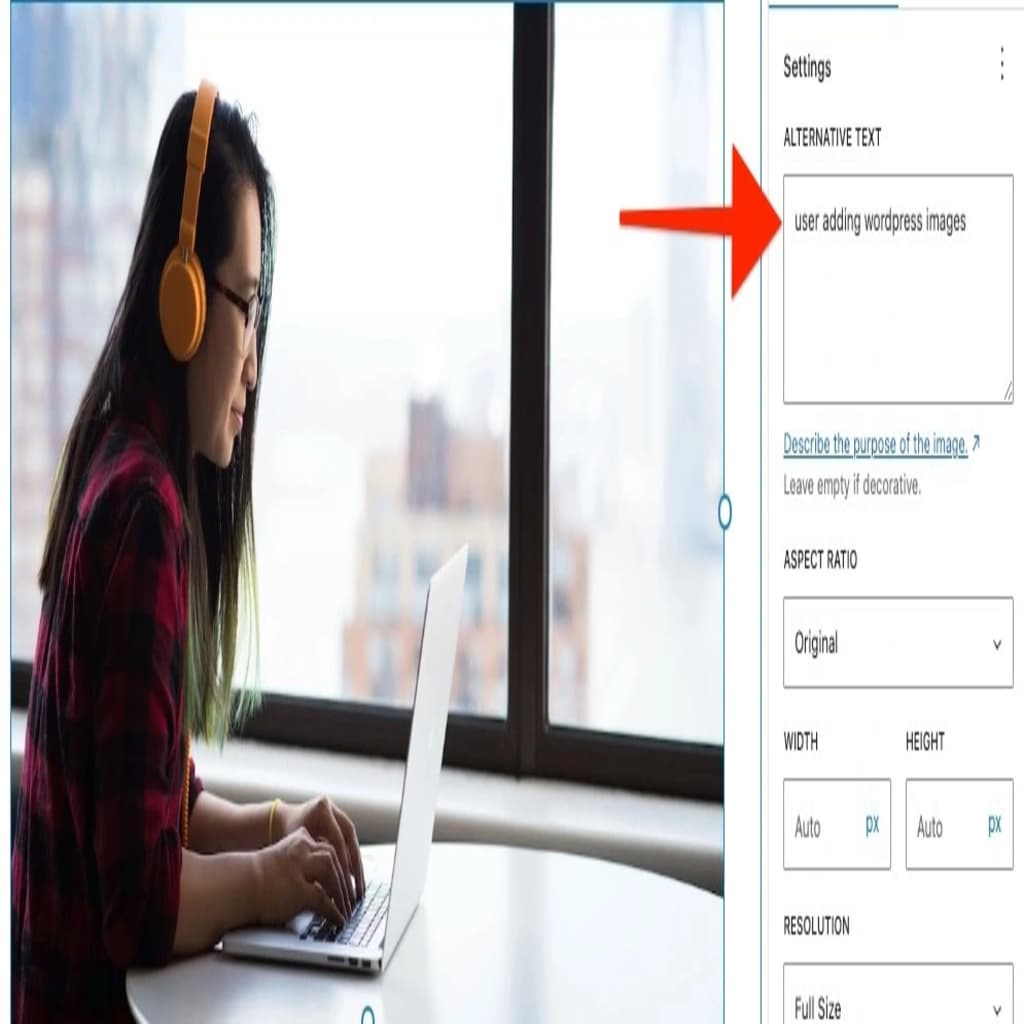
Adding image alt text for SEO
One of the easiest ways to improve your site’s SEO is by adding alt text (alternative text) to images. Alt text describes an image to search engines and is important for accessibility. If the image doesn’t load, the alt text is displayed in its place. Alt text is also read by screen readers for visually impaired users.
Here’s how to add alt text:
- Go to the Media Library and select the image you want to edit.
- In the image details, find the Alt Text field.
- Write a brief, descriptive text that includes relevant keywords naturally. (Don’t just stuff this text box full of keywords.)
- Save the changes.
In the Block Editor, you can also add alt text to an image in the sidebar.
How to organize and manage images in WordPress
As your website grows, your Media Library can get crowded. Organizing your images properly will save time and reduce clutter.
Using image categories
You can install plugins like WP Media Folder to organize your media files into folders. This can help keep everything tidy, especially if you have a large number of images.
Using image captions and descriptions
Captions can provide context for images, and descriptions give more detailed information. When you upload an image, you can add both of these elements to enhance the image’s usability. They’re also helpful for SEO.
How to optimize images for faster loading
Slow-loading images are frustrating to users, which makes them bad for SEO as well. Fortunately, there are several ways to optimize images:
- Compress your images: Use tools like Smush or ShortPixel to automatically compress images without losing quality.
- Lazy load images: Lazy loading means images only load when they enter the user’s viewport (the part of the page currently visible). WordPress has lazy loading built-in, but you can improve it further with plugins like a3 Lazy Load.
- Use responsive images: WordPress automatically generates responsive images that adapt to different screen sizes. This ensures images load quickly on both mobile and desktop.
Where to get free images for your WordPress site
If you’re not a photographer and you don’t have a budget for professional stock photos, don’t fret. There are several free photo libraries where you can download beautiful, high-resolution images to use.
- Unsplash offers a massive library of high-resolution photos, all free to use for personal or commercial projects. No attribution is required, but it’s always appreciated.
- Pexels provides free stock photos and videos with no copyright restrictions. Like Unsplash, they can be used for both personal and commercial purposes without attribution.
- Pixabay has a huge collection of photos, illustrations, vector graphics, and videos. Everything on the site is free to use for personal and commercial purposes, with no attribution needed.
- Burst by Shopify offers high-quality images that are free for commercial use, created specifically for entrepreneurs, but they can be used for any type of site.
- Gratisography provides quirky, high-quality photos that are free to use for personal and commercial projects.
- FreeImages offers a large selection of free stock photos. Just be sure to review the image licenses for each photo as some may require attribution or have restrictions.
- StockSnap.io has a large library of free stock images, all released under the Creative Commons CC0 license, meaning you can use them without any restrictions.
- Reshot offers handpicked, high-quality free photos that can be used for commercial and personal projects.
- Canva provides a free photo library, along with design tools to help you create graphics for your site. Some images are paid, but there are plenty of free ones available.
Most of these images are free to use, even for commercial purposes, but it’s always a good idea to double-check the license for each image just to be sure. It’s also usually a good idea to give some sort of attribution to the artist, in a caption, footnote, link, etc.
Getting started with WordPress images
Images are a crucial part of any WordPress site, but making sure they’re optimized and properly used can have a significant impact on both your user experience and SEO.
Start by formatting your images offline. Adjust the size, give the files descriptive names (not IMG_0893), and convert them to WebP files.
And when you’re ready to take the training wheels off your WordPress site, upgrade to professional hosting and see how better speeds, security, and reliability provide a foundation for a website and a brand that people find engaging and trustworthy. Liquid Web’s WordPress hosting options configure business-class servers and support plans specifically for WordPress websites.
Click through below to explore all of our WordPress hosting options, or chat with a WordPress expert right now to get answers and advice.
Additional resources
What is WordPress? →
A complete beginner’s guide to WordPress.org
Easy SEO for WordPress →
7 tips for optimizing your site than even a beginner can do
What is managed WordPress hosting? →
Discover how an added layer of support takes server IT off your shoulders
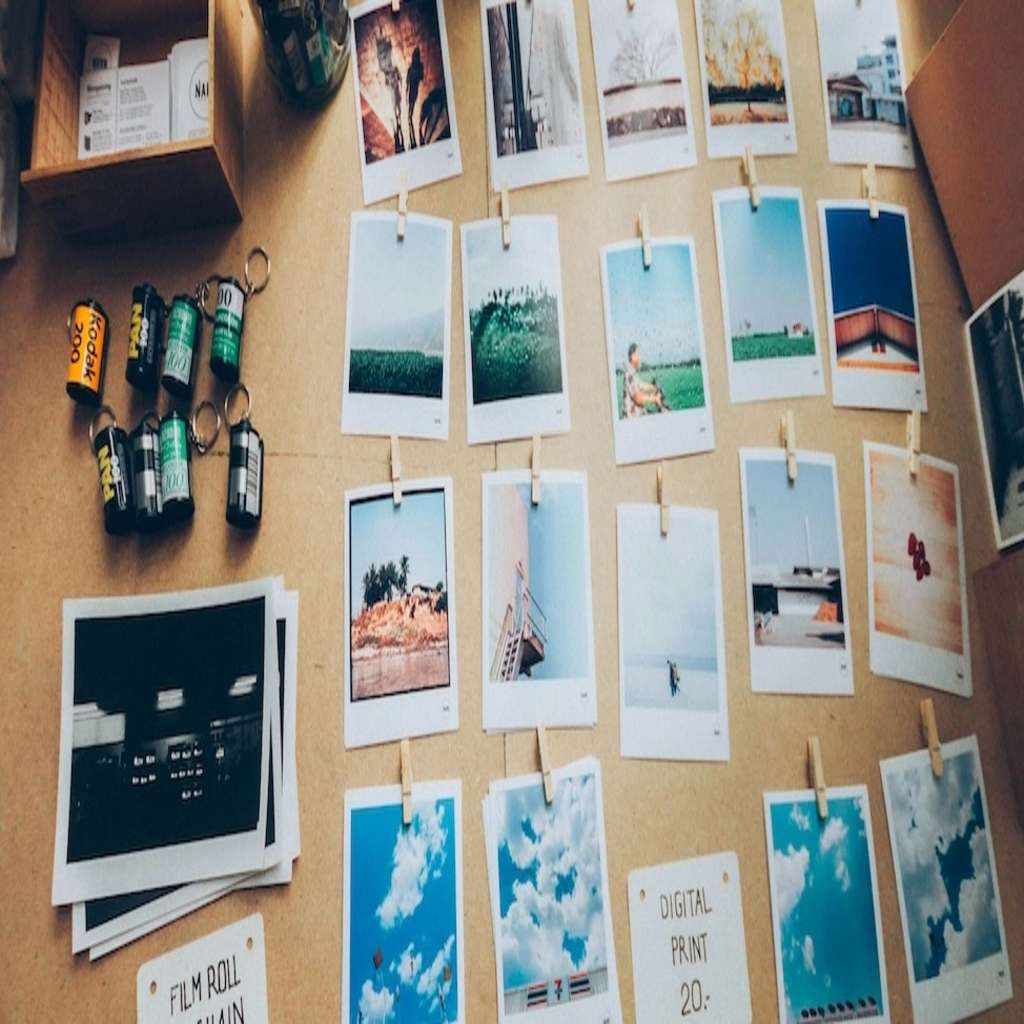
Hero image by Soragrit Wongsa