◦ Comprehensive security
◦ Support
WordPress Guide → Admin → How to create a sitemap
Create a WordPress XML sitemap: step-by-step

What is a sitemap? You’ve probably heard the term being thrown around, but you might not know what sitemaps are and how useful they can be. Keep reading to learn how you can utilize this to your advantage and how to create a sitemap in WordPress.
Get fast, reliable hosting for WordPress
Power your site with the industry’s fastest, most optimized WordPress hosting
What is a sitemap?
A sitemap or item map is a file that has information about the pages, posts, and files on your website as well as their relationships. Search engines use it to follow the links on a page to new pages, and continue to find and follow links on new pages to other pages on your site.
Essentially, a sitemap is a list of pages of a web site within a domain. There are two primary types of sitemaps. We’ll discuss how to create a sitemap in WordPress in more detail later on.
- Human-visible listings of the pages on a site.
- Structured listings for web crawlers such as search engines.
Sitemaps are arguably the only true overview of everything on a site. Some navigations offer drop-down menus that let you see options available in each site section, but even these menus only show one section of content at a time.
Why do you need a sitemap?
A sitemap lets you see all available content areas on one page. Sitemaps provide instant access and help users find order in an otherwise cluttered website, with a simple user interface. Google’s own documentation says that sitemaps help to crawl your site more efficiently.
The good thing about sitemaps is that they’re a secondary navigation feature. Generating a sitemap in WordPress is easy, and they come in handy, all while incurring little to no cost at all.
Sitemaps also allows you to optimize non-HTML content, which crawlers would otherwise be unable to find. If you have a broken link, crawlers would pick up on it right away to let you know what needs to be fixed, and even provide a temporary remedy for the issue in the meantime. Now that you understand the benefits of sitemaps, let’s go over how to create a sitemap in WordPress.
How to create a sitemap in WordPress
In this section, we will explain how to create a sitemap in WordPress. The recommended and usually the most simple way to generate sitemap in WordPress is by utilizing a plugin. In this case, we’ll use the All in One SEO plugin and Yoast SEO plugin. Both will generate a sitemap in WordPress with ease, while providing additional SEO functionality.
How to create a sitemap utilizing the All in One SEO plugin
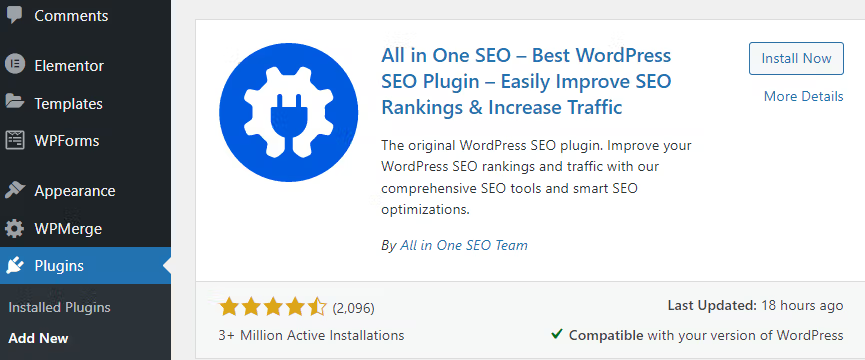
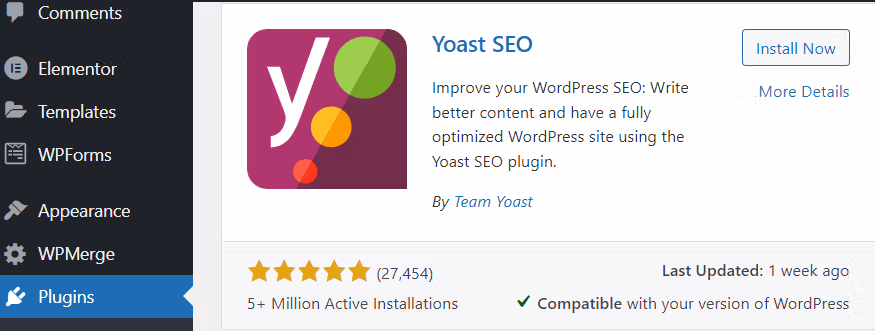
1. Installing the plugin
Navigate to your WP-Admin area. Go to Plugins > Add new > and search for “All in One SEO.” It should be the first result.
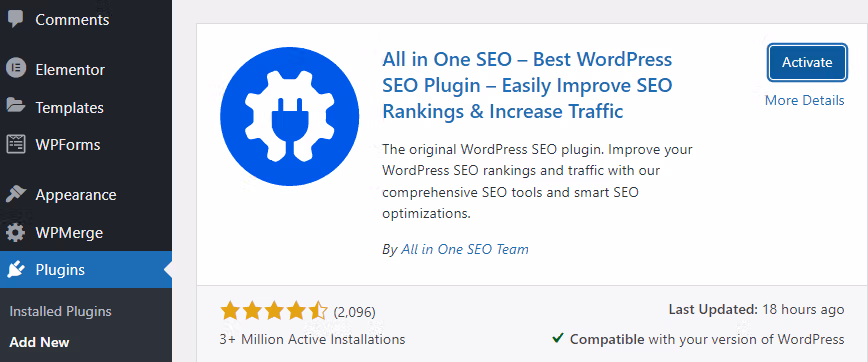
2. Activating the plugin
After installing the plugin, click the Activate button to activate the plugin.
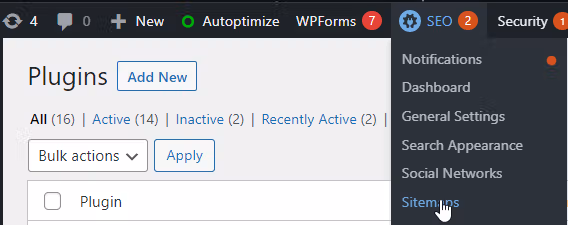
3. Set up the plugin
A new menu has been created for easy navigation in the top bar of your admin area as shown here. Navigate to the sitemaps menu to create a sitemap.
Once there, you should see a lot of sitemap options. We’ll be focusing on the XML sitemap, found under “General Sitemap,” and the HTML sitemap.
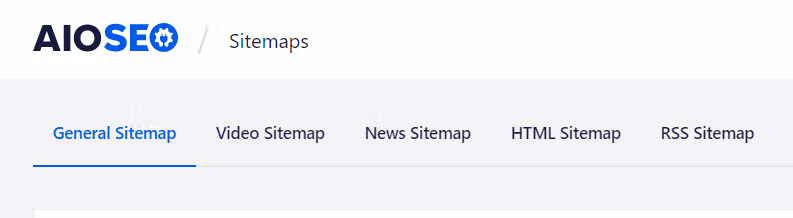
Depending on the content type you have on your website, you may want to consider creating a video sitemap, news sitemap, and an RSS sitemap. The video and the news sitemaps currently require you to use the Pro version of the plugin. However, if you’re using RSS feeds to update visitors on newly published content, you can generate this sitemap and publish it to Google, Yahoo, or Bing, which helps bring content to your users without having to visit the site. It also helps your SEO by letting crawlers and search engines index your pages with just one visit to the sitemap.
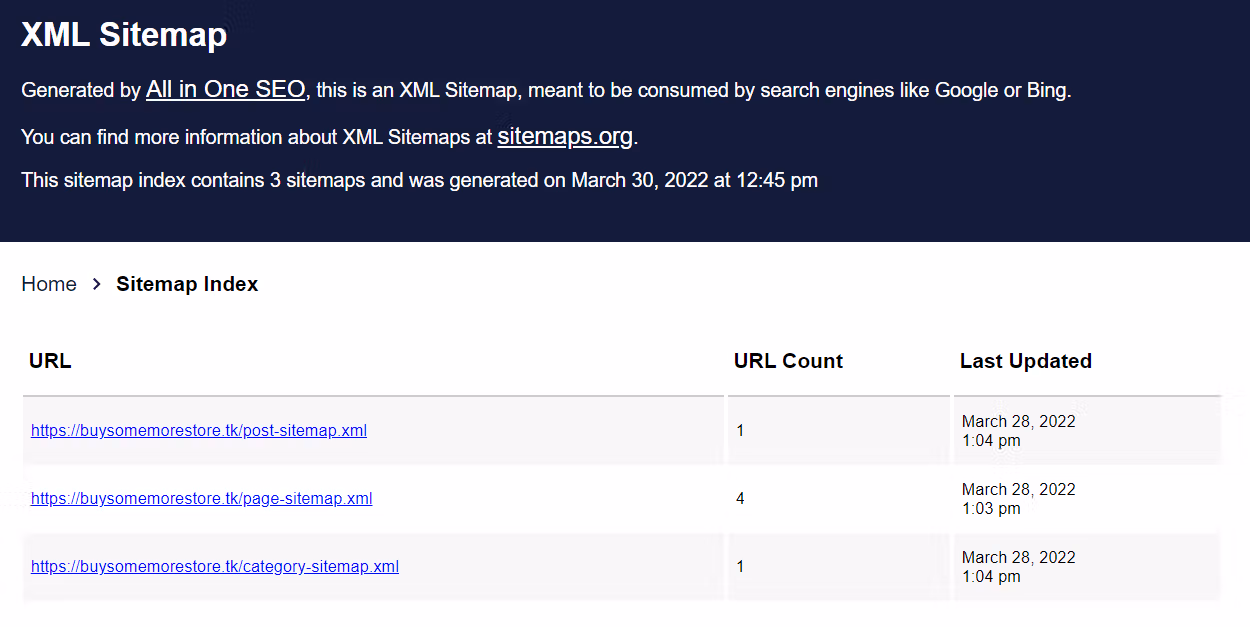
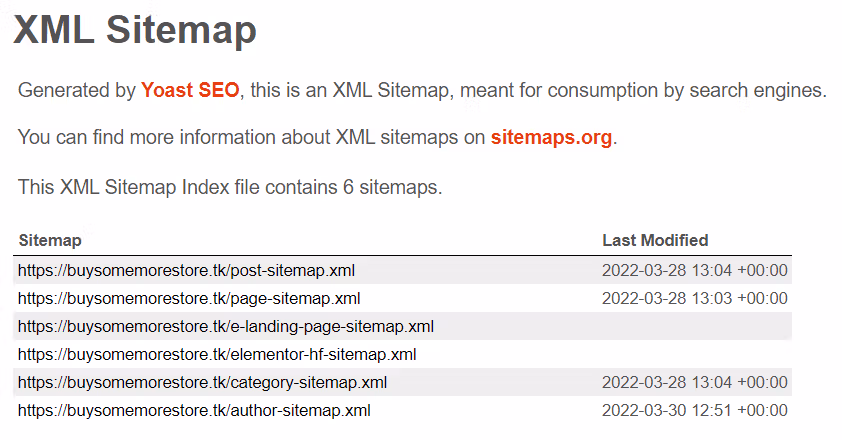
4. View your XML sitemap
Next, you’ll have a preview option once the sitemap is enabled. The preview will take you to https://yourdomain/sitemap.xml, where you’ll be able to see what the XML sitemap looks like.
5. How to verify an XML sitemap
After creating your XML sitemap, it’s crucial to verify that it’s working correctly and being properly indexed by search engines. Here’s how to do it:
1. Log into Google Search Console
2. Use the URL Inspection tool to check individual URLs from your sitemap

3. For a complete overview of your sitemap’s health:
- Click on “Indexing” in the left sidebar.
- Select “Pages” under the Index section.
- Review the Coverage report showing indexed pages, errors, and excluded pages.
4. Review any crawl errors or excluded pages that Google identifies.
The Coverage report is particularly valuable as it shows you whether Google can successfully crawl and index your pages. If you spot any errors, you can address them promptly to ensure your content is properly indexed and visible in search results.
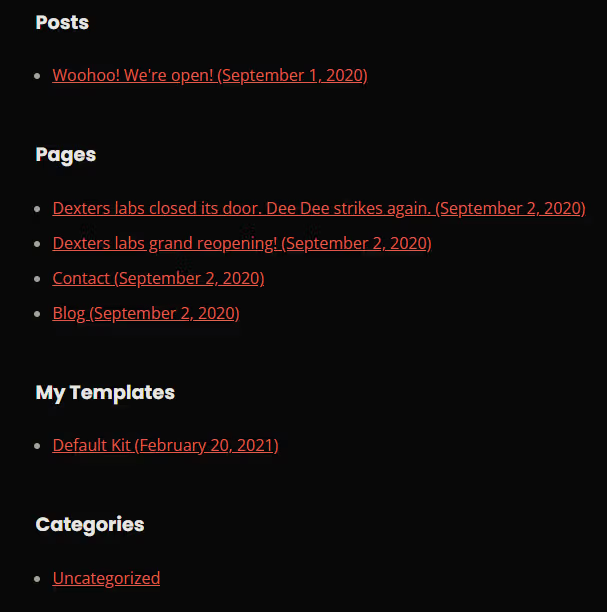
6. Create and view your HTML sitemap
Next, navigate to the HTML sitemap and enable it. There are many options for displaying your HTML sitemap, ranging from a dedicated page to widgets or even directly in the code. Let’s go ahead and create a dedicated page, which also allows you to set a custom URL for visitors to navigate to and easily find any content they might be looking for, or check for any unwanted content to remove.
How to create a sitemap utilizing the Yoast SEO plugin
Now, let’s review how to create a sitemap in WordPress using the Yoast SEO plugin.
1. Installing the plugin
Navigate to your admin area. Go to Plugins > Add new > and search for “Yoast SEO.” It should be the first result.
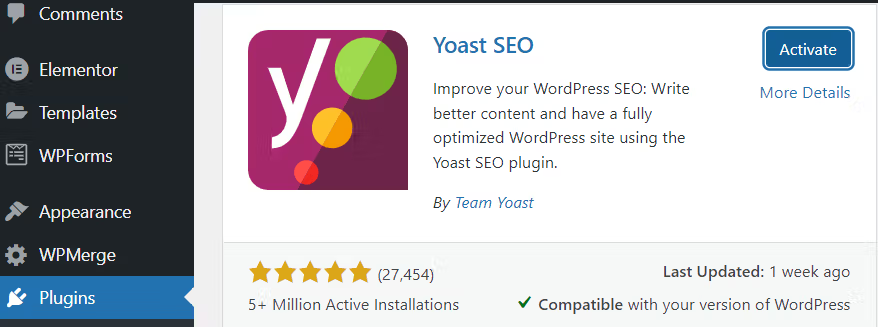
2. Activating the plugin
After installing the plugin, click the Activate button to activate the plugin.
3. Set up the plugin
Once activated, a new menu will be available as shown below. Navigate to SEO Settings > General.
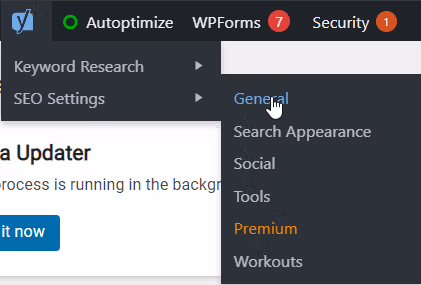
From there, select the “Features” tab.
4. View your XML sitemap
Once in features, scroll down and you will find the “XML Sitemaps” option. You can click the question mark to expand options and either view or learn more about XML sitemaps.

Advanced: Manually creating an XML sitemap
In case you want to elevate your sitemap game, or you’re wondering how to create a sitemap in WordPress without the use of plugins, here’s a basic overview of the process.
Sitemaps are based on the sitemap protocol, so let’s being by creating a file with an .xml extension and add the following 2 lines of code:
<?xml version="1.0″ encoding="UTF-8″?>

<urlset xmlns="http://www.sitemaps.org/schemas/sitemap/0.9″>
After that, we’ll need to define the & tag to create an entry for every URL you’d like to include. Here’s an example:
<url>

<loc>http://www.buysomemorestore.tk/</loc>

<lastmod>2022-03-28</lastmod>

<changefreq>weekly</changefreq>

<priority>1.0</priority>

</url>
Let’s talk about what each tag specified does:
- <loc> (REQUIRED) Provide the full URL of the page, including http/https.
- <lastmod> Provide the date of last modification, in YYYY-MM-DD format.
- <changefreq> Possible values including: hourly, daily, weekly, monthly, yearly, and never. This is only a pointer for crawlers
- <priority> Allows suggestions to search engine crawlers on which pages are most important. Ranges can be set from 0.0 to 1.0 (highest) with the default being 0.5.
Once you have all the URLs, you can save the file, upload it if you made the changes locally, and define the sitemap in the robots.txt file with:
Sitemap: <sitemap_location><sitemap_location> Should be a complete URL to your site including the http/https. Make sure the URL matches the filename. Example:
Sitemap: https://buysomemorestore.tk/sitemap.xmlYou can then submit them directly to Google. Make sure to replace the tag with your URL.
How to submit a WordPress sitemap to Google
Once you’ve created your sitemap, you’ll need to submit it to Google to ensure it’s discovered and indexed properly. Here’s the step-by-step process:
Using Google Search Console
- Sign in to Google Search Console (https://search.google.com/search-console)
- Select your website property
- In the left sidebar, click on “Sitemaps”
- Enter your sitemap URL in the “Add a new sitemap” field (typically “sitemap.xml” or “sitemap_index.xml”)
- Click “Submit”
Alternative method: Direct URL submission
You can also submit your sitemap directly through a URL. Replace “yourdomain.com” with your actual domain in this URL:
http://www.google.com/webmasters/tools/ping?sitemap=https://yourdomain.com/sitemap.xml
It’s worth noting that quality WordPress SEO plugins automatically update your sitemap when you publish, modify, or delete content. This ensures search engines always have the most current view of your site structure without manual intervention.
After submission, check the status in Google Search Console:
- Look for “Success” status
- Check the “Last read” date
- Monitor the number of discovered URLs
- Review any processing errors
If Google reports any errors, review your sitemap for issues like malformed XML or invalid URLs before resubmitting.
Next step: Power your WordPress site with the fastest hosting available
If you have a website, you’ll know how important it is for it to be fast and reliable. If you’ve always had trouble getting the needed support to make everything work properly, or just need your site to be fast right off the bat, you can look into Liquid Web’s full array of hosting for WordPress, and its advantages for your business.
If you need any assistance, you’re always welcome to reach out to our sales team for additional information.
With the platform itself, you can take on any amount of traffic with one-click autoscaling, while being comfortable knowing that it has 99.99% uptime, almost instant asset caching, and container add-ons to bring entirely new functionality to your website.
Check out our WordPress hosting plans to get started today.
Additional resources
How to use your WordPress admin login page →
How to find, use, and troubleshoot your admin page
Troubleshooting a slow WordPress admin page →
13 solutions anyone can put into action
WordPress source control: What are your options? →
Four strategies that will help you track changes