◦ Comprehensive security
◦ 24/7 support
VPS → cPanel VPS
What is a cPanel VPS? Complete Guide to cPanel Virtual Private Servers
Most growing websites face an impossible choice: stick with slow shared hosting or jump into the deep end of complex server management.
cPanel VPS hosting changes this equation entirely, with resources that promise faster loading times and eliminate performance bottlenecks during traffic spikes.
The real advantage emerges in daily operations. Scale your resources instantly as your site grows, install custom applications with a few clicks, and implement advanced security configurations – all through cPanel’s familiar interface.
Your visitors enjoy consistently fast page loads while you maintain enterprise-level control through tools you already understand.
Get premium VPS hosting
High-performance VPS hosting that delivers unrivaled power
What is a cPanel VPS?
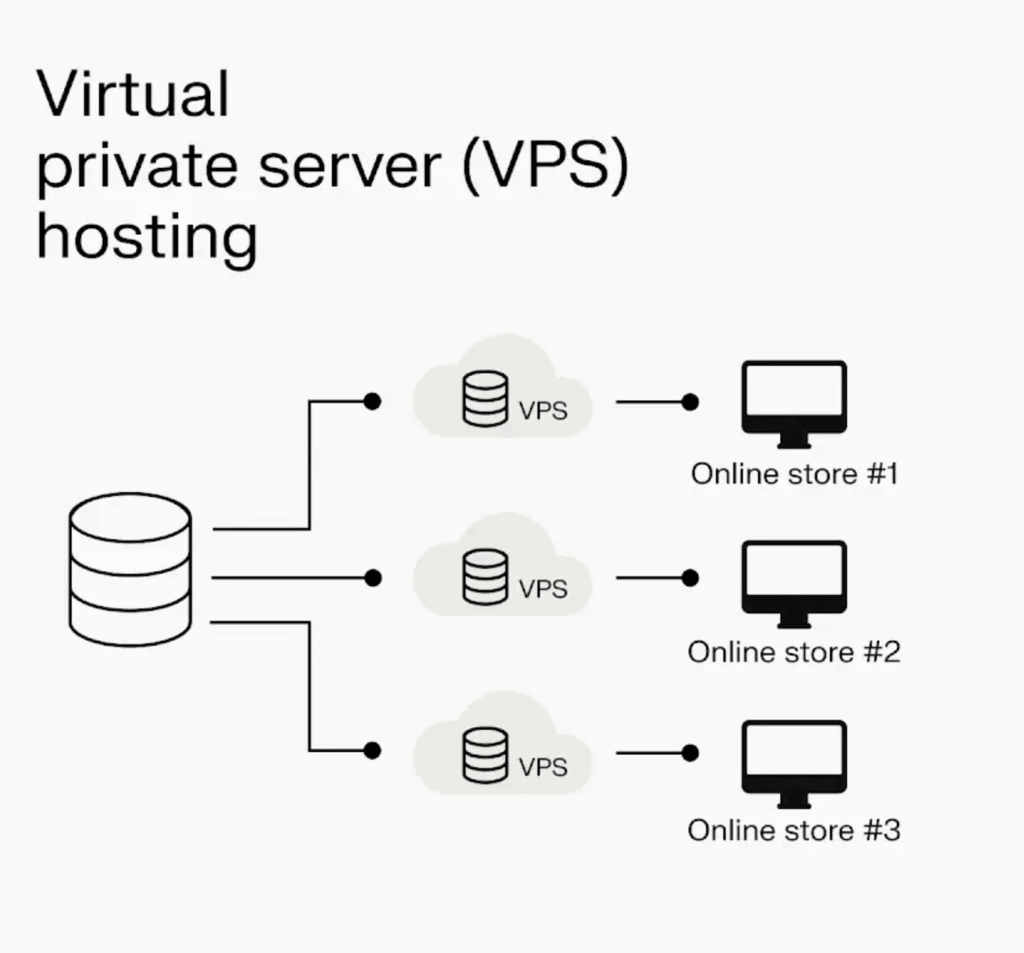
A cPanel VPS is a Virtual Private Server (VPS) that uses cPanel as its control panel.
cPanel VPS hosting, by extension, provides dedicated resources within a virtualized environment. Users get root access with a graphical management interface. This combination delivers server control without the complexity of command lines.
Key features and benefits of cPanel VPS
Some real-world benefits of switching to a cPanel VPS include:
- Simplified server management with cPanel’s intuitive graphical interface that handles complex tasks like software installations, domain management, and email account setup through point-and-click controls.
- Complete customization freedom with full root access to the VPS, giving advanced users the ability to configure every aspect of their server environment and install specialized software according to their exact requirements.
- Dramatically faster performance from dedicated CPU, RAM, and storage resources that aren’t shared with other users, delivering consistently quick load times that keep visitors engaged and boost search rankings.
- Effortless growth accommodation through instant resource scaling that lets you upgrade CPU cores, memory, and storage as your traffic increases, preventing slowdowns during peak periods without any downtime.
- Superior protection from complete isolation on your VPS, eliminating security vulnerabilities common in shared hosting environments where one compromised account can affect multiple users.
Technical requirements for running a cPanel VPS
- 2GB RAM minimum for small sites, 4GB for medium.
- SSD storage as standard, NVMe if available.
- 2 to 8 CPU cores, depending on the plan.
- 1Gbps network speeds.
cPanel VPS vs shared hosting
| Feature | Shared hosting | cPanel VPS |
| Performance | Impacted by activity from other websites. | Reliable and unaffected by other users. |
| Speed | Slower loading under pressure. | Significantly faster and more stable, |
| Traffic handling | Prone to slowdowns or crashes during high traffic. | Stays responsive even under heavy demand. |
| eCommerce sales | Checkout delays during busy periods. | Smooth transactions and better shopping flow. |
| SEO impact | Sluggish load times can hurt rankings. | Faster sites tend to rank more competitively. |
| Business outcome | Missed opportunities due to poor performance. | Better retention, smoother user experience. |
Shared hosting spreads server resources across many users, making your website vulnerable to what others are doing on the same server. A traffic spike on another site could slow yours down – or even take it offline – leaving you scrambling without warning.
With cPanel VPS, your site runs in its own isolated environment, with guaranteed resources that aren’t shared. The result is smoother, more responsive performance – even during peak
traffic moments or sales events – when consistency matters most.
When your online store is busy, VPS keeps the checkout flowing while others may be losing customers. If your content goes viral, your site remains stable and accessible, ready to convert visitors into loyal users.
Search engines prefer faster, more reliable websites – and so do your visitors.
Who should choose cPanel VPS?
Growing websites often require cPanel VPS when shared hosting limits performance, particularly during peak traffic or when experiencing slower load times, as this can lead to frustration with unpredictable site speeds that negatively impact user experience.
eCommerce stores require dedicated resources for consistent checkout speeds, especially during sales events when every second of delay can result in potential customers abandoning the payment stage.
Agencies benefit from isolated environments for client sites, ensuring one client’s traffic surge doesn’t affect another’s performance while maintaining professional reliability.
An agency might discover that their shared hosting causes client sites to slow down during campaign launches, damaging their reputation. cPanel VPS can give them isolated resources for each client, eliminating cross-contamination issues.
Small business owners running WooCommerce stores often hit the shared hosting wall during holiday sales. When checkout pages take too long to load, customers abandon carts. cPanel VPS ensures smooth transactions even during major traffic surges.
In a nutshell, if you’re outgrowing the limitations of shared hosting, managing multiple sites, or running business-critical applications where downtime incurs costs, cPanel VPS provides the performance and reliability your success depends on.
How to set up and configure a cPanel VPS
Setting up a cPanel VPS is a straightforward process that can significantly enhance your web hosting experience. Follow these essential steps to get started:
- Choose a VPS plan that suits your needs. Managed VPS options often include cPanel to ensure optimal performance and support.
- Access the VPS by logging into your account and accessing your VPS through the provided control panel. You’ll receive credentials via email for secure access.
- Install cPanel via the command line by executing the installation script provided by cPanel. Ensure your server meets the necessary requirements for cPanel installation.
- Configure cPanel settings such as your hostname, IP address, and contact email for optimal performance.
- Set up user accounts for the websites you plan to host. This allows different users to manage their domains and websites while maintaining security and organization.
- Upload your website using the cPanel file manager or an SFTP client. Ensure everything is in the correct directories and test your site to confirm it is functioning as expected.
To maximize the performance of your cPanel VPS, implement specific configurations that enhance resource management and improve overall efficiency. Allocate adequate resources based on your website’s needs; a minimum of 2 GB of RAM is recommended for small to medium-sized websites, while larger sites may require 4 GB or more to handle traffic spikes without compromising performance.
Consider using a lightweight web server such as NGINX alongside Apache. This combination can significantly improve your site’s speed and reduce resource consumption. Additionally, enabling caching mechanisms like Varnish or using a Content Delivery Network (CDN) can further enhance load times by distributing content closer to your users.
Optimize your database settings. For instance, increasing the memory allocation for MySQL can significantly boost performance, especially for dynamic sites that rely heavily on database queries. Regular updates to your software packages and cPanel are vital, as updates often contain performance enhancements and security patches.
Lastly, integrate security measures such as firewalls and SSL certificates to protect your VPS from threats, ensuring that your resources are not wasted on managing attacks.
You can handle basic configurations like SSL setup, user accounts, and file uploads yourself. You should probably seek support for server optimization, complex database tuning, DNS issues, or any error messages you don’t understand. When in doubt, ask – it’s faster than fixing mistakes.
Troubleshooting common issues
When using a cPanel VPS, you may encounter various issues that can disrupt your hosting experience. Here are some common problems and their solutions:
- cPanel login fails because you’re using an incorrect URL or outdated credentials. Access cPanel through yourdomain.com/cpanel and verify your login details. Clear browser cache and test different browsers regularly. If this doesn’t work, contact your hosting provider to reset credentials.
- Your emails aren’t reaching recipients due to misconfigured DNS settings. Verify your MX records point to the correct mail server in your DNS zone. Set up email authentication monitoring to catch delivery issues early. If this doesn’t work, contact your hosting provider to check server IP reputation.
- Your VPS slows down because inefficient scripts consume excessive resources. Monitor resource usage through WHM and disable problematic scripts. Implement caching solutions and regular performance monitoring. If this doesn’t work, upgrade your VPS plan or migrate heavy applications.
- Your automated backups fail due to insufficient storage space or wrong settings. Check backup settings in cPanel and ensure adequate disk space. Schedule regular backup tests and monitor logs for errors. If this doesn’t work, implement off-site backup solutions or contact support.
- Your website can’t connect to databases because of incorrect credentials. Verify database username, password, and hostname in configuration files. Maintain updated credentials and test connections regularly. If this doesn’t work, check with your hosting provider for database server issues.
Making the switch
You’ve outgrown shared hosting when your site takes over 4 seconds to load, experiences frequent downtime during traffic peaks, or shows “resource limit exceeded” errors. These warning signs indicate your current hosting can’t support your growth trajectory.
Migration typically takes 24-48 hours with minimal downtime when properly planned. Expect your hosting provider to transfer files, databases, and email accounts while updating DNS settings. Most users experience less than 2 hours of actual downtime during the DNS propagation period.
Liquid Web’s migration support includes dedicated specialists who handle the technical heavy lifting. Our team performs pre-migration site analysis, executes the transfer during off-peak hours, and conducts post-migration testing to ensure everything functions correctly. We also provide rollback options if issues arise.
Ready to make the move?
Start by assessing your current resource usage through your hosting control panel to identify bottlenecks. Compare VPS configurations based on your traffic patterns and resource requirements rather than just price. Connect with Liquid Web’s support team for personalized guidance on choosing the right VPS plan and scheduling your migration during optimal timing for your business operations.
Click below to explore VPS hosting options or start a chat with one of our experts right now to learn more.
Additional resources
VPS: A beginner’s guide →
A complete beginner’s guide to virtual private servers
How to backup your website in cPanel →
Step-by-step instructions for backing up your site
How to choose the cPanel hosting →
4 key factors to look for when shopping for cPanel hosting