How to write redirect (301) rules for Magento 2 – Nexcess

Learn how to write redirect rules — Permanent (301) or Temporary (302) — for Magento 2 websites. Much of the procedure and user interface will be familiar to Magento 1 users.
Get fast, reliable hosting for WordPress
Power your site with the industry’s fastest, most optimized WordPress hosting
How to write redirect rules for Magento 2 websites; much of the procedure will be familiar to Magento 1 users.
- Log in to your Magento 2 administrative panel.
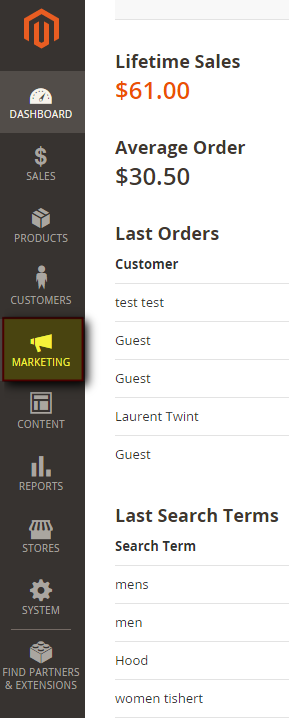
- In the main menu, click Marketing.

- In the Marketing menu, click URL Rewrites.

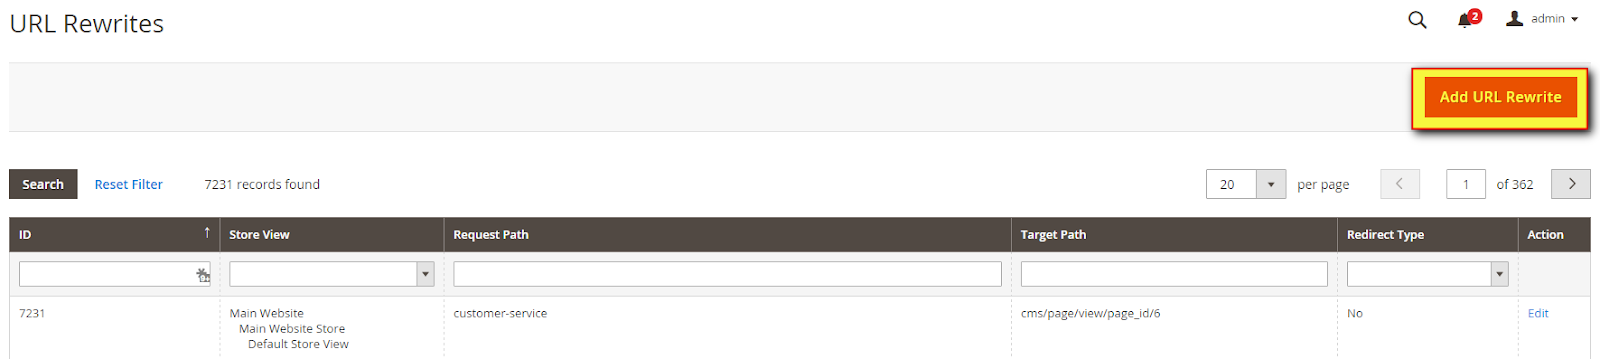
- If you are familiar with Magento 1.x, Magento 2 uses the same interface from this point forward. Click Add URL Rewrite.

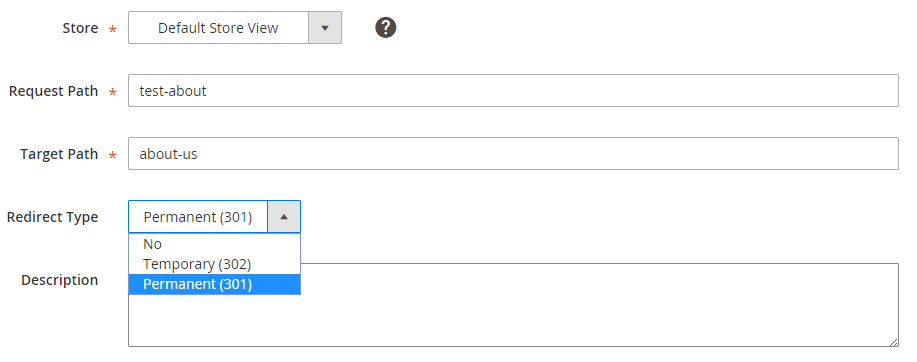
- Leave the Create URL Rewrite drop-down list on its default setting, Custom. Fill the Store, Request Path, and Target Path fields.

- The Request Path is the original path.
- The Target Path is the new path corresponding to the new web address. This will serve as the target of the redirect rule.
- In the Redirect Type drop-down list, select either 301 or 302, as appropriate.
- Click Save. If successful, you will see the message, “The URL Rewrite has been saved.”

For 24-hour assistance any day of the year, contact our support team by email or through your Client Portal.
Additional resources
What is managed WordPress hosting? →
Get details and decide if managed WordPress hosting is right for you.
Must-have web development plugins to create WordPress websites at scale →
Explore the best web development plugins to enhance functionality, improve performance, and streamline your WordPress site.
A complete guide to WordPress shortcodes →
Shortcodes make life easier. Learn how to get started!