How to Use New Relic APM with Magento 2 – Nexcess

New Relic Application Performance Monitoring (APM) will help you identify performance bottlenecks for Magento 2 and investigate the root causes of them — keeping your online store running smoothly.
Get fast, reliable hosting for WordPress
Power your site with the industry’s fastest, most optimized WordPress hosting
What is New Relic?
New Relic will help your Magento site find performance bottlenecks. You can find some of the most time-consuming data queries and requests made to your site. New Relic APM is designed to help modern application teams exploit the latest technology trends to confidently move faster—which means reducing costly downtime, improving engineer productivity, and enabling high-performing applications that deliver differentiated experiences for customers.
You will need to sign up and create your account at New Relic.
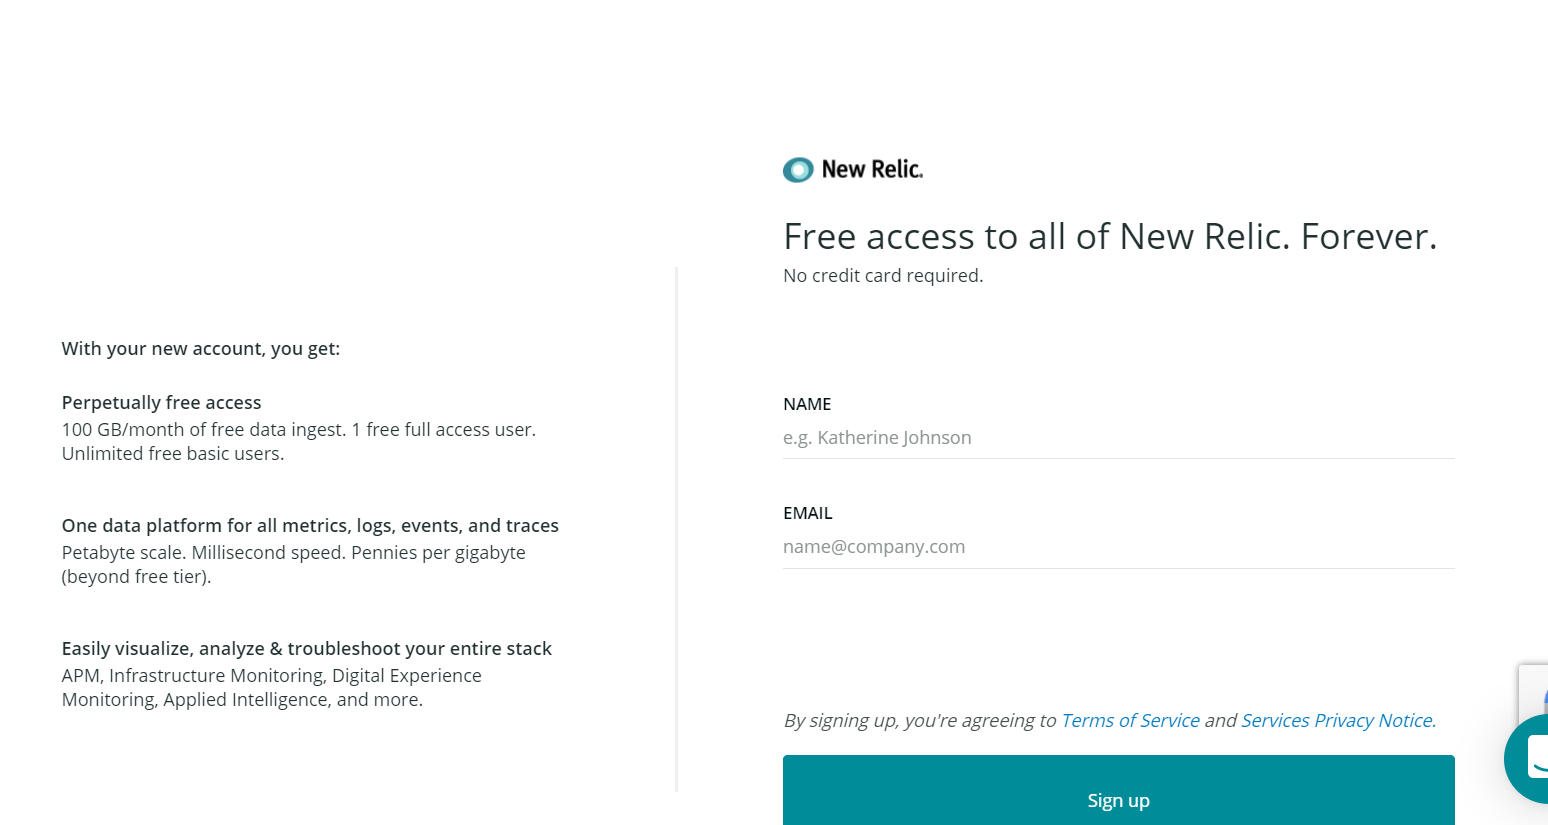
Getting Started With New Relic
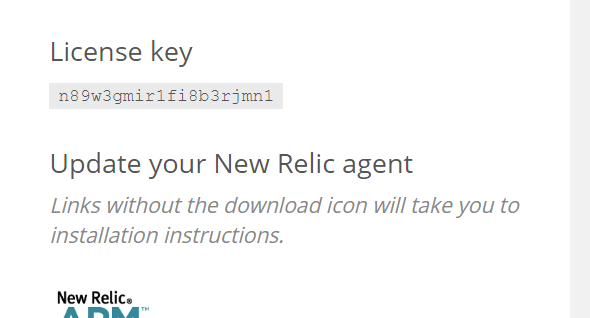
Step 1. Obtain New Relic Login Information
First, you will need to log into your account at New Relic to retrieve your license key.
Configure NewRelic
Log in to your Magento portal.

Step 2. Select Site
From the portal, find the specific site you want to monitor, and under the performance tab, scroll down to the New Relic performance monitoring section in the portal.
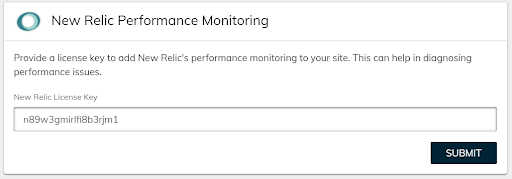
Step 3. Add License Key
In the New Relic section of the performance tab, add your New Relic license key and then click on the submit button.
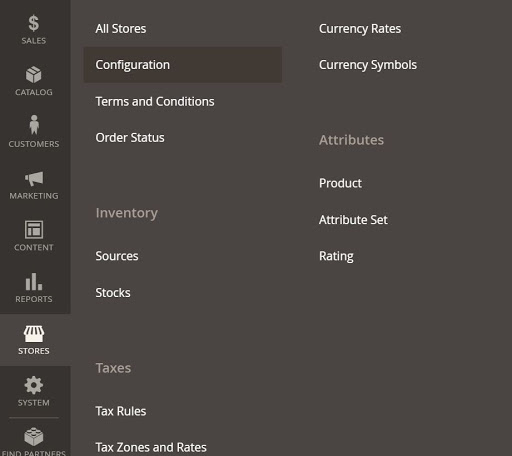
Step 4. Link New Relic to Your Store
To connect New Relic to your Magento store, you will need to log in to your store. In the admin of your site, go to Stores > Settings > Configuration.
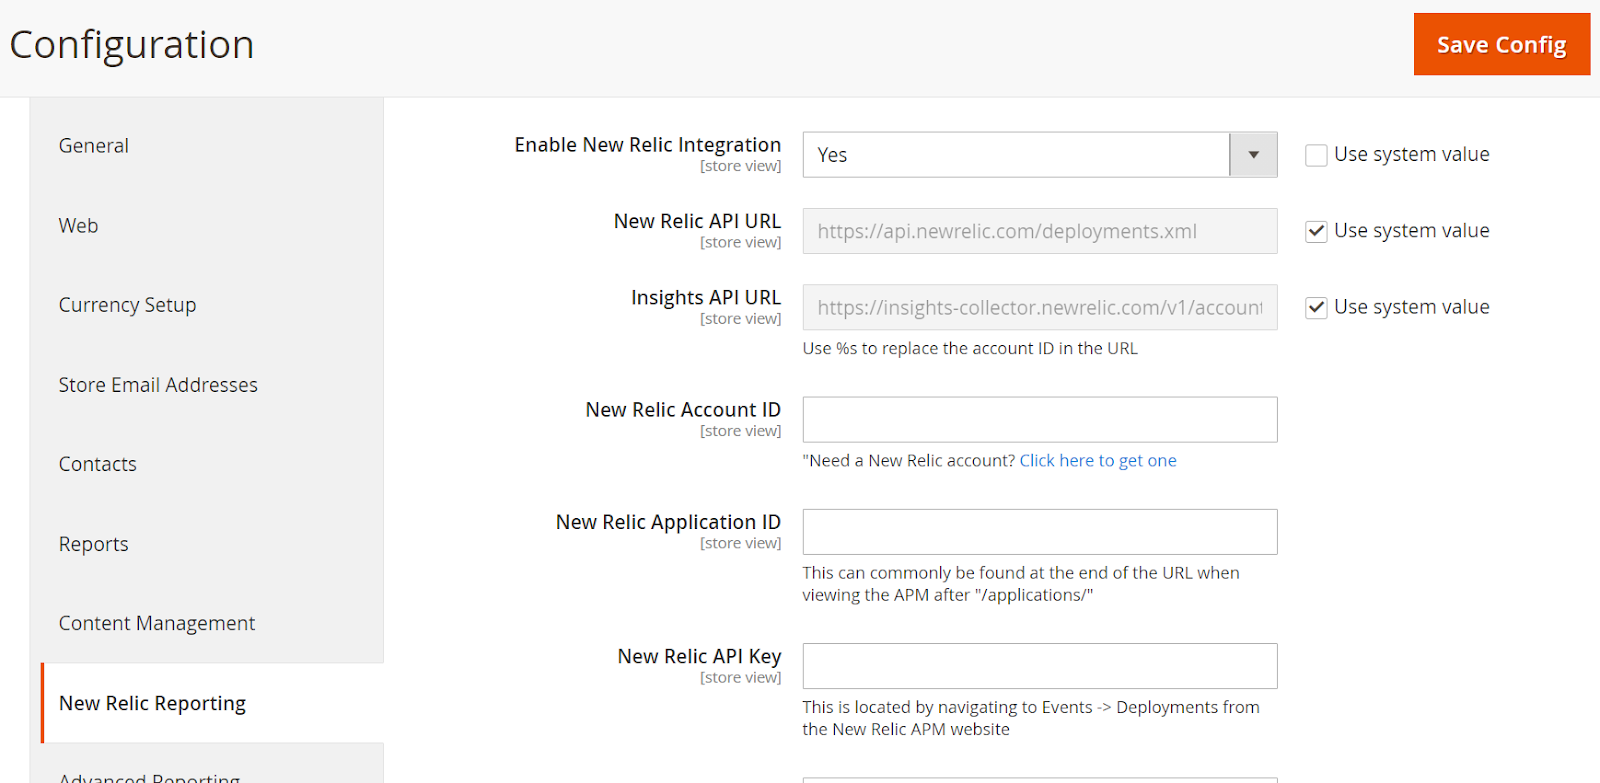
Step 5. Set Reporting Options
Now, you will need to set New Relic Reporting using the following steps.
- Set Enable New Relic Integration to Yes.
- In the Insights API URL, replace the percent (%) symbol with your New Relic Account ID.
- Enter your New Relic Account ID.
- Enter your New Relic Application ID.
- Enter your New Relic API Key.
- Enter your Insights API Key.
- In the New Relic Application Name field, enter a name to identify the configuration for internal reference.
- (Optional) For the Send Admin HTML and Frontend as Separate Apps field, select Yes to send collected data for the storefront and Admin as separate apps to New Relic. This option requires a name entered for the New Relic Application Name.
- When complete, click Save Config.
Step 6. Enable Cron
- Expand the CRON section.
- Set Enable Cron to Yes.
- When complete, click Save Config.
Conclusion
New Relic will help you investigate performance issues and find what is causing those issues on your site. New Relic has a good overview of APM. Some issues that you can find using New Relic would be slow external calls being made on your site, slow database queries, and some of the slowest requests.
If you have any questions or concerns, please contact Nexcess support.
Additional resources
What is managed WordPress hosting? →
Get details and decide if managed WordPress hosting is right for you.
Must-have web development plugins to create WordPress websites at scale →
Explore the best web development plugins to enhance functionality, improve performance, and streamline your WordPress site.
A complete guide to WordPress shortcodes →
Shortcodes make life easier. Learn how to get started!