Updating Your Account Profile
You can easily update your account profile and communication preferences in your Liquid Web account. Just log into your Liquid Web account and navigate to the Account section and click on the Profile tab.
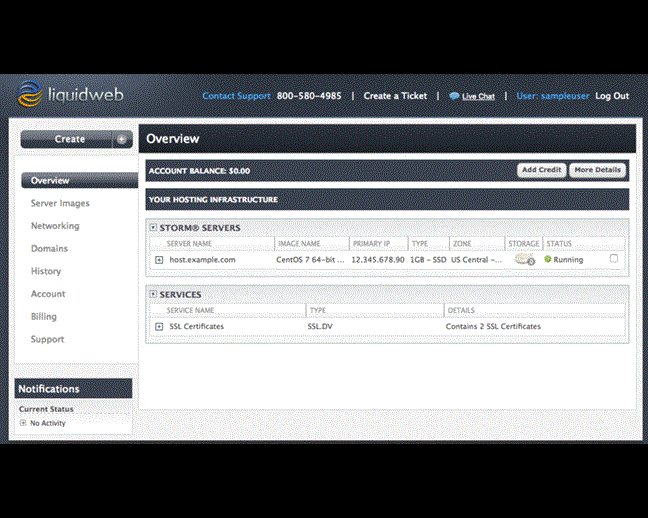
Account Preferences
The first section is your account Preferences, here you control how you authenticate your account, view your server zone and can control how and when Liquid Web communicates information regarding promotions and news.
Edit Your Support Passphrase
Liquid Web requires anyone contacting us to authenticate their account to receive any nonpublic information about a website, server or account. To authenticate, you will need to provide your Support Passphrase any time you call for support or contact us via LiveChat outside your Liquid Web account.
- At the top of the Profile section, you will find the Support Passphrase for your account.
- Click on the Edit button to change this phrase to something easy for you to remember.
- You can either click Save after you update your Passphrase or continue to update additional preferences in this section.
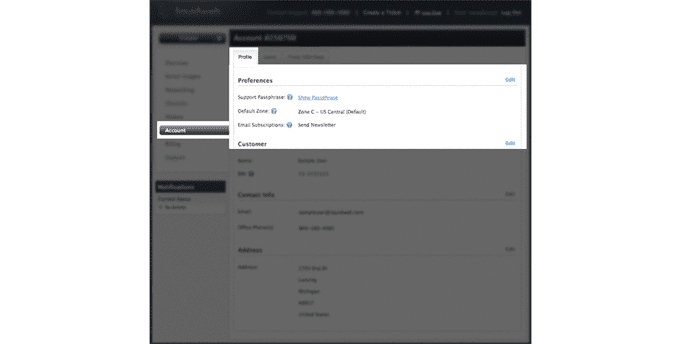
Your Default Zone
The Default Zone for your server is based off your location, if you wish to have your server moved to a different zone, you will need to re-image or migrate your server to the new location. Please contact our support for assistance.

Email Subscriptions
Control the way you would like Liquid Web to communicate news and special promotions with your subscription settings.
- You can choose to have both the Newsletter and Promotions to be emailed to you, just one or the other or no communication at all via email.
- Once you’ve chosen your preferences, click the Save button and a green success bar will appear above the section to confirm that your changes have been saved.

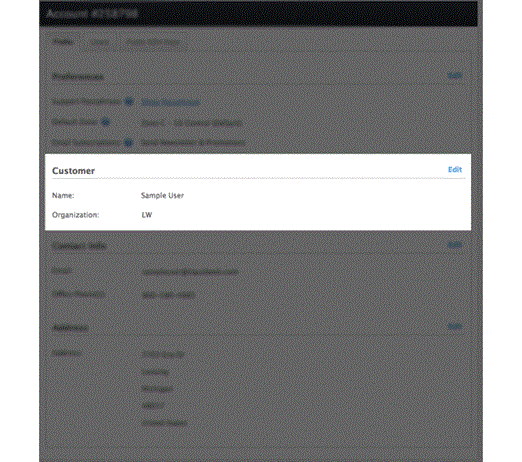
Customer Information
The Customer Information section is the account holder name, and company.
- Click on the blue Edit button in this section to update your information.
- The section will expand for you to enter your information.
- Click Save to update your information. A green success bar will appear to confirm that the information was updated.
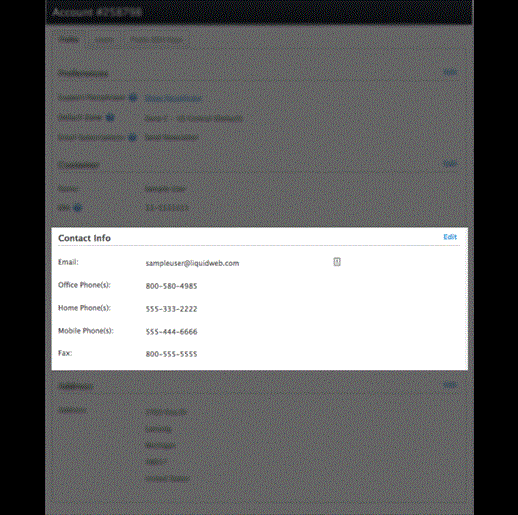
Contact Information
In the Contact Info section, you have the ability to enter multiple email addresses and phone numbers for us to contact you.
- To add additional contact information, click on the Add links below the section.
- Enter the email, phone and fax numbers you wish to provide.
- Click the Save button to complete the process and a green notification bar will appear to confirm the information was updated.
Address & Tax Status
This section allows you to update your address and tax-exempt status. Tax-exempt organizations are required to provide their Employer Identification Number or Tax Identification Number as well as the reason for being exempt.
Address Verification:
For customers in Canada and the United States, you will be asked to validate your address in an additional pop-up. You will have the choice to accept the address provided, or skip the validation and use the address as entered.

Update Your Address
- Click Edit in the section and it will expand the sections for you to update.
- A drop-down will appear to help populate your country. Begin typing your country and it will auto-fill the section for you.

- Enter your address, city, state and zip code.
Locations Outside the U.S.: For countries outside the United States, the City section will change to allow for sub-locations such as Province, Town and Region.

- When you are done entering your address, click the Save button. A green bar will appear to confirm that changes were successfully saved.

Update Your Tax Status
- To update your tax-exempt status, log into your Liquid Web account and navigate to the Account tab. In the Profile section, you will see the Address & Tax Status section at the bottom of the page.
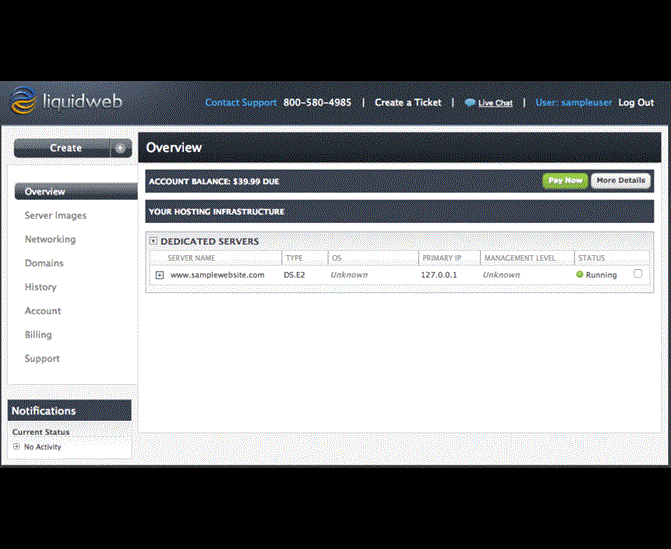
- To update your tax-exempt status, click the Edit button on the right-hand side of the section title.

- The section will expand and if you are tax exempt, click the box to confirm that you are Tax Exempt to enable the section to enter your EIN/TIN and select the reason for exempt status.

- Use the drop-down menu to help choose the appropriate reason for being tax-exempt.

- Once you’ve entered your tax-exempt information, click Save and a green success bar will appear to notify you that your changes have been successfully saved.

Related Articles:

About the Author: David Singer
I am a g33k, Linux blogger, developer, student, and former Tech Writer for Liquidweb.com. My passion for all things tech drives my hunt for all the coolz. I often need a vacation after I get back from vacation....
Our Sales and Support teams are available 24 hours by phone or e-mail to assist.
Latest Articles
How to use kill commands in Linux
Read ArticleChange cPanel password from WebHost Manager (WHM)
Read ArticleChange cPanel password from WebHost Manager (WHM)
Read ArticleChange cPanel password from WebHost Manager (WHM)
Read ArticleChange the root password in WebHost Manager (WHM)
Read Article


