
 Garrett Martinez
 We recently posted an article on Upgrading MariaDB 10.0 to 10.3.9 on Ubuntu 16.04. We are now going to provide insight on upgrading MariaDB 10.0.X to 10.3.X on a CentOS 7 server.
The article assumes that the administrator is already presently working with MariaDB 10.0.X. It is considered best practice to consult the official documentation from MariaDB prior to updating/upgrading the current version. This is pertinent in doing because it is vital in understanding what exactly is going to be changed, updated, and even removed from one version to the next.
We will start with upgrading from version 10.0.X to 10.1.X, as you’ll need to upgrade step-by-step to reach MySQL’s 10.3 version(10.0 > 10.1 > 10.2 > 10.3). Please note that yum will automatically default you to the most recent stable version, unless a MariaDB repository is configured. More on that here.
If deciding to place all the version repos in one file, one must specify a differing bracket tag, so yum provides the option for the version of the package being searched for. This is what my /etc/yum.repos.d/MariaDB.repo file looks like:

When searching or looking for specific versions of MariaDB, generally speaking, one can start with the MariaDB download page. We’ll be upgrading to the most current stable version per their releases page. For the sake of this article, we will be installing 10.1.37.
Following this step, query the available packages:
yum list available –showduplicates MariaDB-Server.x86_64

After the specified repo has been configured, save the file and proceed on.
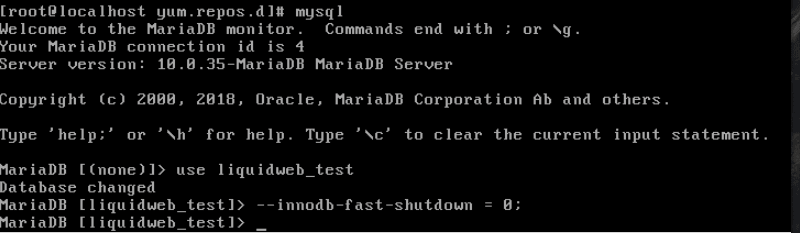
Step 1. Set innodb_fast_shutdown to 0
mysql
set global innodb_fast_shutdown = 0;
Step 2. Shutdown MariaDB 10.0
Exit out of your MySQL database and stop your MySQL service.
systemctl stop mysql
Verify that MySQL has been stopped:
systemctl status mysql

Step 3. Make a Backup
You have the choice of backing up your MariaDB instance either through the cp or rsync command. The best way to grab a pristine copy of any MySQL server is to stop the service completely ( i.e., Step 2 ) and make a copy of /var/lib/mysql.
cp -r /var/lib/mysql /var/lib/mysqlbackup
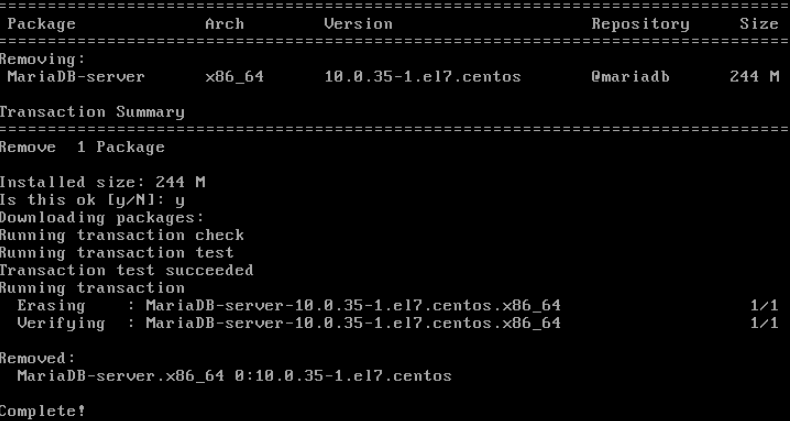
Step 4. Uninstall MariaDB 10.0.X
yum remove mariadb-server
Step 5. Install MySQL 10.1
We found that the best way to install the specific version is to issue the following command:
yum --disablerepo=* --enablerepo=mariadb10.1 install mariadb-serverIf this isn’t specified, yum will automatically update you to the most up-to-date version of the package. Once return/enter is selected you should then see a preview of what is going to be installed next:

Proceed to ‘y’ if all looks good and has been confirmed that the version being sought after will be installed. Allow the Packages to install. Once completed, it is time to move to Step 6.
Step 6. Run mysql_upgrade
We mentioned in our Ubuntu article that this was not needed on Debian based packages. However, on RHEL, CentOS, and Fedora packages do not have this natively built into its update process. First, you’ll need to start the service.
systemctl start mysql

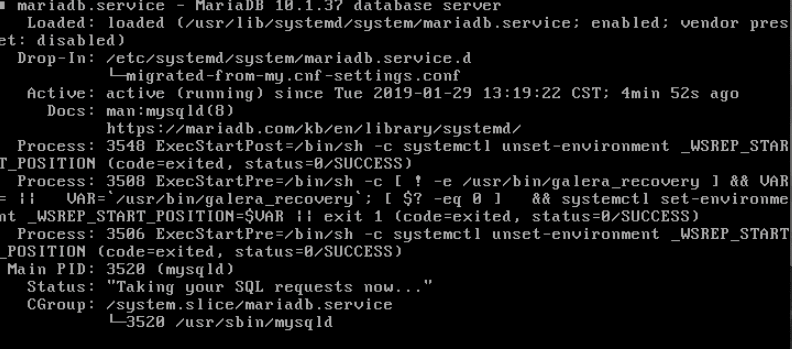
Next, run the following to ensure the service is up and running:
systemctl status mysql Once run, we should see a similar output, confirming that the service is up and running:
Now we can finally run mysql_upgrade:
mysql_upgrade
We should then see the different upgrades and fixes that are being done:

Once the ‘OK’ status has been seen, you’re free to continue working with the most current version or continue upgrading to the desired version. Follow the above steps to get to 10.2.x and 10.3.x! We hope this helps and as always check out our SQL database hosting product for your high availability needs.