
 Alex Gorzen
 In this tutorial, we will explore how to run SQL queries on a database within PhpMyAdmin. SQL stands for Structured Query Language. SQL statements or queries are used to perform database tasks such as searching, updating, or retrieving data from a database.

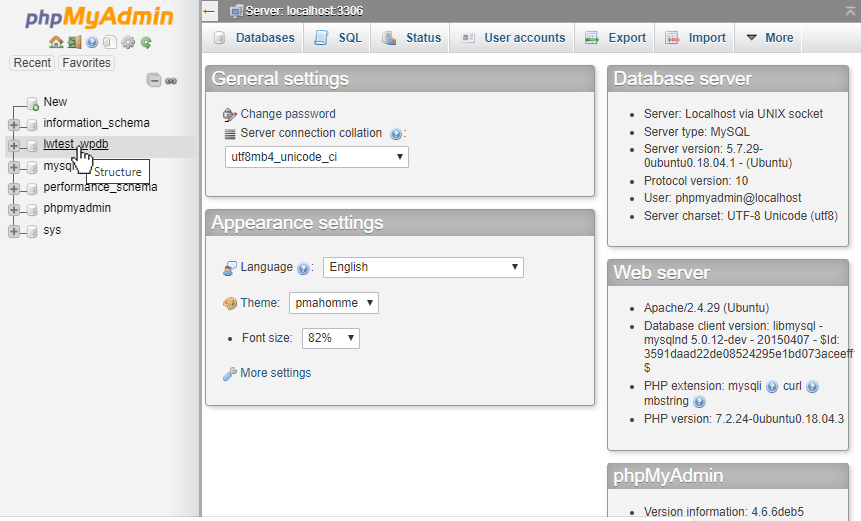
PhpMyAdmin is an open-source, web-based database administration interface used to interact with databases on a server. This guide assumes that you have already logged in to PhpMyAdmin. Now let’s explore how to run SQL queries on a database.

To begin with, we will select the database table we wish to run an SQL query on from the left-side menu. The database name we will be using is called lwtest_wpdb.
Once we select the database, we will see the database expand to show the tables within. To run a query, we will click on the SQL tab seen below.

This will open up a blank SQL query window. In this window, we can type in and run a query against the database or table.

If we need help building a query, we recommend clicking on the table name in the left menu. In this case we will select the wp_comments table.

Then, we will again click on the SQL tab on this page.

This is similar to the SQL page we saw previously, but now it has several buttons below the query box with which we can quickly set up an example query.

Additionally, we can quickly select a single or multiple table Columns from the window on the right. Clicking on the “<<” or Insert button will add those columns to the search query without us having to memorize the column name or refer to another page.

Next, to complete our query, we have added “< 400“, to select all the comments where the ID is less than 400. Then, to run the query, we will press the “Go” button in the lower right-hand corner of the window.

Our query results are now displayed. In this case, it shows 267 records which matched our query.

If we want to modify the query further, we can click on the “Show query box” text above the query results and the same query window will reopen, so we can continue modifying the query further.
Conclusion
From the PhpMyAdmin interface, we can navigate to the SQL tab on either the database or the table and build the queries we want from there. PhpMyAdmin can assist us by giving starter queries we can modify, help us add column names, view the results, and then allow us to tweak the query further. This makes the process easier to get started and visualize compared to running queries manually via a command line interface.
How Can We Help?
Our Support Teams are filled with talented individuals with intimate knowledge of web hosting technologies, especially those discussed in this article.
If you are uncomfortable walking through the steps outlined above, open a chat or ticket with us to speak with one of our knowledgeable Technicians or an experienced Hosting Advisors today!