Organizing Your Sites in Managed WordPress Portal
Managed WordPress Portal offers you the ability to organize your sites and find them quickly, create custom tags and disable Varnish caching all from your portal. Let’s take a look at the options you have to organize your sites your way, giving you the flexibility and customization you need to manage your sites efficiently. From your Managed WordPress Portal, you can:
- Create Custom site names
- Create Custom Tags
- Use a List or grid view of each site
- Enable and disable Varnish caching
Custom Site Names
- Log into your Managed WordPress Portal.
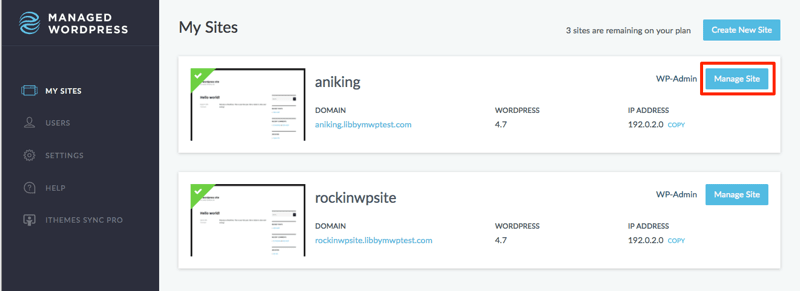
- Click the Manage Site link for the domain you want to change the site name for.
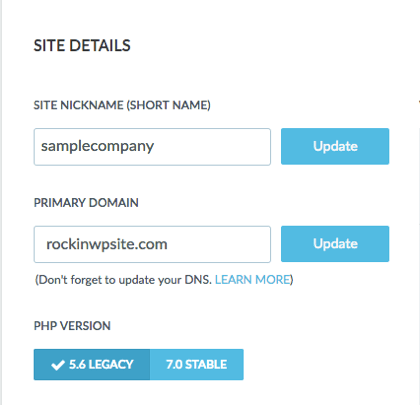
- In the Site Name section, delete the current name and replace it with the name you want to use.
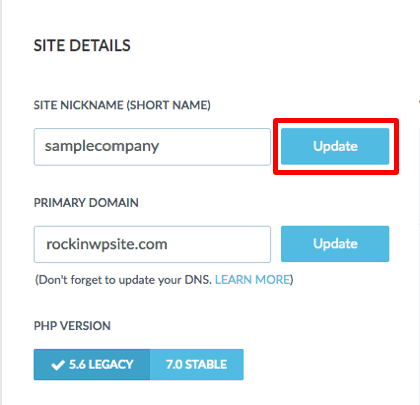
- Click Update to change the name.
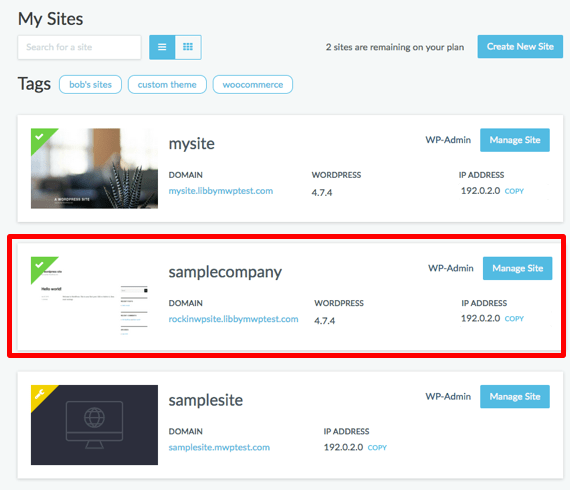
- The site name will now display on the Main Page of your Managed WordPress Dashboard under My Sites.
Custom Tagging
You can use custom tags to organize your sites and view them based off common features, customer name or whatever tag you want to help you find a site easily in your dashboard.
- To add a tag to a site, click the Manage Site button for the site you’d like to create tags for.
- Navigate to the Tags section of your site management page.
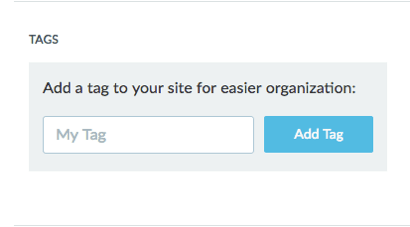
- Type the tag you want to assign to the site, and click Add Tag.
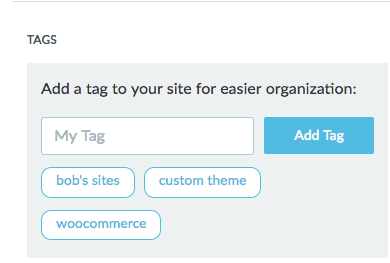 Note: You can assign as many tags as you’d like to a site, as well as use the same tag for multiple sites.
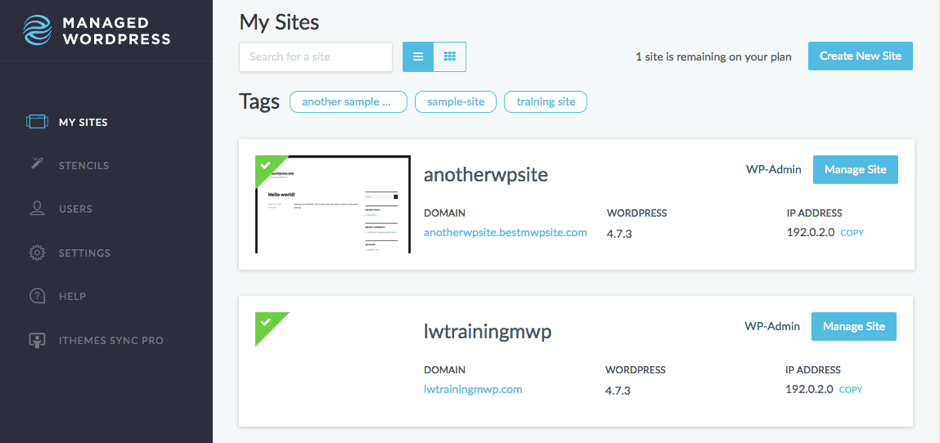
 - Now, when you go to your dashboard home, the tags will show at the top of the page.

- To show your sites by tag, click on one or more tag and the sites with those tags will populate below.

Delete a Tag
- To delete a tag you are no longer using, click Manage Site for the site containing the tag.
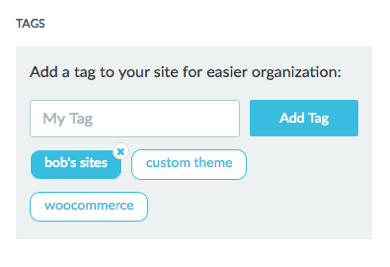
- In the Tags section of the site manager, hold your mouse over the tag, an X will appear, click the tag to delete.
- A pop-up will appear to confirm that you want to delete the tag.
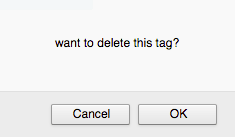
- Once confirmed, the tag will no longer show in the Tags section of your site.
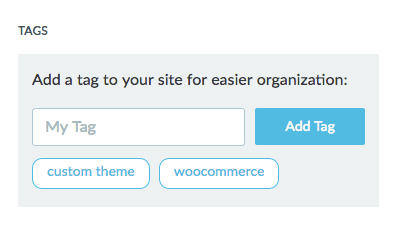
List and Grid View
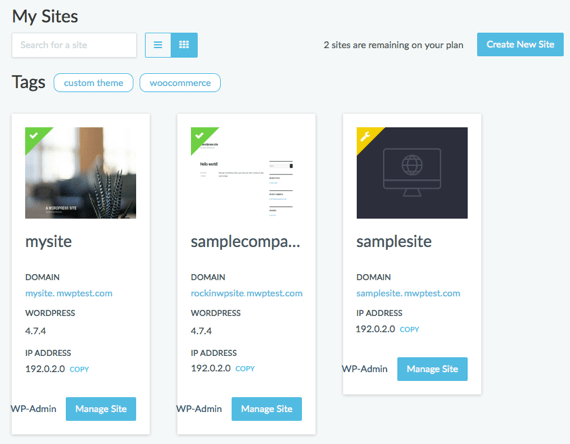
While in your current dashboard session, you have the option to organize your sites by either list or grid view. This allows you the ability to view the sites in your dashboard your own way.
- Managed WordPress Portal automatically shows a list view of your sites.
- Click the squares next to the site search section to change the view to a grid view.

Enable and Disable Varnish
Varnish Cache is a powerful open source HTTP engine/reverse HTTP proxy that can speed up a website by up to 1000 percent by caching (or storing) a copy of a webpage the first time a user visits. Once the site is cached, all future requests for the site will be served by Varnish. Varnish is automatically enabled on all your Managed WordPress websites when they are created, disabling it is a quick process that takes the click of a button.
- Click on Manage Site for the site you want to disable Varnish for.
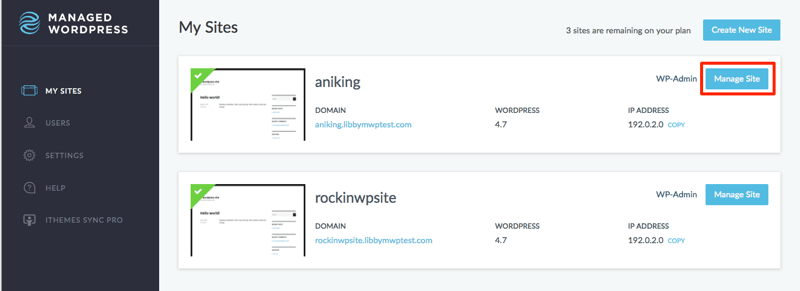
- From the site management page, scroll down to the Advanced Settings section at the bottom of the page.

- Click the button next to Varnish Cache to disable.
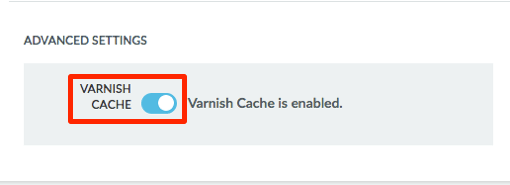
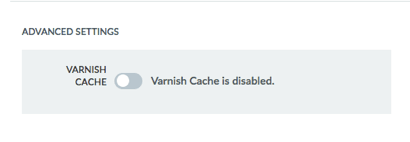
- Confirm that you want to disable in the pop-up.
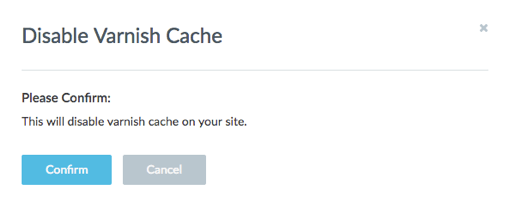
- Varnish Cache is now disabled.
Related Articles:

About the Author: Libby White
Former technical writer for Liquid Web. When Libby is not writing for work, she spends time learning more about digital & technical writing, web development, hanging with her family, and taking photographs with her Nikon. Always learning, always growing, never stopping.
Our Sales and Support teams are available 24 hours by phone or e-mail to assist.
Latest Articles
How to use kill commands in Linux
Read ArticleChange cPanel password from WebHost Manager (WHM)
Read ArticleChange cPanel password from WebHost Manager (WHM)
Read ArticleChange cPanel password from WebHost Manager (WHM)
Read ArticleChange the root password in WebHost Manager (WHM)
Read Article


