 Dean Conally
 OpenStack is an open-source platform used primarily for managing the hardware, storage, and network setup of your cloud environments through a web browser dashboard or a command line. In addition to management of your cloud, you can also build and deploy your instances.
In this tutorial, we will cover how to install OpenStack on CentOS 7. We will be logged in as the root user on an unmanaged CentOS 7 server with only LAMP stack installed on it.
OpenStack Installation
1. Verify Your Server’s Initial Configuration
Before installation, make sure that everything on the server is up to date by running the yum update command. This command will check repositories and notify you if anything needs to be updated.
[root@host ~]# yum updateThe below prompt will indicate how many packages require updates after running the yum command. Press y and then Enter to install the necessary packages.
Transaction Summary
==========================================================================================================
Install    2 Packages (+1 Dependent package)
Upgrade  171 Packages

Total download size: 606 M
Is this ok [y/d/N]:
Disable Unnecessary Services
Stop and disable any services that we do not need by running the below command.
[root@host ~]# ss -tulpnThe result of the command will show a list of all running services and the ports on which they are listening, depending on which services are running on your server.
Netid State Recv-Q Send-Q Local Address:Port Peer Address:Port
udp UNCONN 0 0 *:48219 *:* users:(("haproxy",pid=71524,fd=6),("haproxy",pid=71523,fd=6))
tcp LISTEN 0 128 *:22 *:* users:(("sshd",pid=940,fd=3))
tcp LISTEN 0 100 127.0.0.1:25 : users:(("master",pid=71392,fd=13))
tcp LISTEN 0 128 *:5000 *:* users:(("haproxy",pid=71524,fd=5))
tcp LISTEN 0 128 [::]:22 [::]:* users:(("sshd",pid=940,fd=4))
tcp LISTEN 0 100 [::1]:25 [::]:* users:(("master",pid=71392,fd=14))
tcp LISTEN 0 128 [::ffff:127.0.0.1]:9200 [::]:* users:(("java",pid=45448,fd=254))
tcp LISTEN 0 128 [::1]:9200 [::]:* users:(("java",pid=45448,fd=253))
tcp LISTEN 0 128 [::ffff:127.0.0.1]:9300 [::]:* users:(("java",pid=45448,fd=251))
tcp LISTEN 0 128 [::1]:9300 [::]:* users:(("java",pid=45448,fd=250))
Only the SSH daemon should remain active. Therefore, I will disable everything except the SSH daemon, including the HAProxy load balancer and Elasticsearch (running under Java), with the command below.
[root@host ~]# systemctl stop haproxy && systemctl disable haproxy; systemctl stop elasticsearch.service && systemctl disable elasticsearch.serviceOnce you disable all the unnecessary services, rerun the ss-tulpn command from above. If only the SSH daemon remains, the output will look like this. If you see more than just the SSH daemon, repeat the disable process and recheck the active services.
Netid State Recv-Q Send-Q Local Address:Port Peer Address:Port
tcp LISTEN 0 128 *:22 *:* users:(("sshd",pid=940,fd=3))
tcp LISTEN 0 128 [::]:22 [::]:* users:(("sshd",pid=940,fd=4))
If the SSH daemon is the only service left on the list, you are ready to move to the next step.
Check if SELinux is Disabled
Check if security-enhanced Linux (SELinux) is enabled on your server by running the getenforce command. If it is disabled, the output will return Disabled.
[root@host ~]# getenforce
Disabled
If SELinux is still enabled, the output will return Enforcing.
[root@host ~]# getenforce
Enforcing
Red Hat can help you set SELinux to permissive or disabled.
Set Your System Hostname
The last step in the initial configuration is to set your hostname to match a fully qualified domain name (FQDN) on which your OpenStack installation will run.
Change set-hostname to your preferred hostname.
[root@host ~]#hostnamectl set-hostname host.OpenStack.lanSince no output is produced, verify you set your hostname correctly by using the following command.
[root@host ~]# hostname -fThe output will show you the name of the current hostname. If it shows your preferred hostname, then you are up to date.
2. Install OpenStack with PackStack Package
PackStack deploys different components of OpenStack on CentOS and Red Hat Enterprise Linux (RHEL) servers. First, we need to enable the RDO (RPM Distribution of OpenStack) repository with this command (replace the example URL shown with the appropriate URL).
[root@host ~]# yum install https://www.rdoproject.org/repos/rdo-release.rpmWhen prompted, press y and then Enter to get the result below.
Running transaction
Installing : rdo-release-train-1.noarch 1/1
Verifying : rdo-release-train-1.noarch 1/1
Installed:
rdo-release.noarch 0:train-1
Complete!
Now use yum to install the PackStack package. The output for this command will be relatively large.
[root@host ~]# yum install openstack-packstackAfter the output below appears, press y and then Enter.
Retrieving key from file:///etc/pki/rpm-gpg/RPM-GPG-KEY-CentOS-SIG-Cloud
Importing GPG key 0x764429E6:
Userid : "CentOS Cloud SIG (http://wiki.centos.org/SpecialInterestGroup/Cloud) [email protected]"
Fingerprint: 736a f511 6d9c 40e2 af6b 074b f9b9 fee7 7644 29e6
Package : rdo-release-train-1.noarch (@/rdo-release)
From : /etc/pki/rpm-gpg/RPM-GPG-KEY-CentOS-SIG-Cloud
Once the key is retrieved, you will see the below output, which indicates the PackStack package has been installed.
Installed:
  openstack-packstack.noarch 1:15.0.1-2.el7

Complete!
3. OpenStack Cloud Configuration File
Create a Configuration File
To generate a configuration file within PackStack, run the following command.
[root@host ~]# packstack --gen-answer-file=$(date +"%d.%m.%y").confThis command will make sure the generated file includes the date of creation, as is shown below.
Packstack changed given value to required value /root/.ssh/id_rsa.pub
Additional information:
Parameter CONFIG_NEUTRON_L2_AGENT: You have chosen OVN Neutron backend. Note that this backend does not support the VPNaaS or FWaaS services. Geneve will be used as the encapsulation method for tenant networks
[su_box title=”Note:” style=”glass” box_color=”#3ac6eb” radius=”20″]The parameter CONFIG_NEUTRON_L2_AGENT will appear to all users following this guide and is normal.[/su_box]
Find your newly created configuration file by using the ls command. As shown below, our configuration file is 22.06.21.conf.
[root@host ~]# ls
22.06.21.conf haproxy.tar.gz results1.nmap results.gnmap results.xml
haproxy-2.3.10 results1.gnmap results1.xml results.nmap
Edit Configuration File
Now we will use a text editor to edit the configuration file. Open the 22.06.21.conf file and update any lines containing passwords where appropriate.
[root@host ~]# vi 22.06.21.confNext, set your public NTP server to a location close to you. In our below example, we chose the United States pool zone.
CONFIG_NTP_SERVERS=0.us.pool.ntp.orgUpdate the remaining parameters as shown below but incorporating your own passwords.
CONFIG_PROVISION_DEMO=nCONFIG_KEYSTONE_ADMIN_PW=TeStPASSword234CONFIG_HORIZON_SSL=yCONFIG_MARIADB_PW=TeStPASSword234After editing, save and close the file with the :wq command in your editor.
Lastly, update the file to allow root login. Open the file with the editor.
[root@host ~]# vi /etc/ssh/sshd_configA line of code beginning with the pound sign (#) is a comment within the code and not read by the system. Remove the pound sign in front of the PermitRootLogin yes line to make it active, as shown below. Save your changes once complete.
#LoginGraceTime 2m
PermitRootLogin yes
#StrictModes yes
#MaxAuthTries 6
#MaxSessions 10
Lastly, restart the SSH daemon.
[root@host ~]# systemctl restart sshd4. How to Install OpenStack
Finally, we can start the OpenStack Installation. Use the configuration file just edited and run the below command.
[root@host ~]# packstack --answer-file 22.06.21.confThe install process will take some time, but you will see various services installed throughout the process. The generated output is shown below using an example IP address.
Preparing Ceilometer entries [ DONE ]
Preparing Aodh entries [ DONE ]
Preparing Puppet manifests [ DONE ]
Copying Puppet modules and manifests [ DONE ]
Applying 209.59.176.93_controller.pp
209.59.176.93_controller.pp: [ DONE ]
Applying 209.59.176.93_network.pp
209.59.176.93_network.pp: [ DONE ]
Applying 209.59.176.93_compute.pp
209.59.176.93_compute.pp: [ DONE ]
Applying Puppet manifests [ DONE ]
Finalizing [ DONE ]

**** Installation completed successfully ******
Additional information:
* File /root/keystonerc_admin has been created on OpenStack client host 209.59.176.93. To use command line tools you need to source the file.
* NOTE : A certificate was generated to be used for SSL, You should change the SSL certificate configured in /etc/httpd/conf.d/ssl.conf on 209.59.176.93 to use CA signed cert.
* To access the OpenStack Dashboard browse to http://209.59.176.93/dashboard.
Please, find your login credentials stored in the keystonerc_admin in your home directory.
The installation log file is available at: /var/tmp/packstack/20210622-135452-6hMTPK/openstack-s
etup.log
5. Launch the OpenStack Dashboard
Type in the following into your browser. Replace the IP address shown below with your own.
https://209.59.176.93/dashboardThe OpenStack login screen will appear.
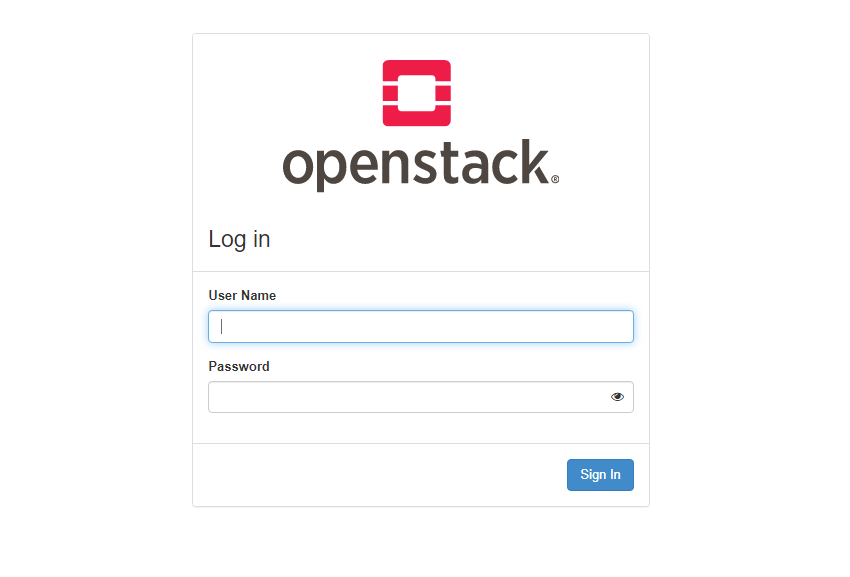
Input admin as the username and the password established in the configuration file. Click Sign In.
Quick note
- If you can’t remember your password, find it in the keystonerc_admin file, located in the directory in which you installed OpenStack.
A successful login will show the OpenStack dashboard.

Conclusion
You have completed the installation of OpenStack on your server successfully! Our fully-managed cloud hosting is built on OpenStack technology, making the deployment of scalable, load-balanced server clusters a breeze! Reach out to us today to help you choose the cloud server that is right for you.