
 Neil Pierce
What is React.js?
React.js (React) is an open source JavaScript framework and currently the most widely used front-end development technology worldwide. Created and still maintained by Facebook, it also has an active open source community making it a JS library instead of a framework. Open source libraries are resources of pre-built JavaScript code freely used in any web project.
React.js Features
Speed
Websites were notorious for being slow when displaying complex, dynamic sites before React. Installing React.js on Windows uses a virtual document object model (DOM) instead of the real DOM. In the virtual DOM, only changed objects are updated, while others stay the same, resulting in faster rendering.
Strong Community Support
If you are just starting with JavaScript or run into problems while developing, there is a rich community of developers that will help you. You can check out their GitHub page and see for yourself! Even though React is a JS Library, it also has a strong Stack Overflow community where you can post questions and get helpful advice.
Flexibility
Whether you want to build a website, mobile app, web app, or even a virtual reality application, you can do so quickly if you install React.js. The ability to write custom components is something that React excels at. React components have an extension called JSX which allows you to write HTML inside of the app, giving great flexibility to fit any possible need for a great UI design.
How to Install React.js on Windows
Step 1:
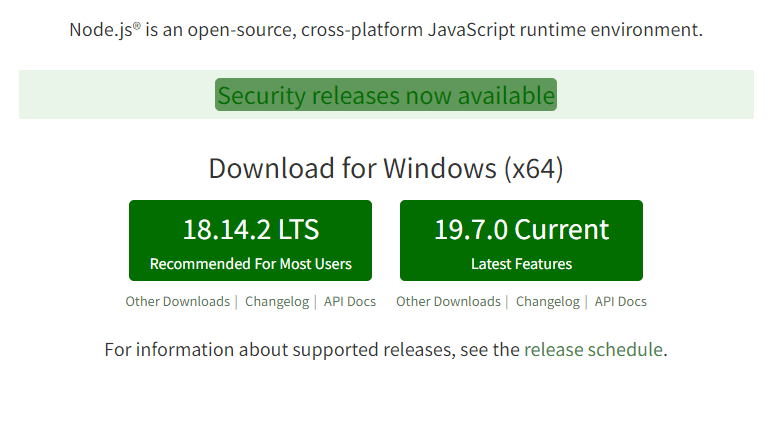
You can download the Node.js installer free from the official website. The long-term support (LTS) version is recommended even though the current version has the latest features.
Step 2:
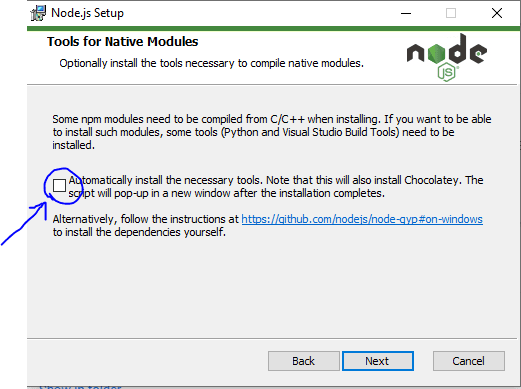
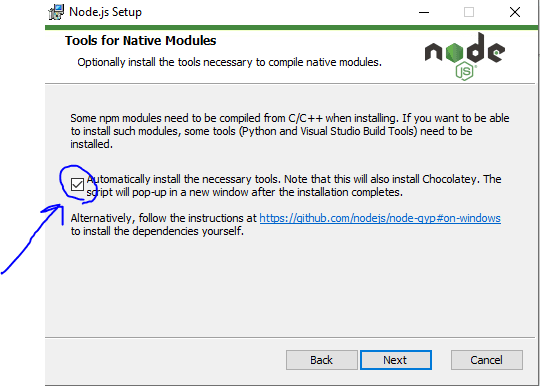
Follow the installation instructions on how to install React on windows until you get asked if you want to automatically install the necessary tools. Leave the checkbox unchecked to automatically install the necessary tools (Chocolatey install) and proceed with the installation.
Step 3:
After the installation, you can open the command prompt by typing cmd in the Windows search bar. At the prompt, run the node -v command.
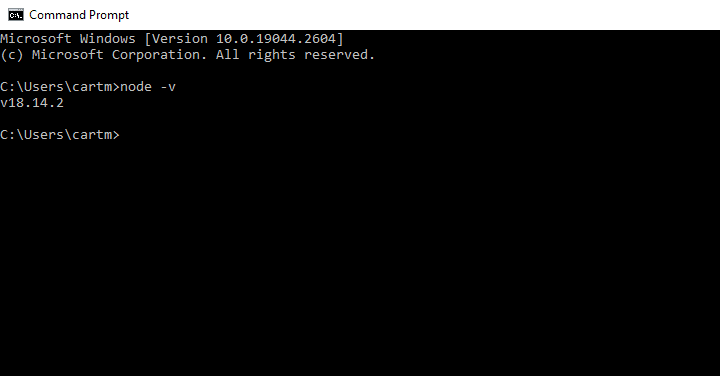
It should give you the current version of Node.js installed.
After that, run the following command at the prompt to install the Create-React-App module, making creating and deploying React into projects with a single command effortless.
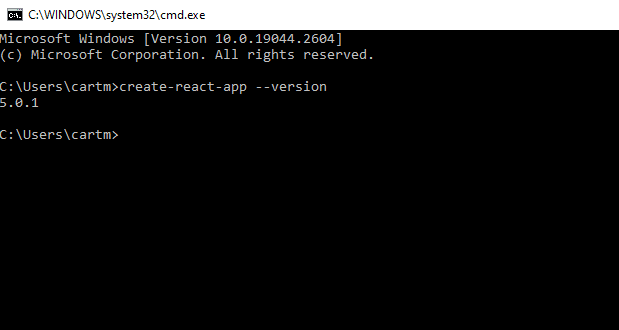
npm install -g create-react-appUse the following command to verify the installation.
create-react-app --versionHere is the output.
Step 4:
When using the create-react-app command, ensure you are in the desired directory or folder location since it creates the project folder in the current path. Create a new folder in which your first React app will be. You can do so from the command prompt by running the following command. For this tutorial, the new folder is myfirstreactapp.
mkdir myfirstreactappAfter that, move inside that folder by running the cd command followed by the folder name.
cd myfirstreactappHere is the output.

Once inside your new folder, run the following command. It installs all the required dependencies and creates a new folder for your React app. For this tutorial, the name is yourfirstapp.
create-react-app yourfirstappHere is the output.

If everything is successful, you will see a similar output as below.

Step 5:
Move inside the newly created app folder. Again, this tutorial’s app is yourfirstapp. Do this by running the cd yourfirstapp command. Once inside your new React development environment, start your first app by running the following command.
npm startHere is the output.

If everything goes well, you will see a new tab with the React logo opened in your default browser.

You are ready to start coding in your newly created React development environment.
Install React.js Using the Chocolatey Script
Step 1:
Download the LTS version of Node.js from their official website and follow the installation instructions until it asks you to install the tools necessary to compile native modules optionally. For this installation, check this checkbox and continue the installation. In addition to Chocolatey, this is necessary to install native modules that must be compiled from C/C++ programming languages.
Step 2:
Follow the React installation instructions until you get a pop-up of the Chocolatey script.

Press any key to continue. You need to do this twice. This process initiates the script and installs all required dependencies. When the installation of dependencies completes, you see a similar output as below.

As the script says, type ENTER to exit the script. From here, you can go to step 3 of the previous section and follow the remaining instructions to complete your first React.js installation and prepare your environment.
Conclusion
Installing React.js on Windows allows developers to create React applications quickly and efficiently. Use this tutorial for all your JavaScript development needs.
And if you’re using ASP.NET alongside React, Liquid Web’s ASP.NET VPS hosting is perfect for your next React.js setup. Contact our sales team to consult about Windows hosting options and deploy your server.