


Inserting Fields into Database Tables with PhpMyAdmin
- Becoming Familiar with Databases in PhpMyAdmin
- Running SQL Queries on a Database with PhpMyAdmin
- How to Search Through a Database with PhpMyAdmin
- Creating Database Tables with phpMyAdmin
- Deleting Tables from a Database with PhpMyAdmin
- Importing Databases and Tables with PhpMyAdmin
- Exporting Databases and Tables with PhpMyAdmin
- Renaming Database Tables with PhpMyAdmin
- Copying a Database Table with PhpMyAdmin
- Inserting Fields into Database Tables with PhpMyAdmin
- Modifying Fields in Database Tables with PhpMyAdmin
- Deleting Fields from Database Tables with PhpMyAdmin
When working on a database, we sometimes find that additional data should be added for each record, but will not fit into any of the existing fields or structures. Adding a new column into an existing database can help with this problem, and it is very easy to accomplish with PhpMyAdmin.
This guide assumes that you have already logged in to PhpMyAdmin as the root user. Next, we will go over how to copy a table, and then review a few of the options PhpMyAdmin provides.
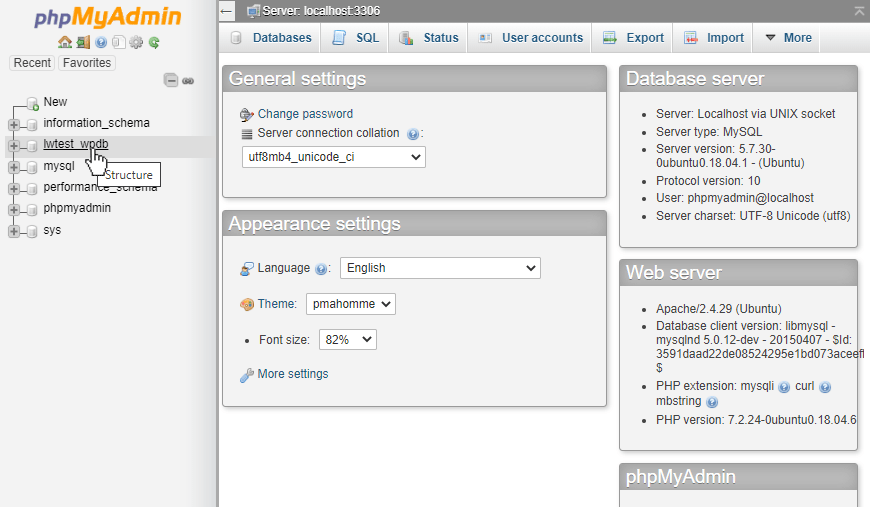
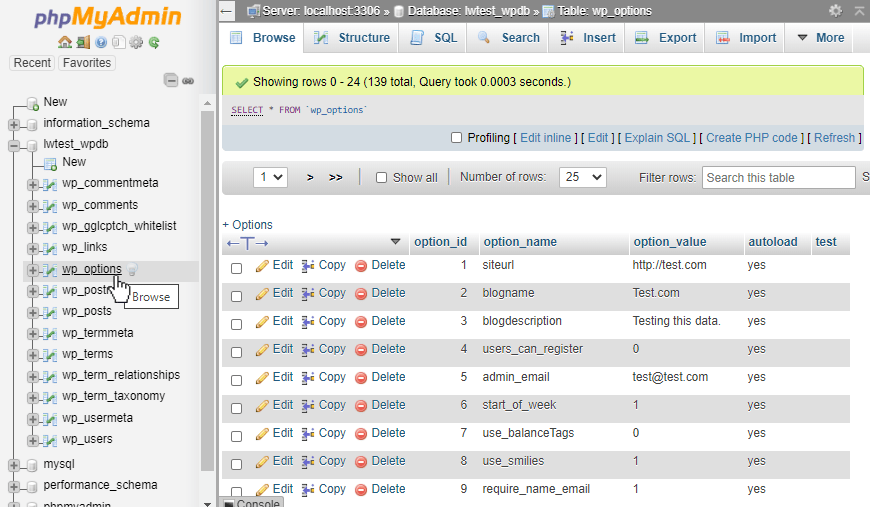
Starting on the home page of PhpMyAdmin, click on the database name of the table we want to modify.
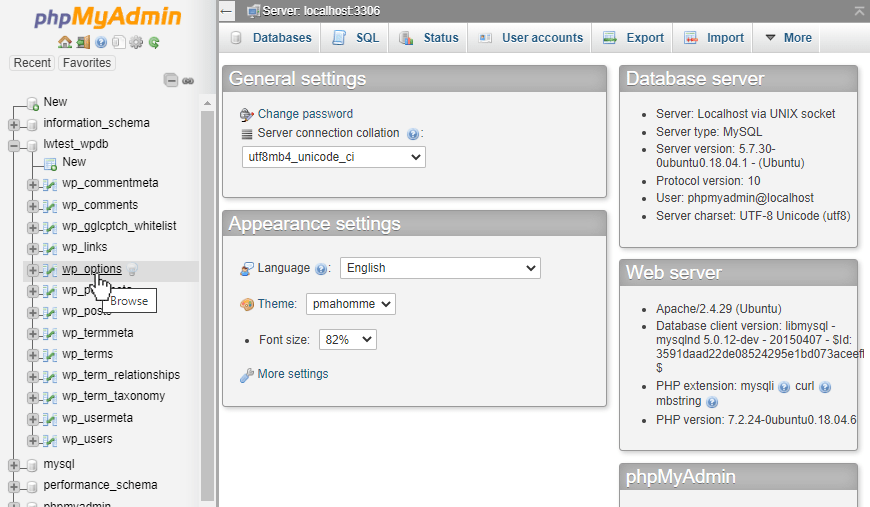
Then, click on the table name.
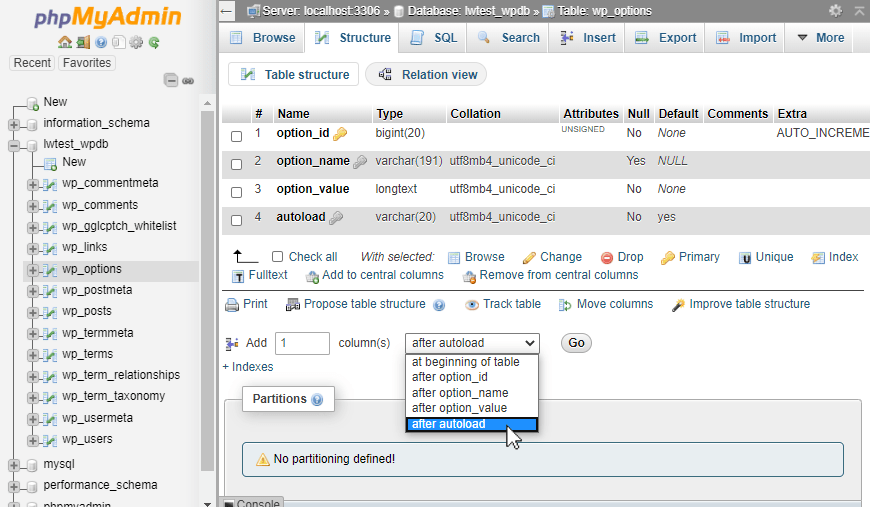
This page shows us the existing structure, and in our case, we can see four existing columns:
- option_id
- option_name
- option_value
- autoload.
To add a new column, click on the Structure tab near the top of the page.

The Structure page again shows the existing columns and gives more information on how they are configured. Below that is a section to add one or more columns. First, choose how many columns we want to add, and then, decide where they should be added, relative to the existing fields. In our case, we will add one column after the autoload field, then click on the Go button to proceed.
Now we can configure the new field. Enter the name of the columns, what type of data it will store, and then any other information we need, like the length, default value, collation type, index type, and other notes. Just the name and type are required, so add those and then click on the Save button.

The page should say that the table was altered successfully, now navigate back to the table, and we can see the new field has been added to the table!
We can now add data into that field and use it as needed!
Conclusion
PhpMyAdmin makes the process of adding a new column to an existing database table clear and easy to do.
Related Articles:


About the Author: Alex Gorzen
Alex Gorzen has been helping others with technology his whole life. He played with computers even before he could read and wants to make sure his children share that same love as they grow up. In his free time, he enjoys gardening, building things, and learning new skills.


Our Sales and Support teams are available 24 hours by phone or e-mail to assist.
Latest Articles
How to use kill commands in Linux
Read ArticleChange cPanel password from WebHost Manager (WHM)
Read ArticleChange cPanel password from WebHost Manager (WHM)
Read ArticleChange cPanel password from WebHost Manager (WHM)
Read ArticleChange the root password in WebHost Manager (WHM)
Read Article