VMware’s virtualization products are an excellent solution for application development teams. Unfortunately, it is all too common for members of developer teams to proclaim something works on their machine when tests, bugs, or deployment issues inevitably crop up in a project. Virtualization offers a solution to these problems by allowing developers to code, test, and deploy their changes in a consistent environment.
VMware workstation allows developers to run virtual environments that match production environments right on their machines. They deploy these environments in the cloud or a data center utilizing VMware vSphere. Below we’ll look at manually importing a pre-built virtual machine in a VMware vSphere cluster.
There are two broad steps to import pre-built virtual machines in vSphere. The first step is to upload the virtual machine files. There are two files VMware uses to define a virtual machine, the virtual disk file (.vmdk) and the virtual machine file (.vmx). The virtual disk file is available to the virtual machine as though it were a physical disk. The virtual machine file defines the various settings and devices available to the virtual machine.
Upload Your Virtual Machine Files
1. Log in to the vSphere HTML5 Web Client using your IP address. The default port for vSphere is 9443. Type https://your_ip_address:9443 into your web browser. The your_ip_address portion is replaced by your actual IP address.
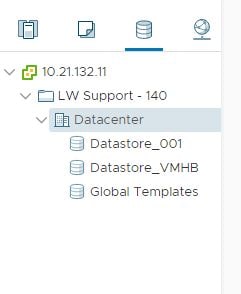
2. Click Datacenter or the specific host desired.
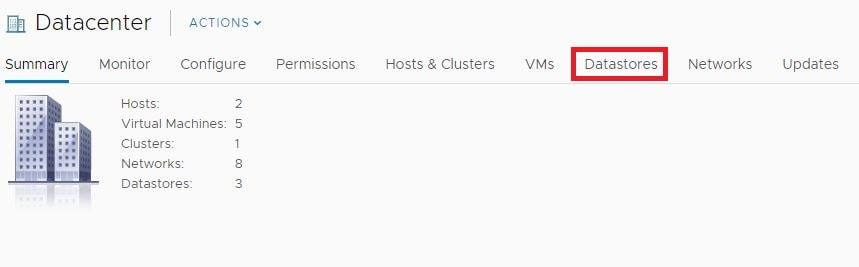
3. Click on the Datastores tab.
4. Click the appropriate Datastore from the list.

5. Click the Files tab.

6. Create a new folder or navigate to the folder where you plan to store your virtual machine files. Click Upload Files to upload both the .vmx and the .vmdk files.

Register The New Virtual Machine
At this point, you see the uploaded files in vSphere.
1. Locate the .vmx file and click it to highlight it.

2. Click the Register VM button at the top.

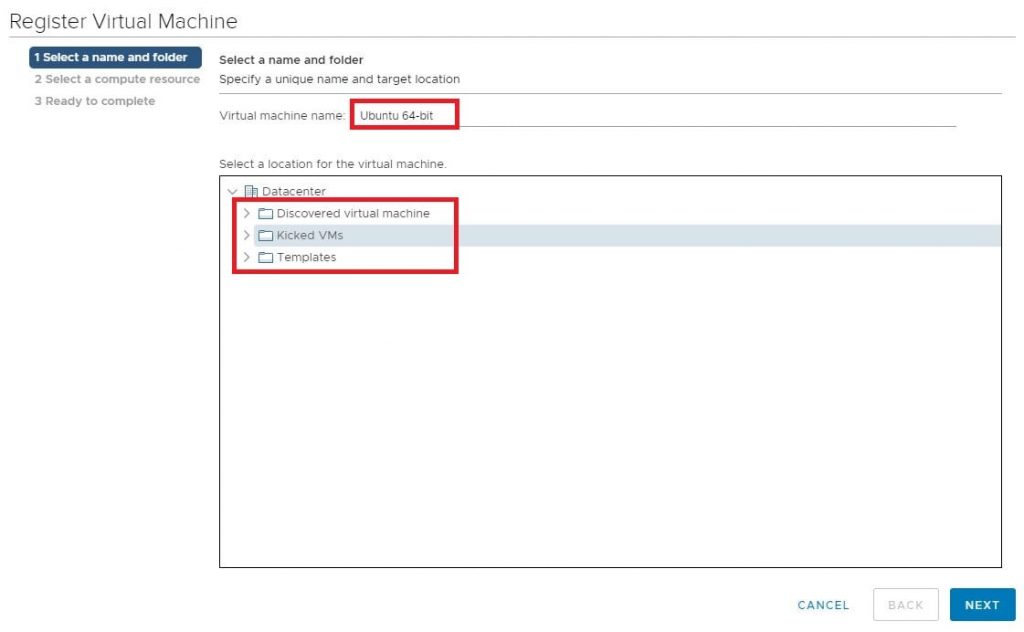
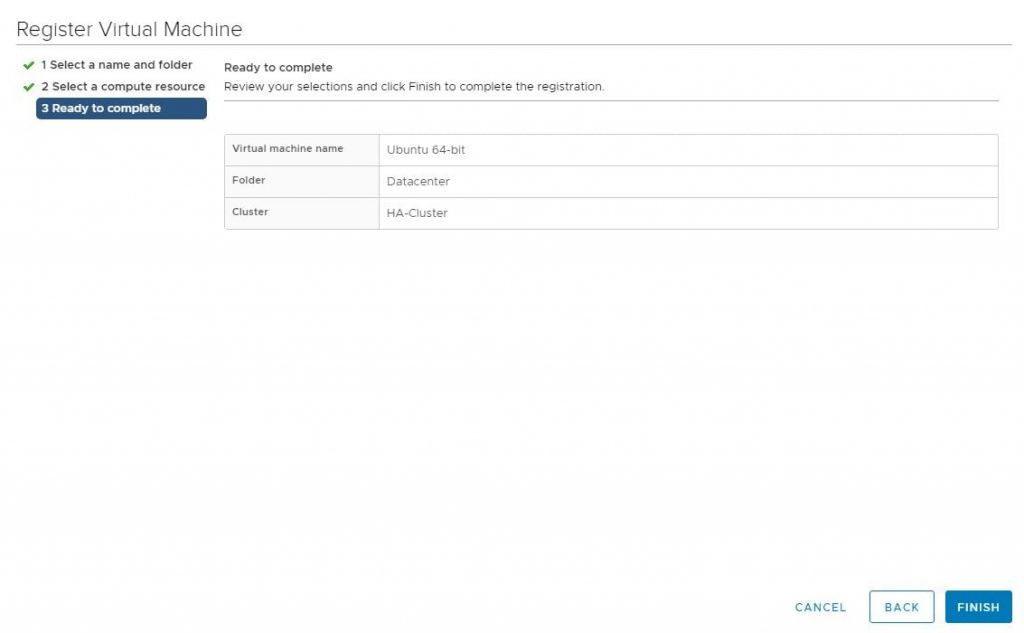
3. Enter a name and specify the location for the virtual machine and click Next.
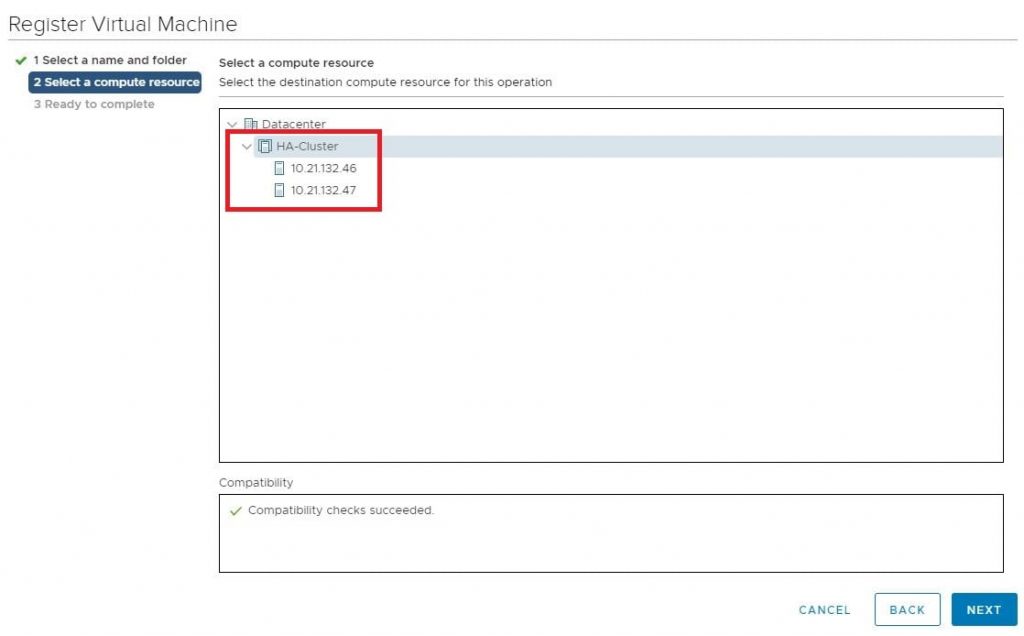
4. Select the compute resource (either a specific host or a cluster) and click Next.
5. Finally, click Finish.
Once the virtual machine is registered, you can edit resources such as CPU and memory. You can also edit network settings. And, of course, you can power on the virtual machine to make your application available.
Conclusion
Virtualization offers developers an opportunity to develop code in an environment that closely matches a production environment. As a result, the virtual environment helps to alleviate many issues that often plague development teams. The virtual environment used to develop an application can even be directly deployed in a cloud environment, speeding up deployment times and giving developers the confidence that their applications will work as expected.
From a Dedicated VMware Private Cloud to a Multi-Tenant Private Cloud Liquid Web offers VMware hosting plans that will fit your hosting needs. Import your virtual machine with ease using our solution. Contact our team members today to set up a consultation.
