- These instructions are intended specifically for setting up e-mail on an Android device.
- I’ll be working from a DROID 4, and I’ll be using Android Version 4.1.2.
- If these instructions don’t quite work for you, check out our tutorial on setting up other e-mail clients.
First, open up your Email application.
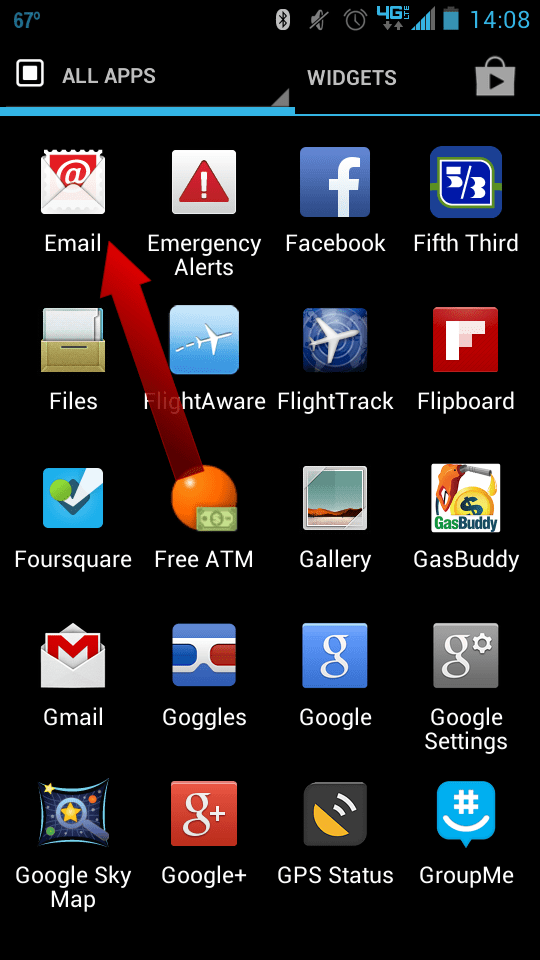
Then, select Other and then touch Done.

Enter your Email address and then your password.
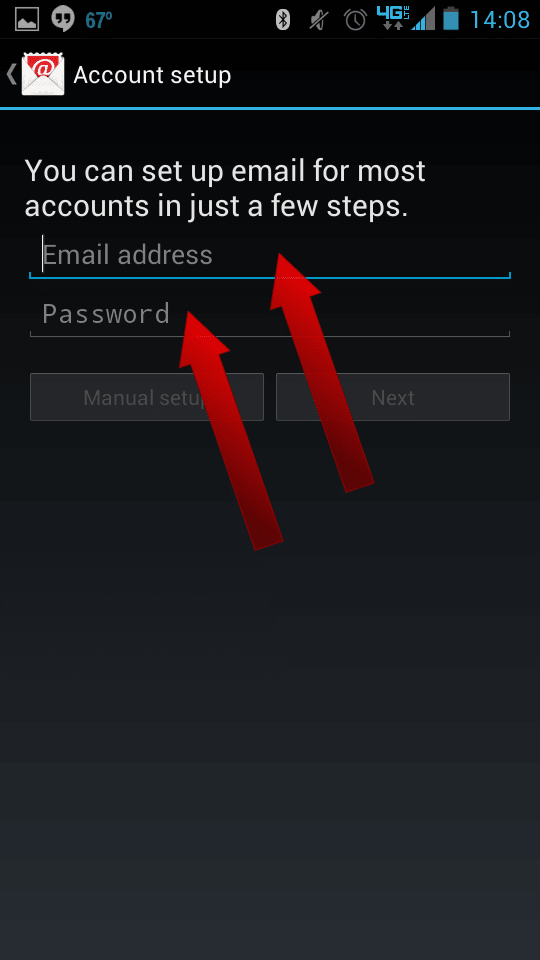
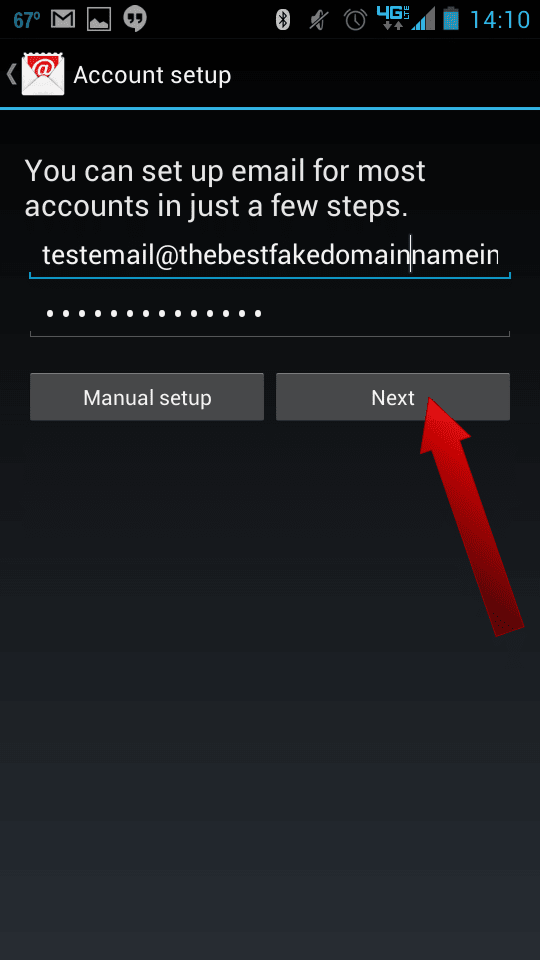
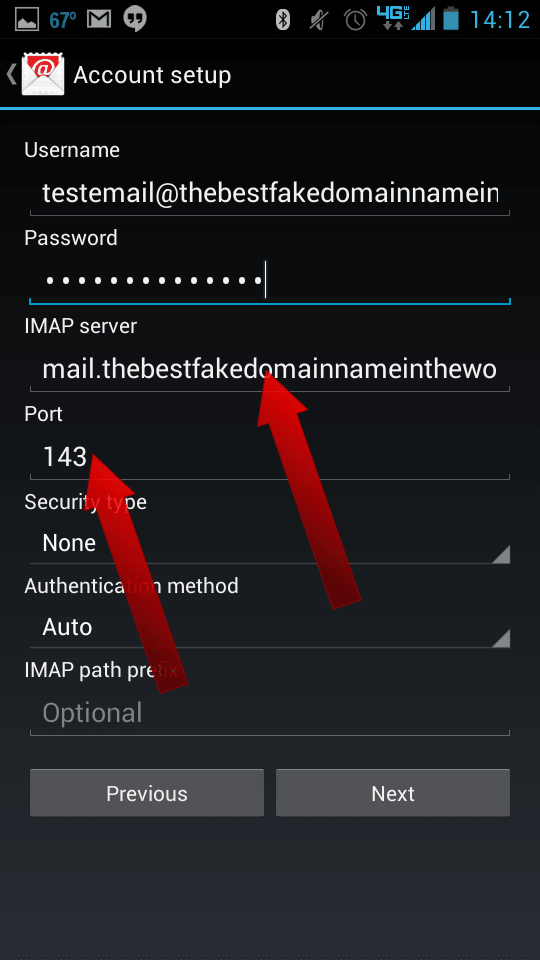
If you’ve configured your e-mail in cPanel then you can either select POP3 or IMAP.
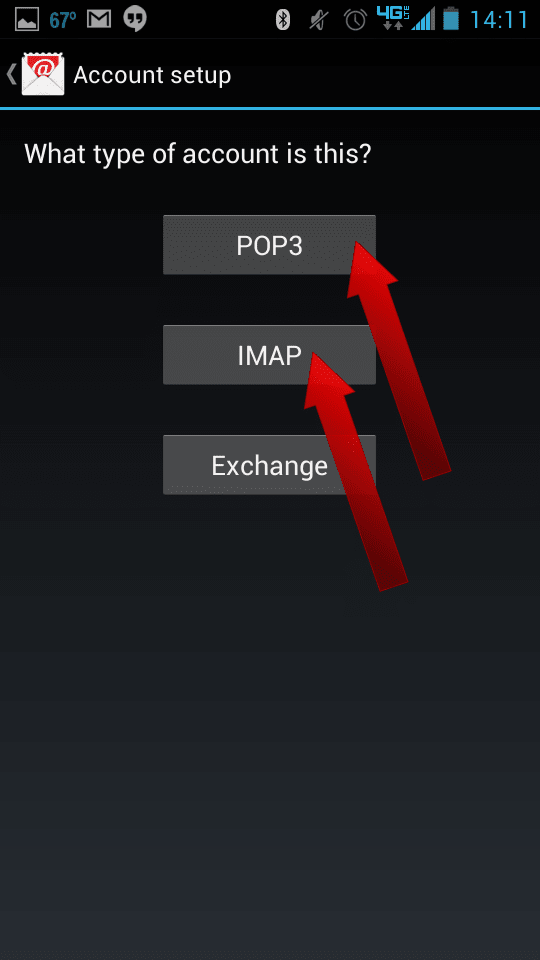
For IMAP, the IMAP server should be set to the correct hostname. Generally speaking, this will be mail.yourdomain.com or similar. Also make sure that for IMAP the Port is set to 143. Touch Next.
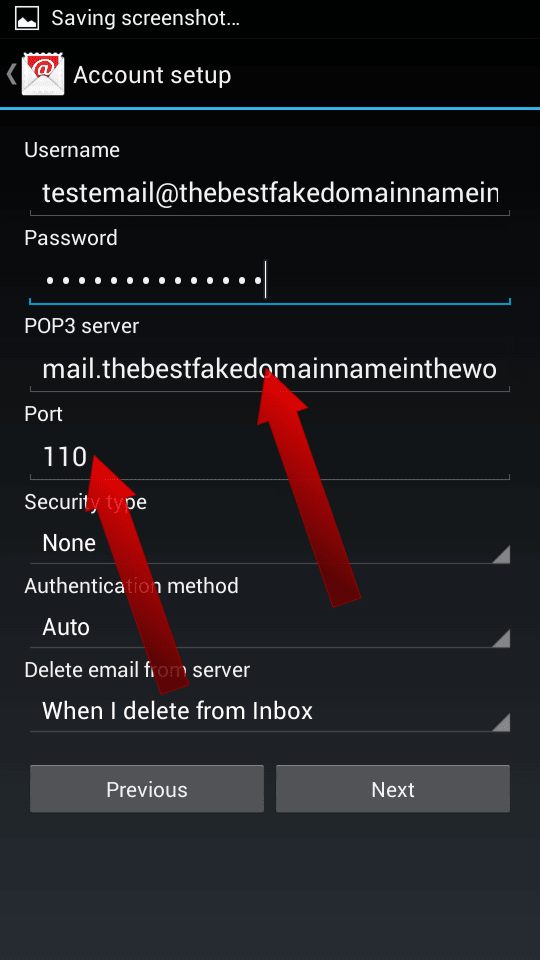
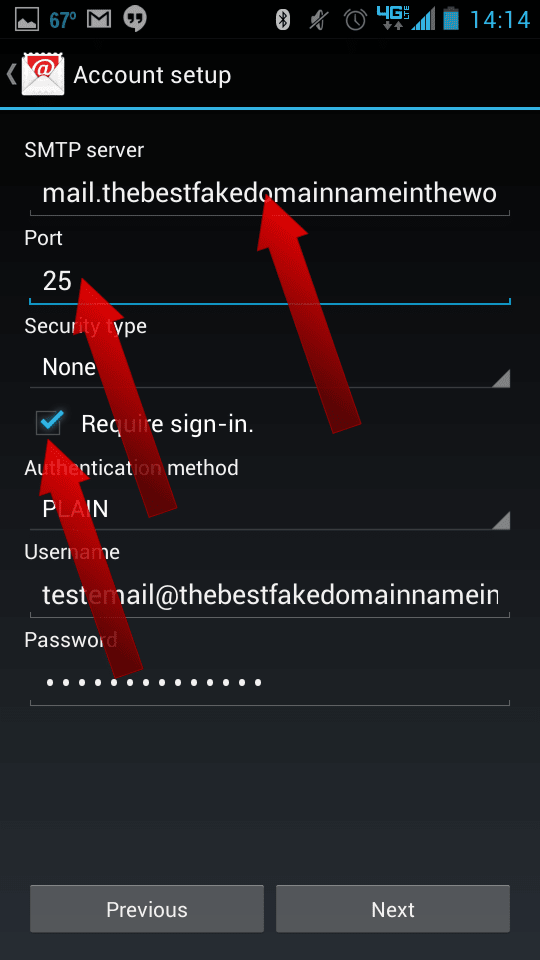
For SMTP, the SMTP server should be set to the correct hostname. Generally speaking, this will be mail.yourdomain.com or similar. Also, make sure that for SMTP the Port is either set to 25. Touch Next.
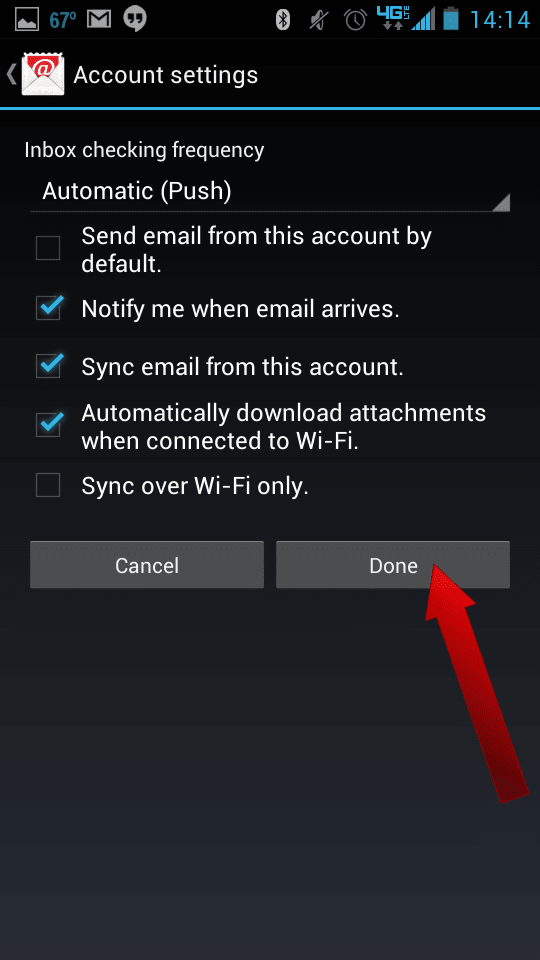
Check the boxes for whichever settings you prefer, then touch Done.
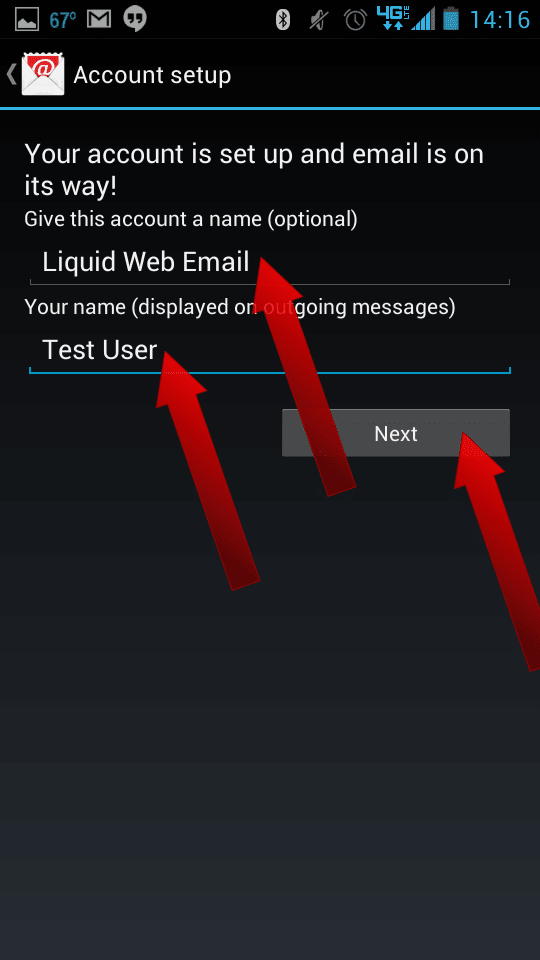
Now, Give this account a name (optional) and fill in Your name, then touch Next.
Related Articles:

About the Author: J. Mays
As a previous contributor, JMays shares his insight with our Knowledge Base center. In our Knowledge Base, you'll be able to find how-to articles on Ubuntu, CentOS, Fedora and much more!
Our Sales and Support teams are available 24 hours by phone or e-mail to assist.
Latest Articles
How to use kill commands in Linux
Read ArticleChange cPanel password from WebHost Manager (WHM)
Read ArticleChange cPanel password from WebHost Manager (WHM)
Read ArticleChange cPanel password from WebHost Manager (WHM)
Read ArticleChange the root password in WebHost Manager (WHM)
Read Article


