 Ronald Caldwell
 Cron jobs are functions in cPanel that allow users to run commands and programs automatically. Users are able to schedule cron jobs for various intervals from the cPanel interface.
This tutorial will walk through the process of how to set up a cron job in cPanel.
Requirements
- A server with cPanel. We’ll be using Liquid Web’s VPS hosting with cPanel.
- The cPanel login credentials with permissions for running cron jobs.
How to Set Up a Cron Job in cPanel
1. Log in to cPanel.

2. Scroll down to the Advanced section and click Cron Jobs.
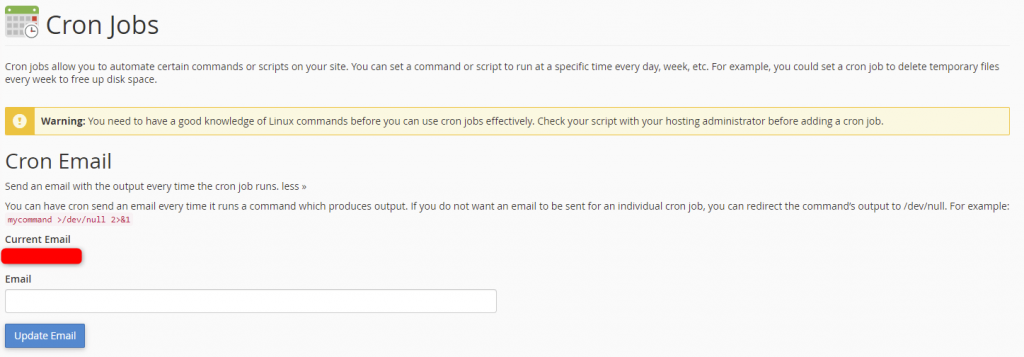
3. Enter the email address you want the cron job results sent to after it runs, and click Update Email.
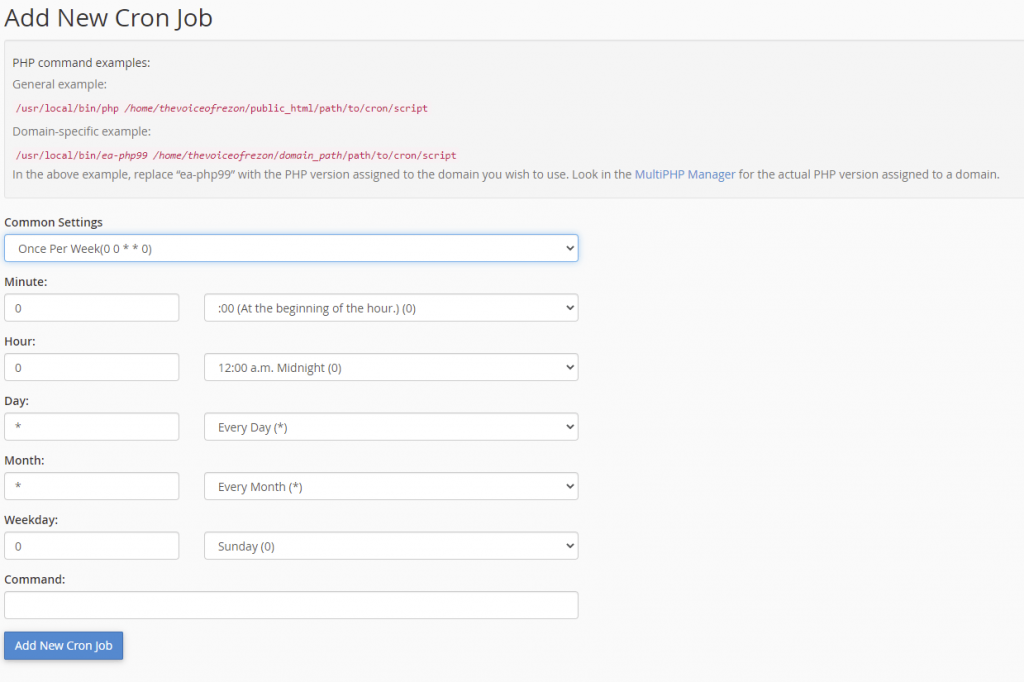
4. Specify the time interval you want the cron job to run by selecting from the Common Settings dropdown menu or entering custom settings in the fields.
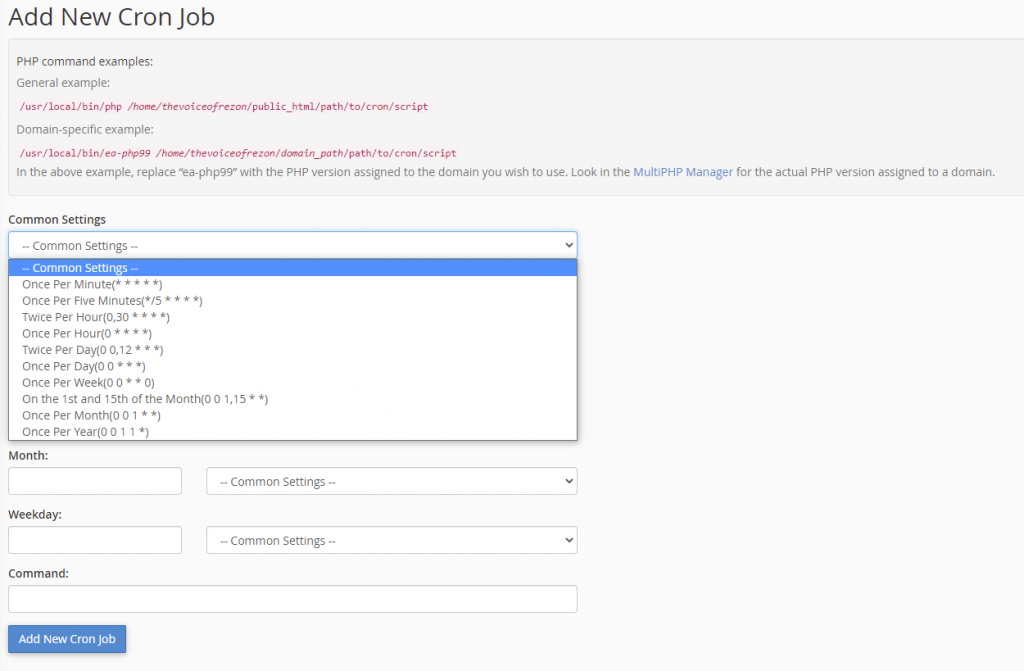
Choosing a common setting automatically completes all fields but the Command field. This also provides an understanding of what each field means.
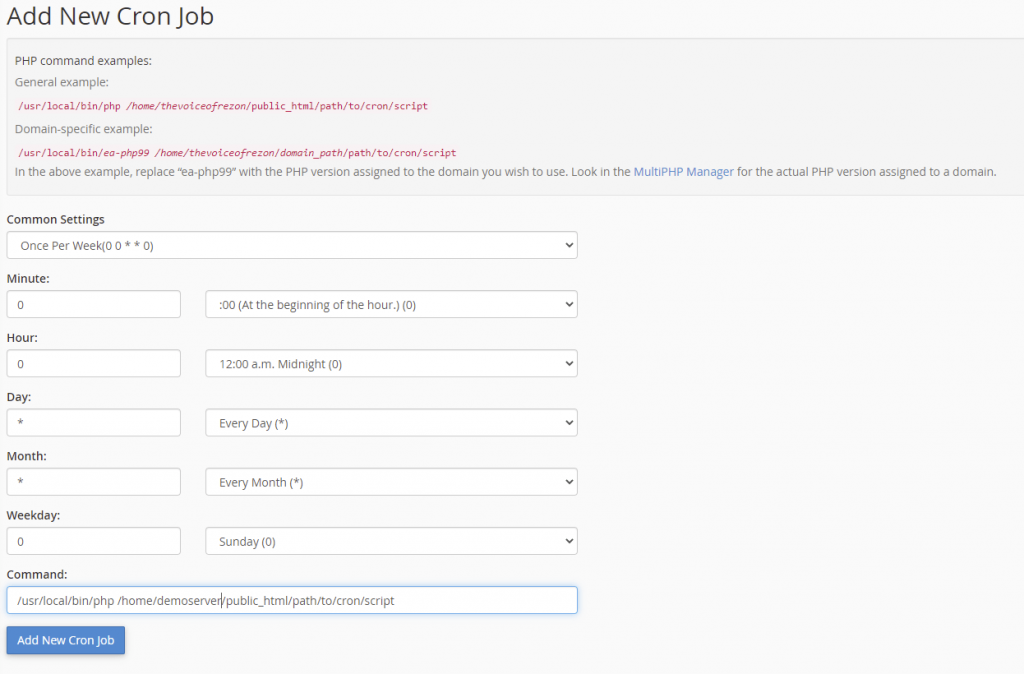
5. In the Command field, enter the command of the script you want to run, including the path from root. Click Add New Cron job.
The cron job is set and displays at the bottom of the screen in the Current Cron Jobs section.

Wrapping Up
Setting up cron jobs in cPanel is a helpful way to run programs and commands automatically without user intervention. Liquid Web’s support team assists with these functions on fully managed servers with cPanel.
If you are looking for cPanel hosting with 24/7/365 support, contact our sales team to discuss your needs and go over our hosting options.