
 Jay Allen
 Starting with Mac OS X 10.6, it is now possible to connect to a Cisco IPSec VPN without having to download any extra software.
Main Set Up Steps
Before you begin please have your VPN IP address, your username, password, shared secret, certificate, and/or group name ready. If you do not have this information please contact support using the options at the bottom of this page.
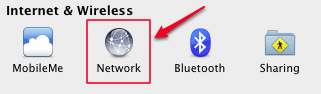
Open System Preferences and click on the Network icon:
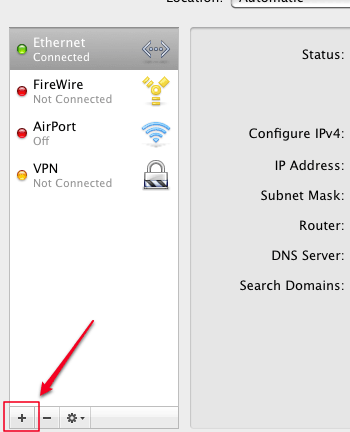
On the Network screen, click on the + symbol in the lower left:
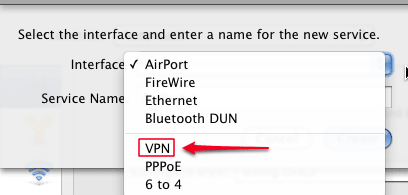
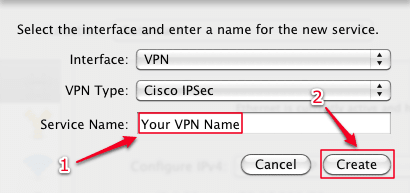
On the following screen click on the Interface drop-down menu and choose VPN:
Click on the VPN Type menu and choose Cisco IPSec:
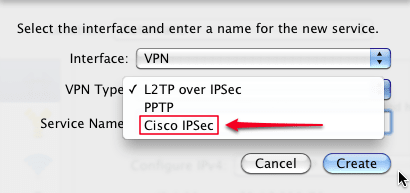
Give your new VPN connection a label in the Service Name text field (1) (this can be any name you choose) and click Create (2):
Back on the main Network screen, click on your new VPN name in the list on the left side. Enter your VPN server’s IP address, your username (Account Name), and password:
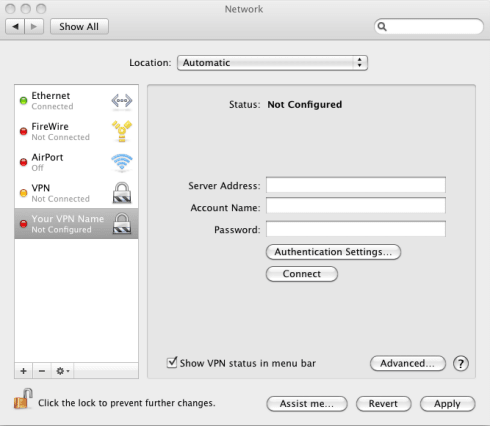
If you leave the checkbox marked Show VPN status in the menu bar checked a new menu bar icon will appear that allows you quickly turn the VPN connection on and off.
Click on the Authentication Settings button and enter the VPN’s Shared Secret, Certificate, and/or Group Name. Click OK when done:

Depending on your network and VPN configuration you may now start using your new VPN connection. If you need to add settings for DNS servers or Proxies when using the VPN please see the screenshots below for reference.
Optional Set Up Steps
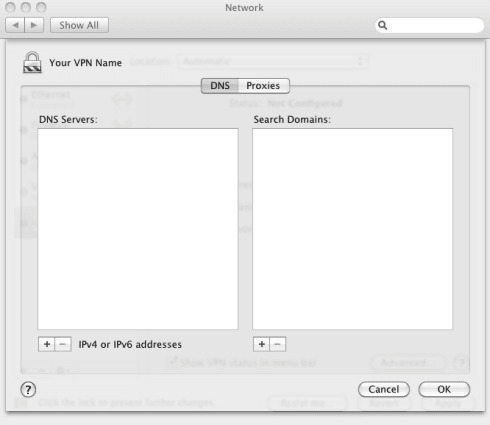
The settings below can be reached by clicking the Advanced… button when viewing your VPN connection in the network list.
DNS Servers and Search Domains
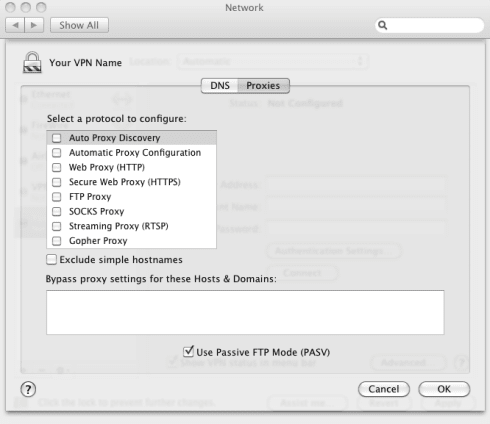
Proxy Settings
===
Liquid Web’s Heroic Support is always available to assist with this or any other issue. If you’re not a Liquid Web customer, take a look at our full hosting portfolio and our VPN add-on.
If you need our assistance please contact us.
[email protected]
https://portal.liquidweb.com/