


How to Install Thunderbird on CentOS 8 & Ubuntu 20
What is Thunderbird?
Thunderbird is one of the most widely used open-source email clients in the world. Mozilla originally developed the software in 2004, but the project waned in 2014/15, and Mozilla stated that they would only deliver security and maintenance updates in the future. Until recently, the community maintained the software when a Mozilla Foundation subsidiary, MZLA Technologies Corporation, took over. Today, the improvements in security and stability are very much appreciated, and since version 78, Thunderbird has built-in OpenPGP encryption technology enabled by default. Earlier versions used the available PGP technology, but it needed to be installed as a supplemental plugin.
What is OpenPGP encryption?
OpenPGP is an end-to-end encryption platform used to share encrypted data between two parties. This means that only the sender and recipient can encrypt/decrypt the data in an email and read it as regular text. PGP (or Pretty Good Privacy) confirms the sender’s identity and verifies that the message was not intercepted or edited in transit.
Thunderbird Installation on Ubuntu 20.04
This article will show how to install and configure the Thunderbird email client on Ubuntu 20.04. I will be doing this installation as a root user. Regular users can also install Thunderbird, just using sudo before executing commands.
Update Software
Let’s start with updating repositories and the software.
root@host:~# apt-get update && apt-get upgradeThis update might take some time if we have not run it in a while. Once the upgrade is done, we can proceed with the installation and run the following command.
Install Thunderbird
root@host:~# apt install thunderbirdIf you do not want to work in the command line, Thunderbird can also be installed from the Ubuntu Software Center. Just search for the software and look for Thunderbird.

Once you locate it, click on Install and wait for the installation to complete.
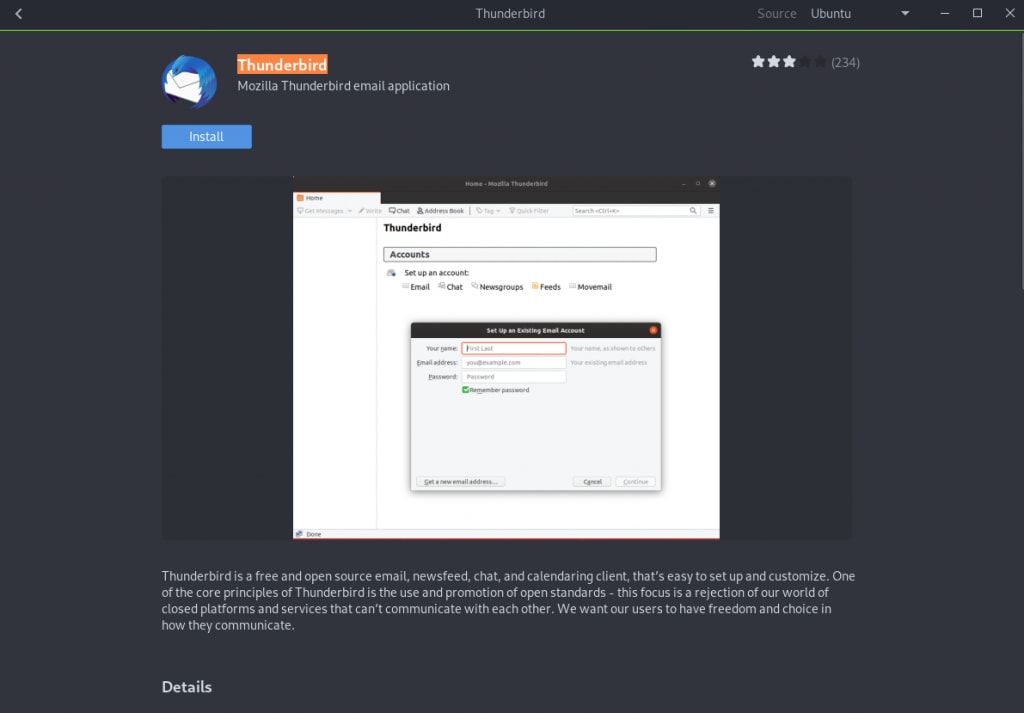
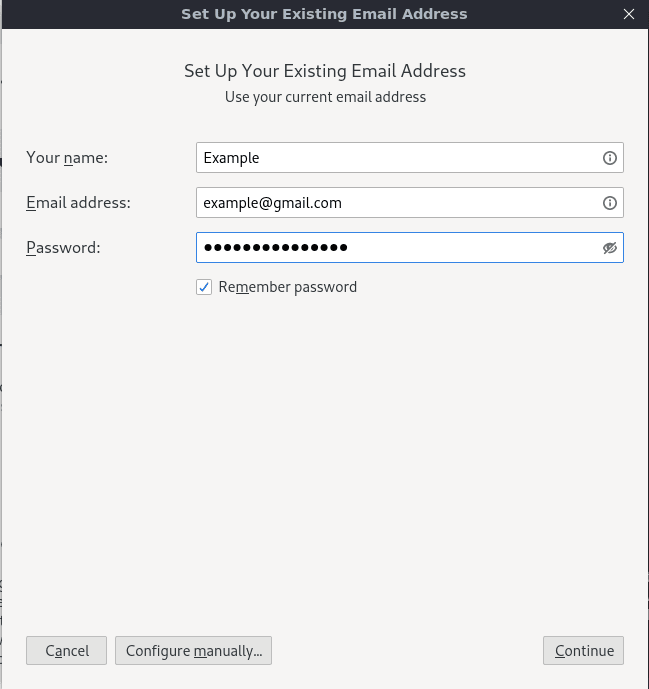
Once installed, click on Launch, and it will prompt you to enter your name, email address, and password.
Thunderbird Installation on CentOS 8
We use the same process here as we do on an Ubuntu installation. Update all packages to their latest versions using yum before installing new software. We can do so using the following commands.
root@host:~#yum update && yum upgrade Luckily, Thunderbird is also available in the default CentOS repository, which means we can execute the yum command to install it without downloading any other repositories or software.
root@host:~#yum install thunderbird Once installed, the email client will be available in your applications. It can be located by searching for it in the CentOS search bar.
Check Version
We can check the version of Thunderbird by switching from root to user by running the below command, replacing the user with your username.
root@host:~#su userTo check the version of Thunderbird, run the following command.
user@host:~# thunderbird -v To start the software via the command line, use this command.
user@host:~# thunderbird Settings
When creating an email account, the default settings can be used. These settings will work most of the time, except if your email provider is not listed in Thunderbird’s automatic configuration database. If your email provider is not listed in the database, you will most likely receive “Thunderbird failed to find the settings for your email account.“ If you see that message, proceed and click on “Configure manually” to set up the email client to your preferences. Options include:
- IMAP and POP3 protocols
- Incoming and Outgoing mail server settings
- Ports
- SSL method
- Authentication method
- Username.
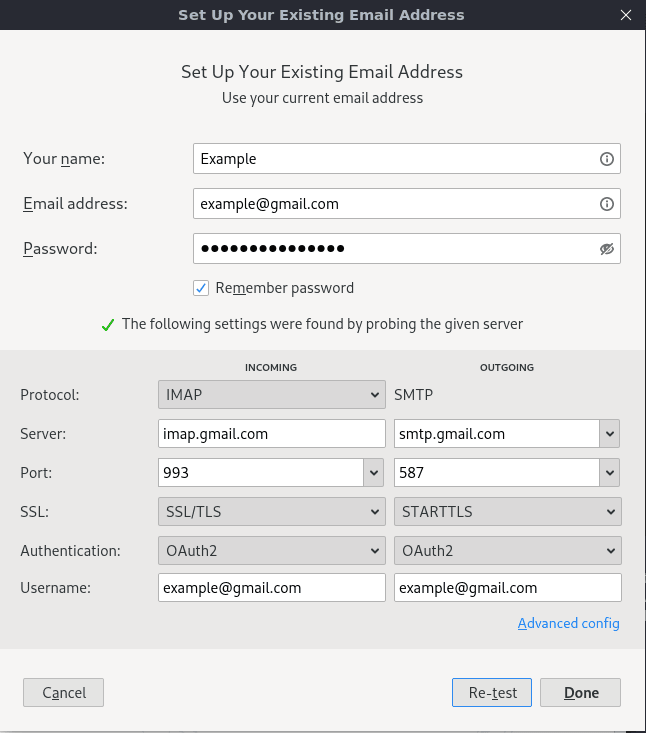
The manual configuration will require the following details, which can be granted by your email provider.
Incoming Mail Server and Port
Examples
Thunderbird can utilize either POP3 or IMAP configurations.
pop.example.com (using non-encrypted port 110)
POP3 port 995 (encrypted)
imap.domain.com (using unencrypted port 143)
IMAP port 993 (encrypted)
For the outgoing mail server and port, we can use the following examples.
smtp.domain.com (using non-encrypted default port 25)
smtp.domain.com (using encrypted default port 465)
smtp.domain.com and port 587
This is also known as the message submission port. It uses an authentication mechanism that prevents the propagation of spam and malware.
After this configuration section is completed, click on “Done,” and you will be redirected to the Google sign-in page (assuming you are using a @gmail address). From there, re-enter your credentials and allow Thunderbird to access your email account.
Add Multiple Email Accounts in Thunderbird
You can add an account to Thunderbird in several ways.
Method 1.
Select your personal email account, and in the Setup Another Account section, click on the Email button. This opens a new window asking for additional info related to the new account.
Method 2.
Go to Local Folders, and in the Setup Another Account section, click on the Email button. This opens a new window asking for additional info related to the new account.
Method 3.
In the top-right corner, click on Account Settings, then Account Actions, then Add Mail Account.
Method 4.
Click the Application menu button (☰), and select + New, and lastly Existing Mail Account.
If you made a mistake, you could follow the same path to Account Actions to remove the email account.
The ‘Create a New Mail Account’ option is also available if you wish to create a brand new email address directly from your email client. In partnership with several providers, Thunderbird can offer you a new email account. Just fill in your first and last name or any other info you would like to get started in the appropriate fields.
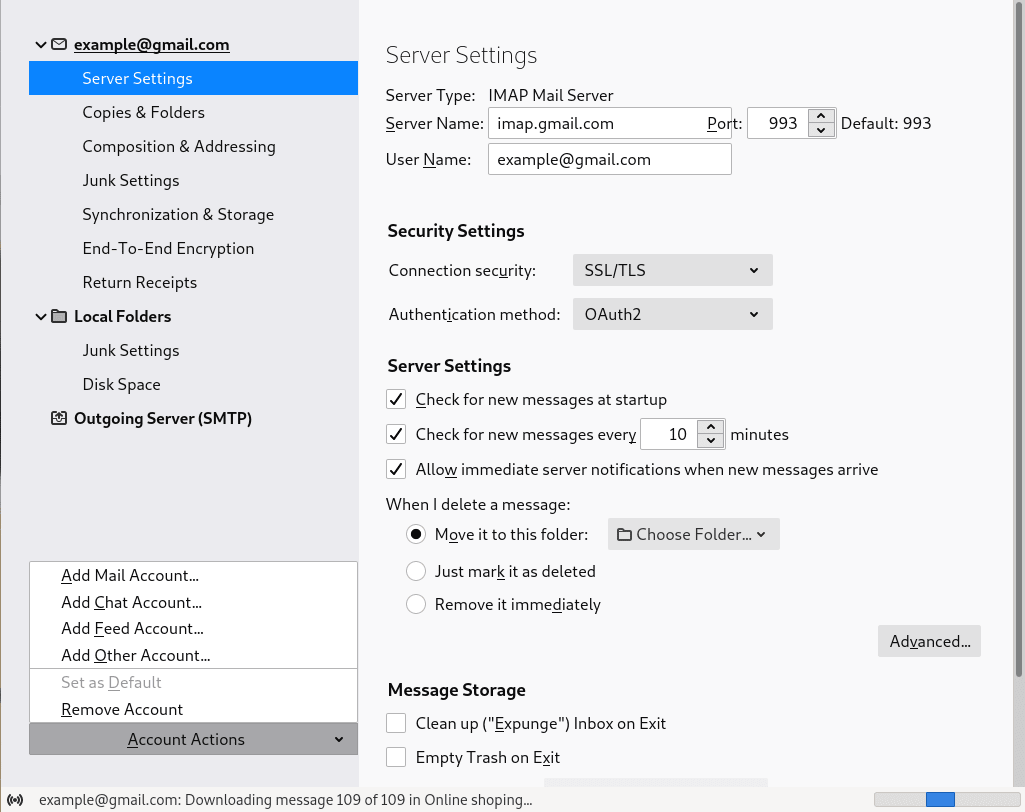
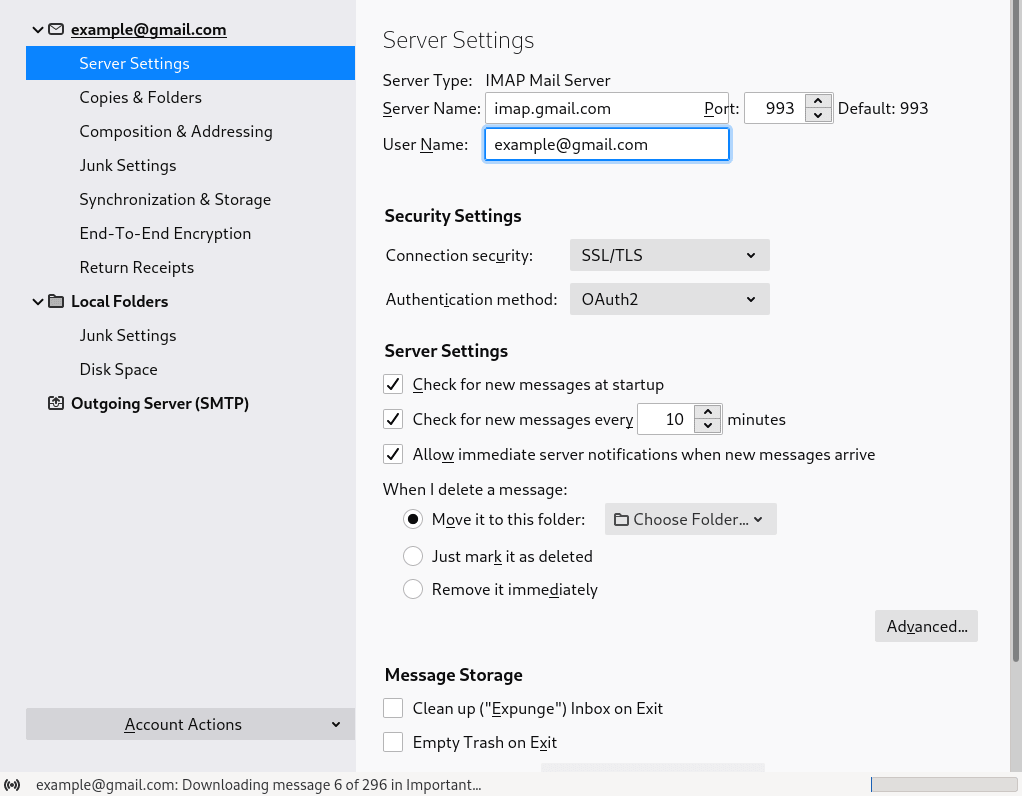
Editing Account Settings
Many settings are available to be adjusted for each account independently. For example, you can change the server information for an account if you go to Tools > Account Settings and click the name of the account whose settings you wish to edit.
Some information you can edit under Server Settings are:
- Server Name
- Username
- Port
- Connection Security
- Authentication Method
Any changes that are made should be saved automatically. One of the more useful features Thunderbird has to offer is junk mail control. This feature examines new email messages in your inbox to determine whether they are junk/spam.
The Junk mail control is turned on by default. However, Thunderbird must be trained on how to identify junk messages before it can act automatically. We begin this training by identifying junk mail using the Junk toolbar button to mark messages as junk. After that, Thunderbird will be able to mark junk automatically. When a message is identified as junk, Thunderbird will flag it with a flame symbol.
Conclusion
Thunderbird is an open-source, cross-platform email client, personal information manager (PIM), RSS and newsreader, as well as a chat client originally developed by the Mozilla Foundation and now maintained by MZLA Technologies. It is one of the most popular and widely used email clients in use today.
Get Started Today!
We pride ourselves on being The Most Helpful Humans In Hosting™!
Our Support Teams are filled with experienced Linux technicians and talented system administrators who have intimate knowledge of multiple technologies, especially those discussed in this article. Should you have any questions regarding this information, we are always available to answer any inquiries with issues related to this article, 24 hours a day, 7 days a week 365 days a year.
If you are a Fully Managed VPS server, Cloud Dedicated, VMWare Private Cloud, Private Parent server, Managed Cloud Servers, or a Dedicated server owner and you are uncomfortable with performing any of the steps outlined, we can be reached via phone at @800.580.4985, a chat or support ticket to assisting you with this process.
Related Articles:


About the Author: Leo Porter
I am a 26 years old Linux Technician with almost 2-year experience, learning new things every day. I love troubleshooting and the empowering feeling you get when you help someone to resolve the issue. I like to spend my free time watching Netflix, training in Krav Maga, cycling, or camping if the weather is nice.


Our Sales and Support teams are available 24 hours by phone or e-mail to assist.
Latest Articles
How to use kill commands in Linux
Read ArticleChange cPanel password from WebHost Manager (WHM)
Read ArticleChange cPanel password from WebHost Manager (WHM)
Read ArticleChange cPanel password from WebHost Manager (WHM)
Read ArticleChange the root password in WebHost Manager (WHM)
Read Article