
 Justin Palmer
 Node.js is a Javascript runtime built with fast deployments in mind. Both the client and server-side of the application are Javascript. It provides an asynchronous approach to serving up content, providing for extremely responsive applications. Node.js is cross-platform and installable on Linux, macOS, and Windows. This tutorial covers the installation of Node.js on a Windows Server.

Pre-Check Flight:
- These instructions are being performed on a Liquid Web Self Managed Windows 2019 server as an administrator.
- These instructions are being performed utilizing Microsoft’s Edge browser.
Step #1: Install Node.js
One of the useful things about installing Node.js on Windows is that a convenient installer is provided.
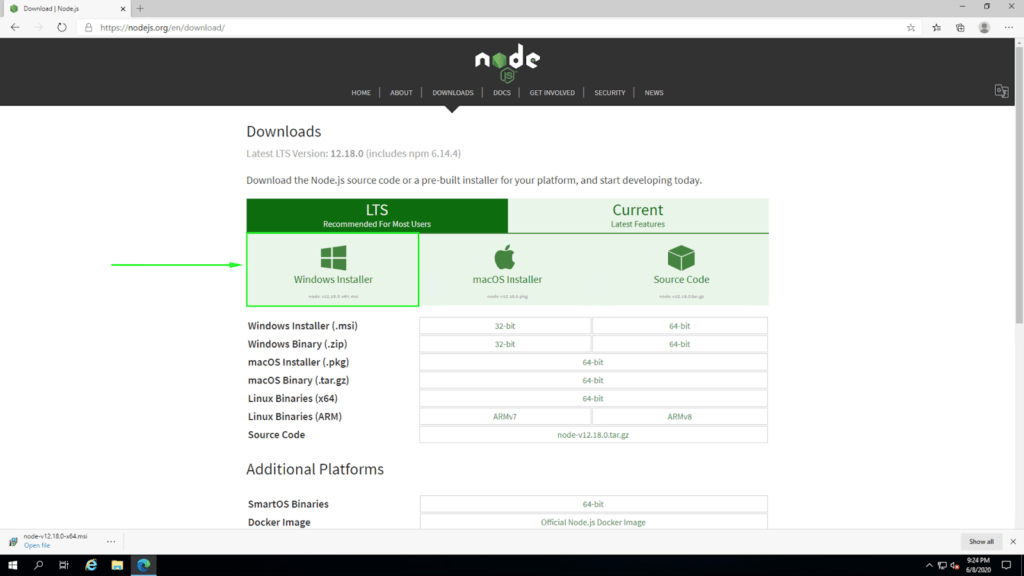
- Navigate to the Node.js download page:

- Click on the Windows Installer icon to start downloading the installer:
- Next, click on the downloaded in the browser, this should open up the installer:
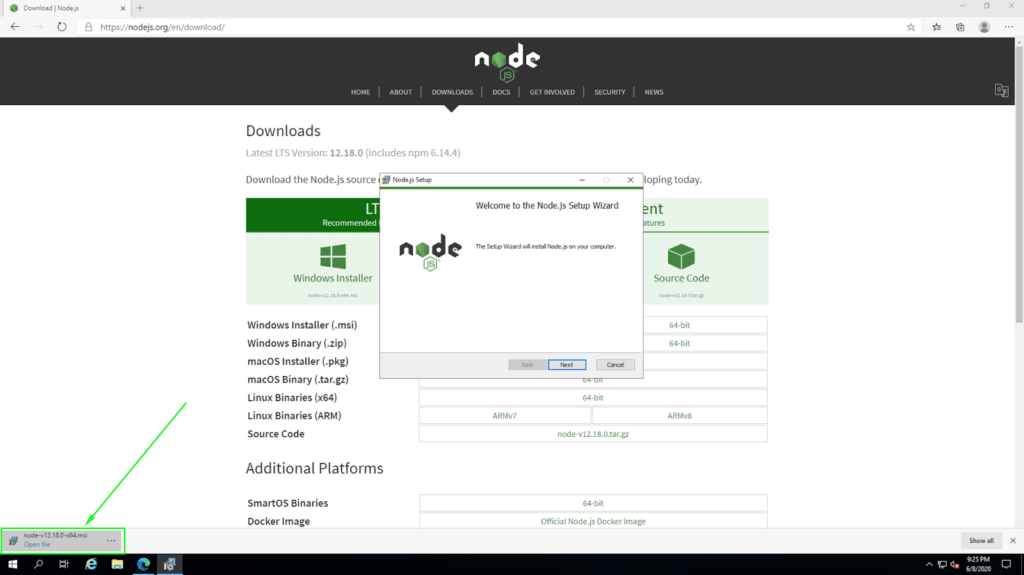
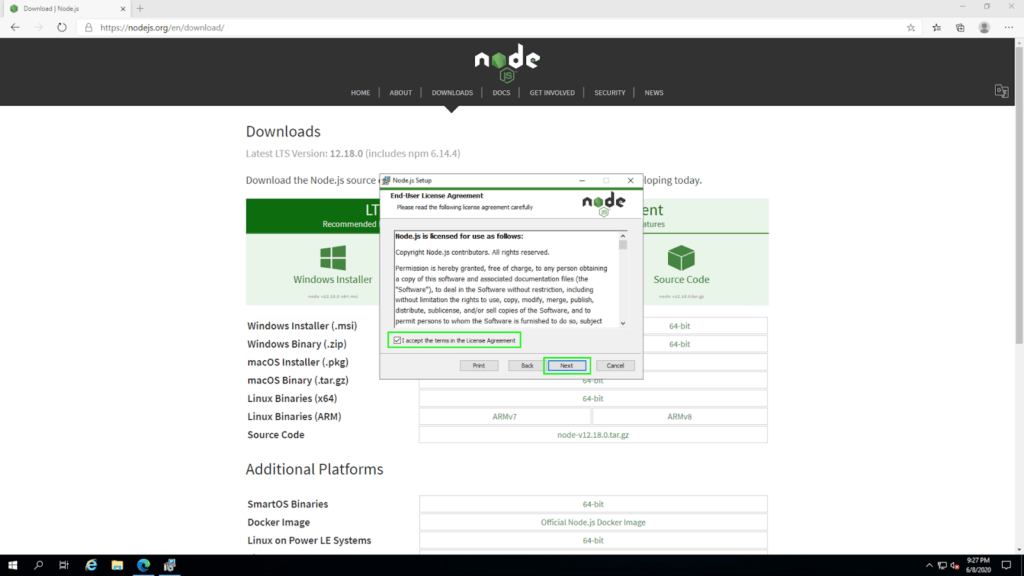
- Click Next on the installer and then, click the checkbox to accept the License Agreement and continue to click Next through the prompts:


- Eventually, during setup, there will be an option to install some optional tools to compile native modules. This option is left up to the user to decide but, for the purposes of this tutorial, they are not being included.

- Finally, select Install:
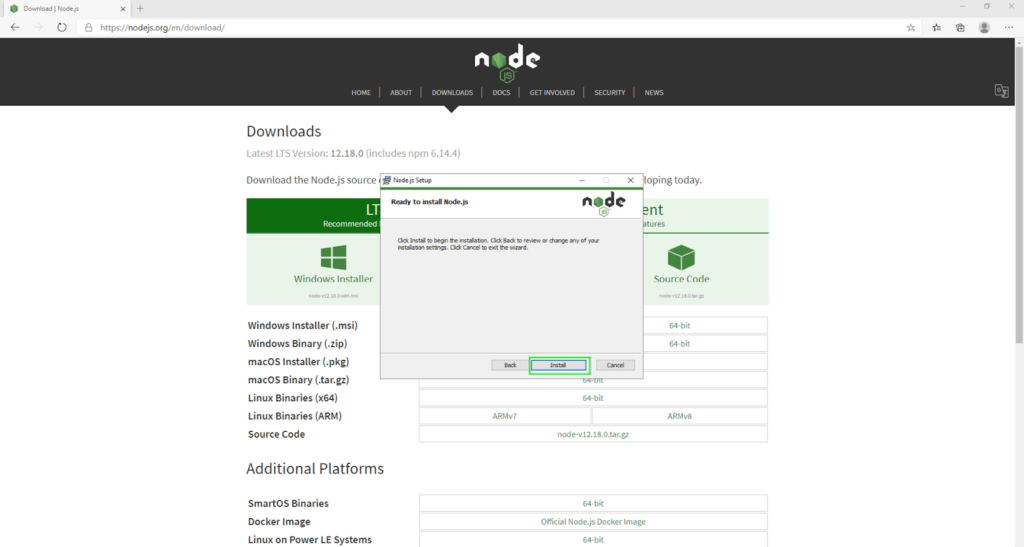
The installer should look something like the following picture while the installer is running.

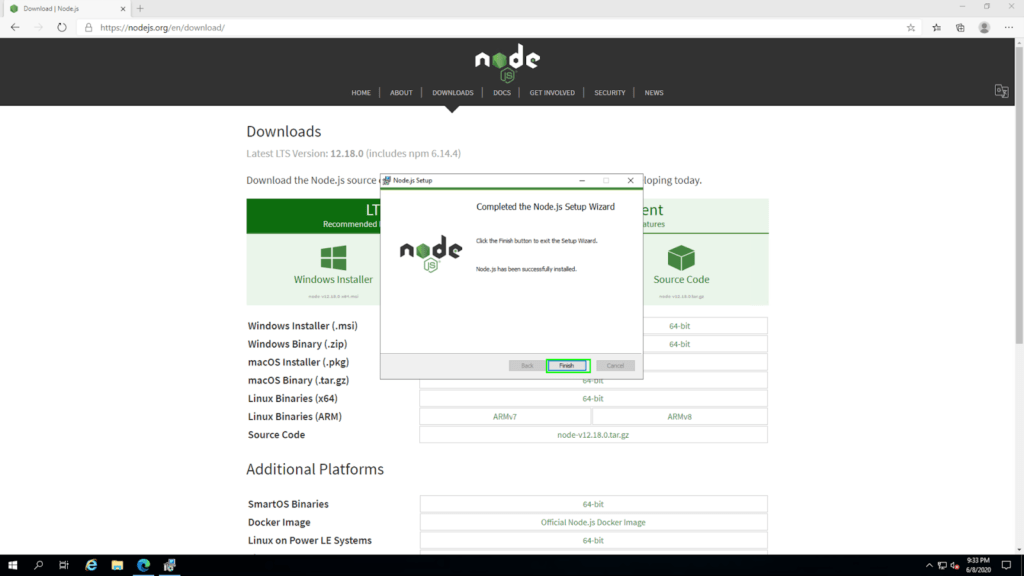
The installer will indicate when the installation is complete and prompt to hit the Finish button to close it:
Step #2: Verify Node.js is Installed
Node.js is now installed! Now that it is available, the installation can be quickly verified by running just a couple of commands.
- To check the Node.js version for installation verification, open a command prompt by pressing the Windows key, typing in cmd, and pressing enter. Once the command prompt is open, run the following command:
C:\Users\Administrator>node -v
v12.18.0- The Windows installation of Node.js includes NPM, the node package manager. To verify packages are able to be installed, run the following command to install the react package:
C:\Users\Administrator>npm install -g react
+ [email protected]
added 6 packages from 3 contributors in 0.828s
That’s it! Now that Node.js is installed, it’s possible to start working on Node.js applications!
Conclusion
Node.js is one of the most widely used javascript runtime environments in use today. This is due to the robust framework which allows developers to easily build web applications using push technology. Because most developers are already aware and work with javascript, the transition to node.js is elegantly simple!
If you’re deploying a Node.js and ASP.NET solution on a Windows Server, having an RDP VPS — or an ASP.NET VPS — ensures full administrative access to configure IIS, WebSockets, and database connections efficiently.
Our support staff is always available to assist existing customers with any dedicated server, cloud server, or VPS hosting issues 24 hours a day, 7 days a week, 365 days a year. If you are looking to become a Liquid Web customer, contact our sales team for assistance.