How To Add Cloudflare to Your Website
II. How to Configure Your DNS for Cloudflare
III. How To Configure Your Server to Log Real Visitor IPs
IV. Exploring the Cloudflare Dashboard
Pre-Flight Check
- This article covers adding Cloudflare through your Liquid Web account and enabling it for a site you host here.
- In this example, we'll be setting up a new Cloudflare account for an existing domain that will continue to use its current nameservers.
- Please note that to accurately log website visitor IP addresses and prevent unwanted behavior, we recommend that you activate the mod_cloudflare module on your server as detailed in Part III: How To Configure Your Server to Log Real Visitor IPs. Without this, your server's firewall may block Cloudflare's IP addresses, making your site inaccessible. If you need to check whether the module is already enabled or need assistance installing it, please open a ticket and Heroic Support® will be happy to help.
Step #1: Add Cloudflare to Your Account
In your Manage interface, click on Domains in the left menu and select the Cloudflare tab.
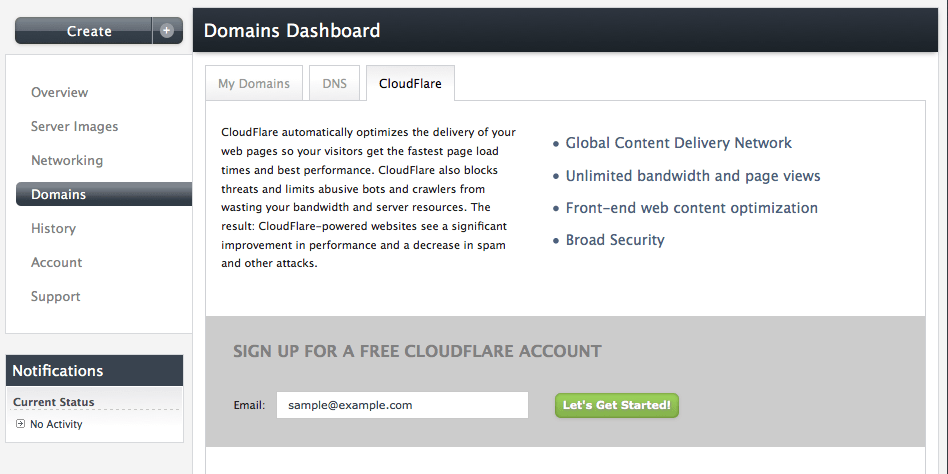
Enter the email address you want to associate with your account in the Email field and click the Let's Get Started button to continue.
Within a few moments, you'll receive an email from Cloudflare acknowledging that you've created the account.
The email will come from no-reply@cloudflare.com.
Its subject will be "Welcome to Cloudflare, in partnership with Liquid Web".
The email will include your Cloudflare username, a link to set your password, and a brief description of the service.
In the email, click the Claim your Cloudflare password at: link to set your password at Cloudflare's website.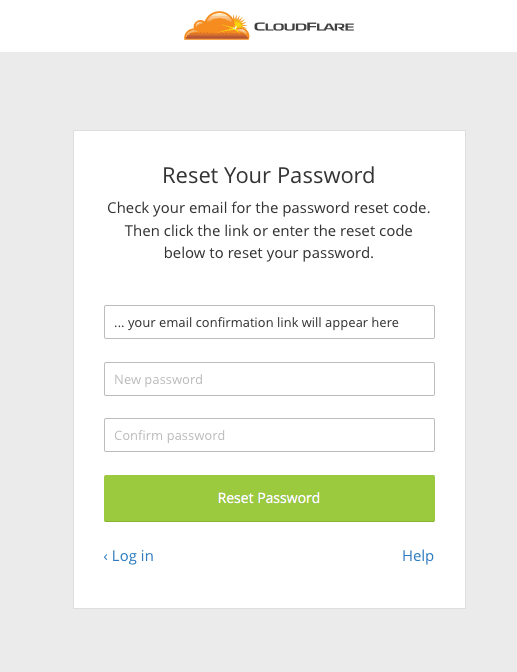
Enter your password twice to confirm it and then click the Reset Password button. Be sure to record your Cloudflare username and password in a safe location. It is separate from your Liquid Web account and not stored in our system. As such, we do not have the ability to provide it to you should it be lost. We can, however, assist with resetting it should that be necessary.

Note: You'll also receive an email confirmation from CloudFlare with the subject "Your CloudFlare password has been changed". Once again, the word "changed" is due to the use of their password reset process to set your password, and — in this one specific instance — does not indicate that an existing password has been overwritten or that anyone besides you has made changes to your account.
Step #2: Add a Site to Cloudflare
Return to the Cloudflare tab in the Domains Dashboard of your Manage interface, and you will be able to add a new site to your Cloudflare account. To get started, click the green Add a Site button.
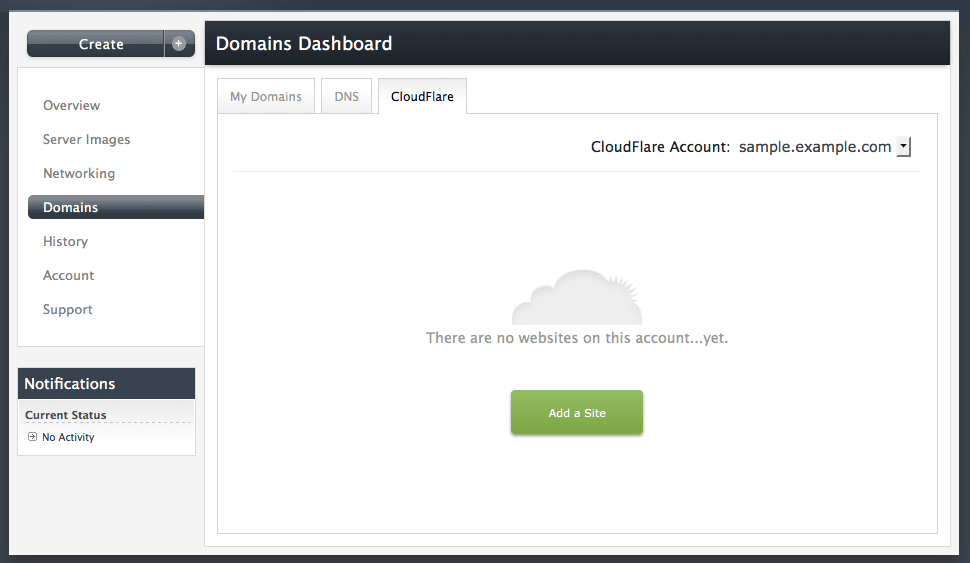
Note: You'll only see the green Add a Site button when adding your first website to CloudFlare. Once a site has been added to your CloudFlare account, you'll see a blue Add Website button which you'll use to add additional sites.
Once you click the Add a Site (or Add Website) button, you'll be presented with a popup window where you'll enter the site's details.
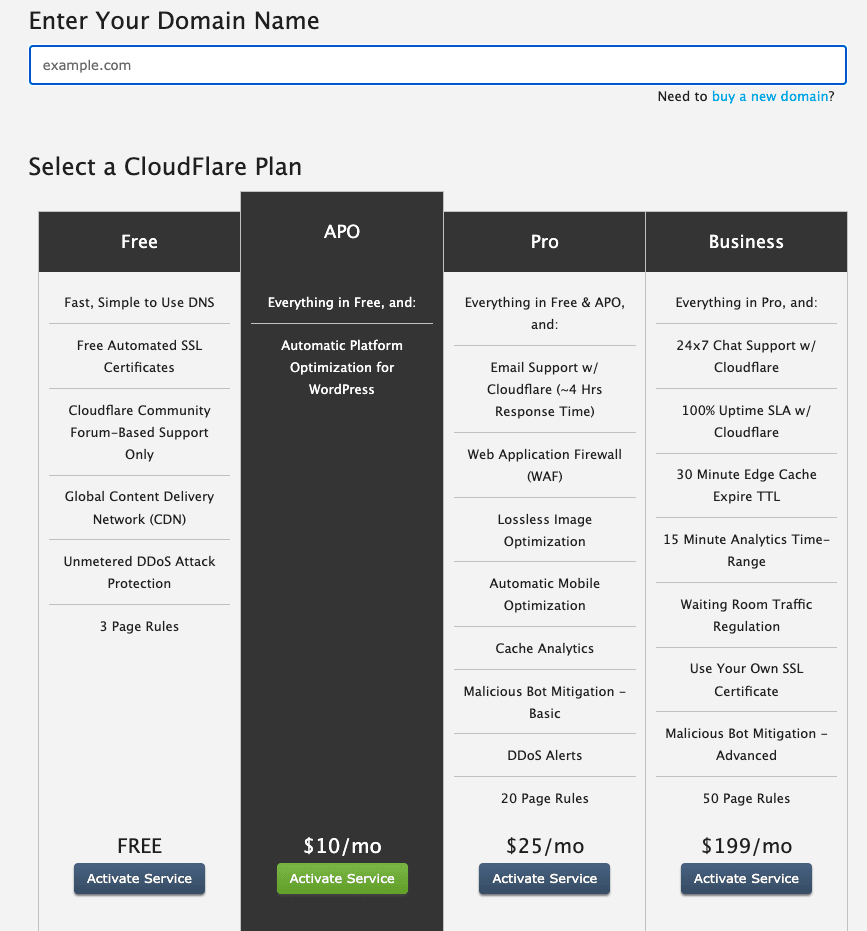
Domain Name is the domain you're adding. In this case, we're using "example.com". Don't enter the protocol (http://), and don't include the "www". Once you've entered the domain name, simply hit the tab key on your keyboard or click out of the field.
DNS Configuration lets you decide whether you will continue to use a site's existing nameservers or Cloudflare's. If you choose to use Cloudflare's, you will need to manage your DNS records through your account there. As noted in the instructions for creating a Cloudflare account, we do not have access to your credentials there, and can not log in on your behalf to provide direct assistance setting up DNS records there if you need it. In this article, we will be using the site's existing DNS provider (which is Liquid Web).
Subdomain lists the subdomain Cloudflare is protecting. In this case, because we're setting up the main domain, it lists "www".
Source Domain tells Cloudflare where to look for the source files for the domain name. This is the Cloudflare landing DNS record you'll set up in Part 2.
Use the Add Another Subdomain button to add any other subdomains you're currently using such as "shop.yourdomainname.com" or "blog.yourdomainname.com". If you want to set up the main domain name now and return to this step, you can do so from the DNS Settings link in your Cloudflare dashboard by clicking the Report DNS Changes button.
Cloudflare Plan. This section lists the available service levels you can choose from, ranging from Free to Premium. All packages include Cloudflare's global CDN, web optimization and security features, and unlimited bandwidth. The various paid packages include support for SSL certificates, Google's SPDY protocol, mobile optimization, a web application firewall, and advanced DDoS mitigation.
Once you've chosen your desired level of service, click the Activate Service button under the name of the plan to add the site.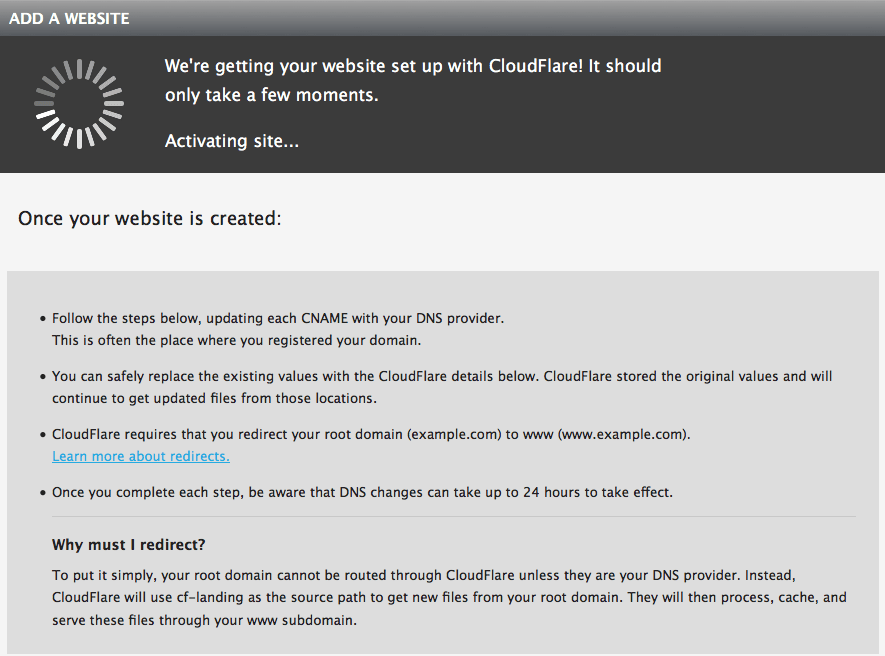
After a few moments you'll see a "ready" message, indicating that the site has been added, and you'll receive a welcome email confirming that the domain name has been added to your account. Click the "go to dashboard" link at the bottom and proceed to Part Two to configure the DNS settings for your domain and activate Cloudflare.
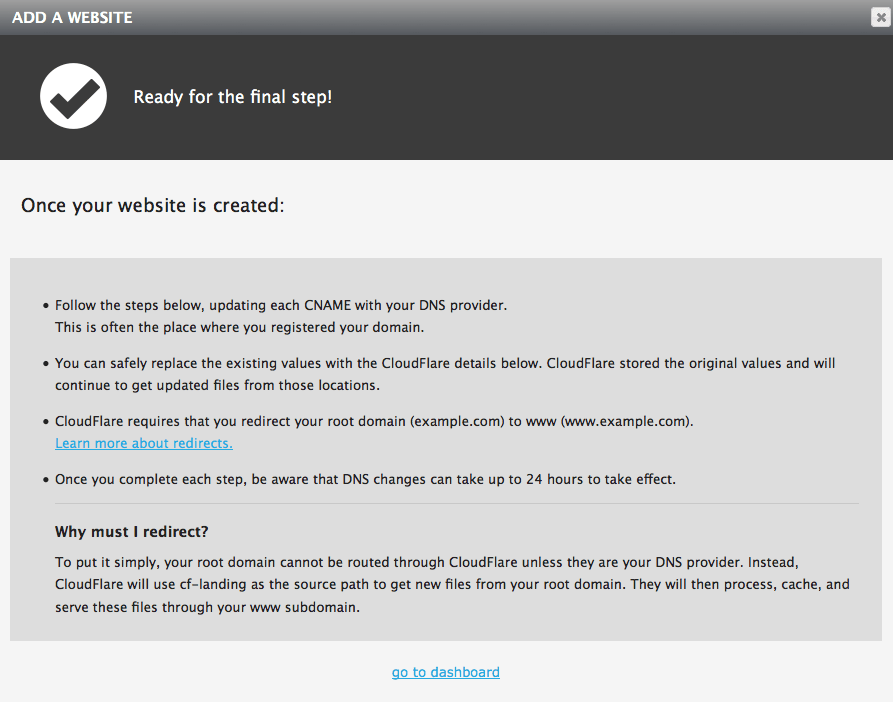
Note: At this point, you've added the site to CloudFlare, but you must complete the DNS setup to activate CloudFlare for the site.
Related Articles:

About the Author: dpepper
Our Sales and Support teams are available 24 hours by phone or e-mail to assist.
Latest Articles
How to use kill commands in Linux
Read ArticleChange cPanel password from WebHost Manager (WHM)
Read ArticleChange cPanel password from WebHost Manager (WHM)
Read ArticleChange cPanel password from WebHost Manager (WHM)
Read ArticleChange the root password in WebHost Manager (WHM)
Read Article


