
 Ronald Caldwell
 While some choose to manage their database from the command line, there are those that prefer a graphical user interface (GUI) to do so. cPanel offers phpMyAdmin, a free and open source tool for MySQL and MariaDB, built into their control panel to manage databases. This guide walks you through how to manage a MySQL database with phpMyAdmin in cPanel.
Requirements
- A cPanel server.
- Login credentials for cPanel.
How to Manage a MySQL Database with phpMyAdmin in cPanel
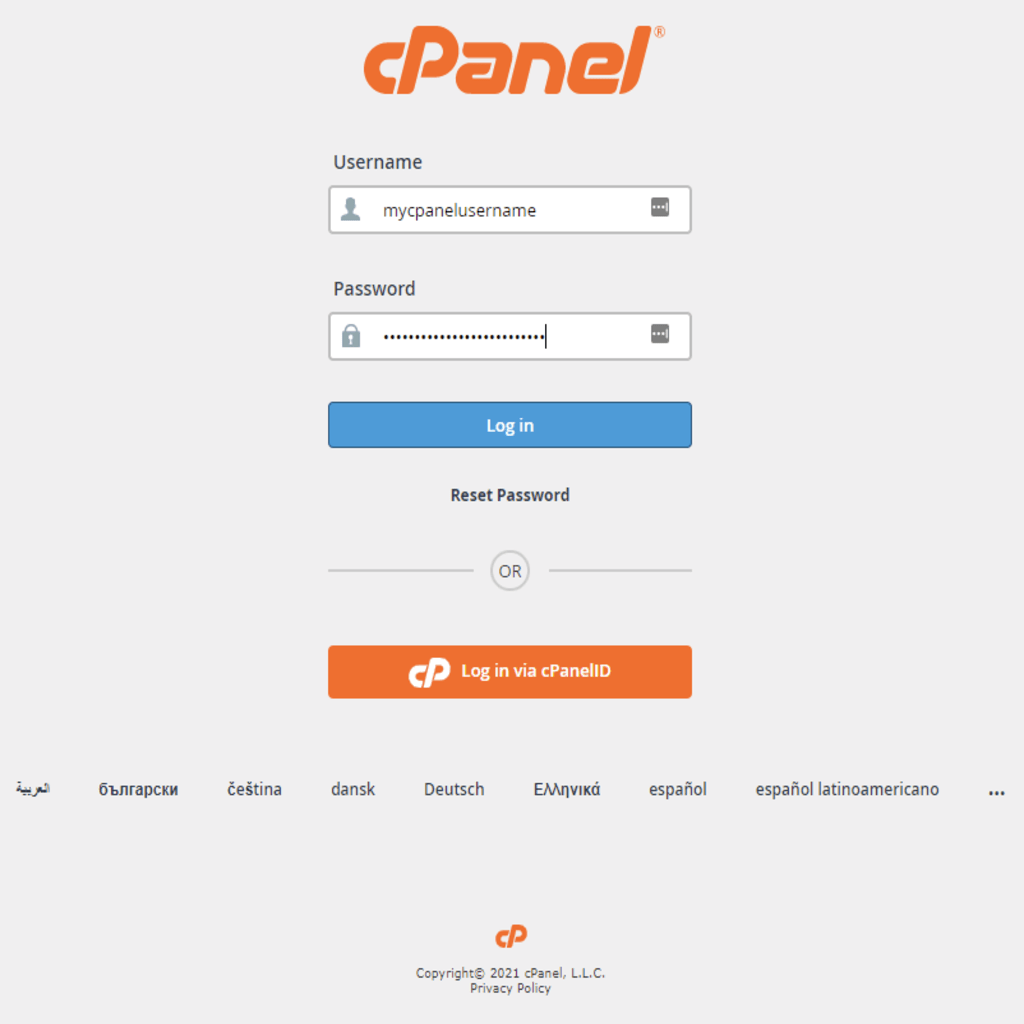
1. Login to cPanel.
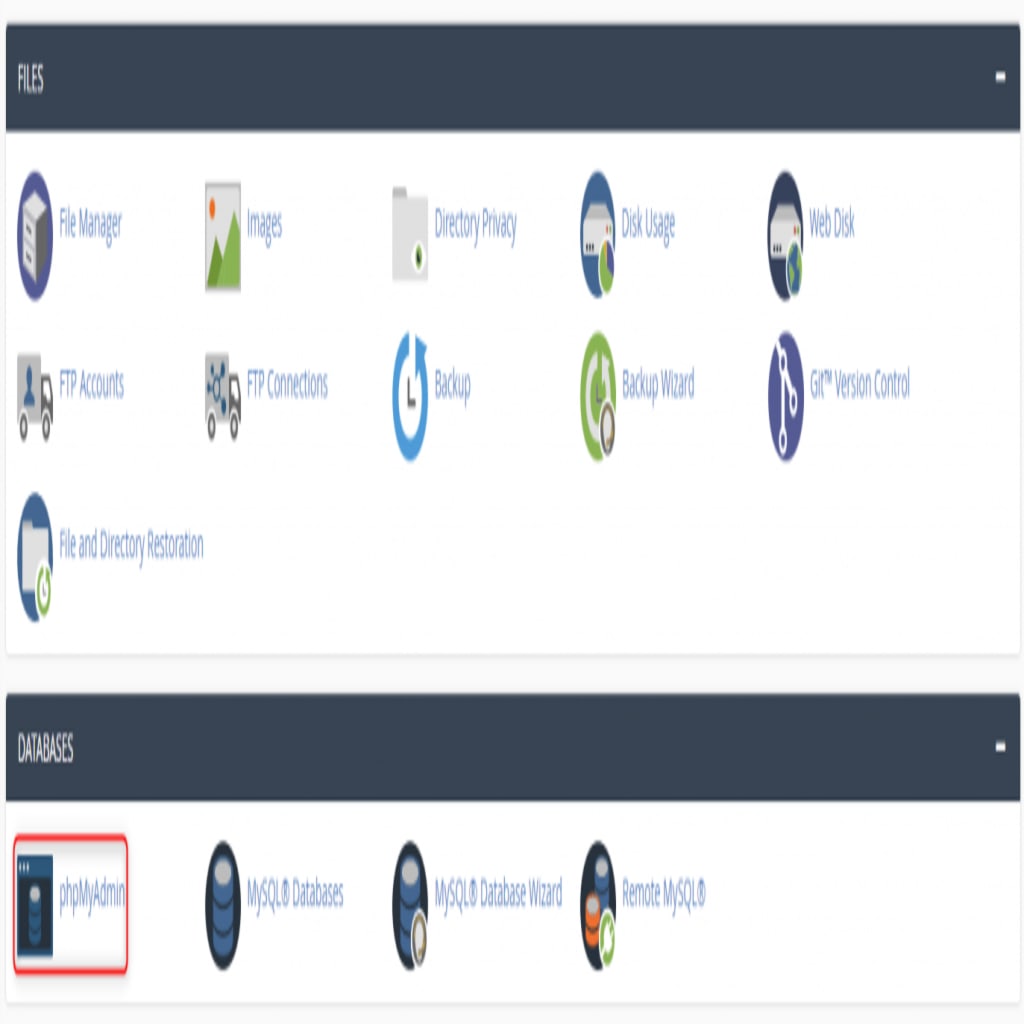
2. Click phpMyAdmin.
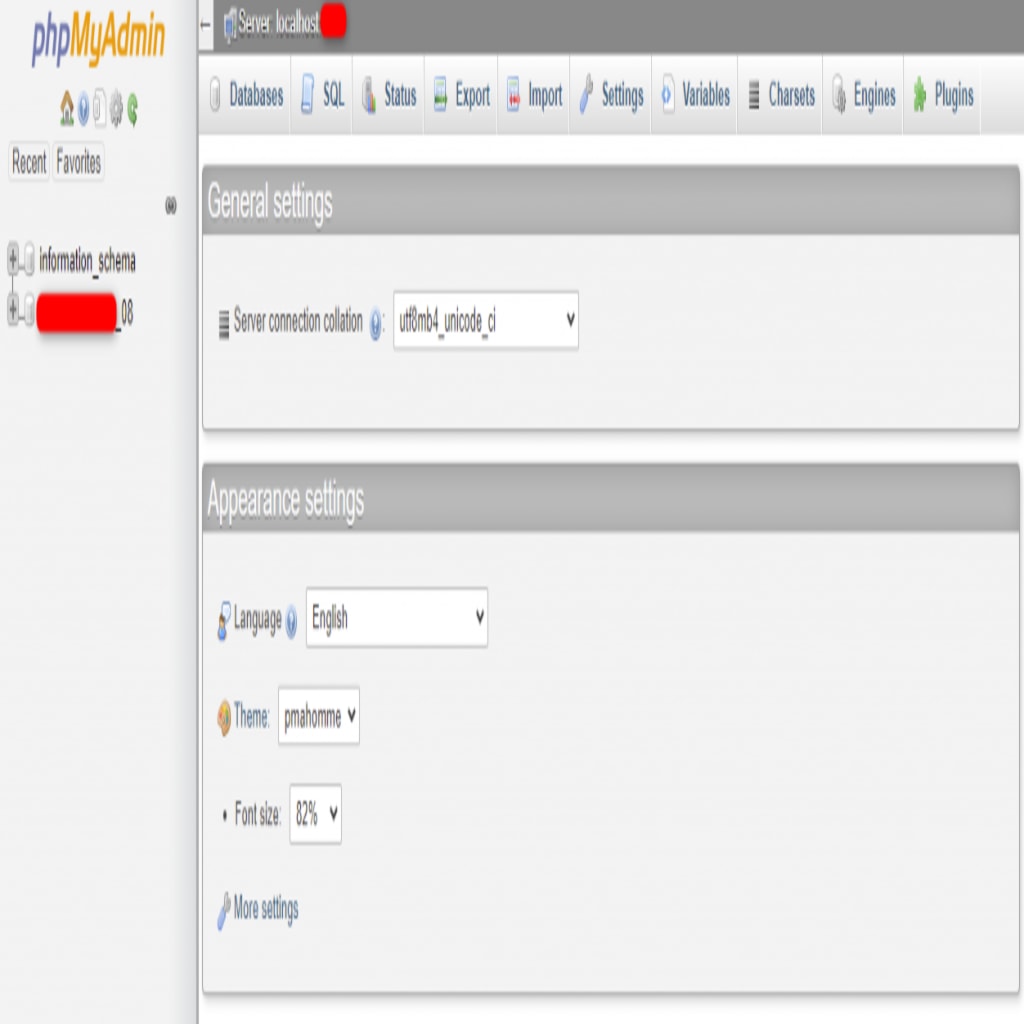
3. This is the main phpMyAdmin page. From here you can manage all MySQL or MariaDB databases in your hosting account. In the left-hand column, click the plus sign (+) next to your database.
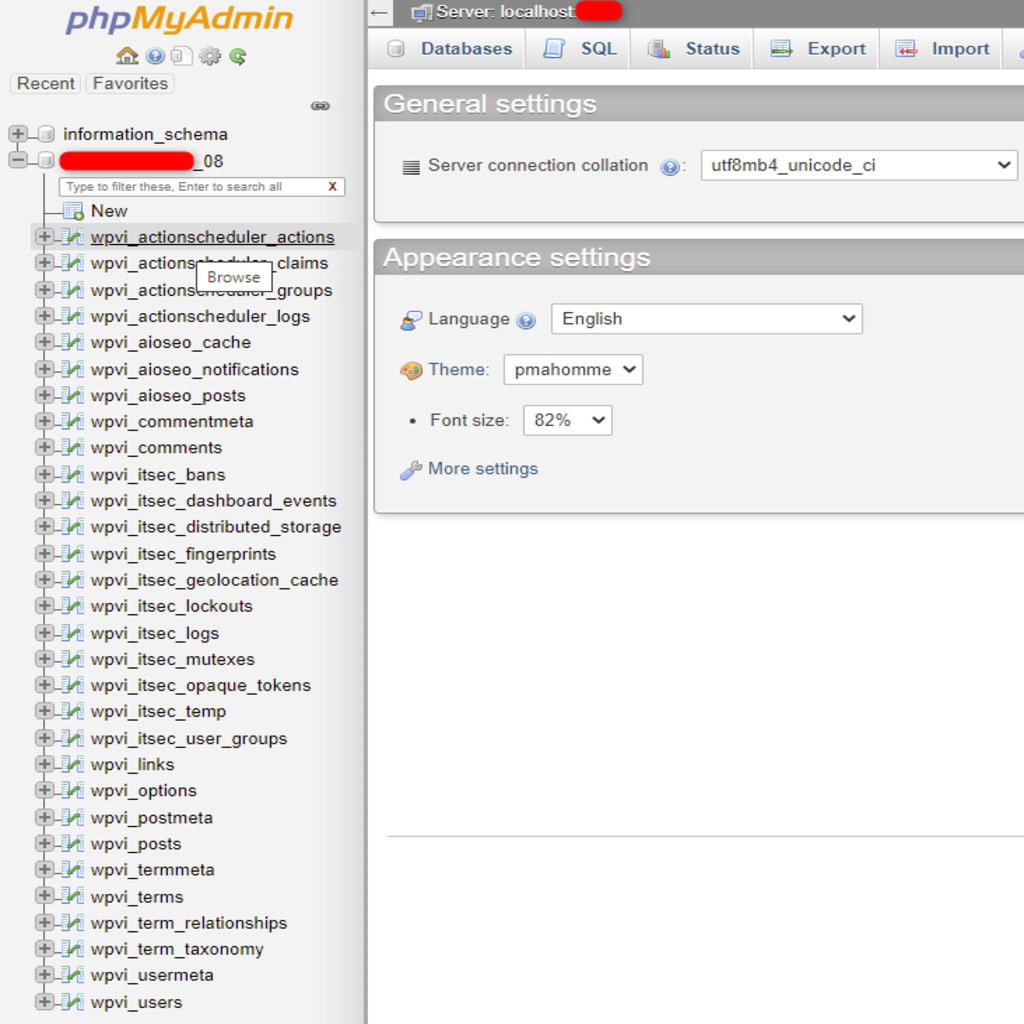
4. You see a list of tables in your database. Click the one you want to manage.
5. You see a list of actions in that table. You can also click on the database for additional management options such as managing tables, adding or deleting entries, and performing queries among other things.

Wrapping Up
This guide shows you how to manage a MySQL database with phpMyAdmin in cPanel. While this would typically be done by your system administrator, knowing how to access it is helpful for simple tweaks you may need to do. As always, the support team at Liquid Web is available 24/7/365 to assist with MySQL databases.
Liquid Web has cPanel options on our VPS Hosting, Cloud Dedicated Servers, and Dedicated Servers for all your hosting needs. Contact our sales team to get started.