

Now that your WordPress ecommerce store is up and running, you are ready to add your products. If you have set the look and feel of your store, you're ready for the next step. Sample products would already have been loaded on your store. There are two ways to add your unique products.
Method #1: Edit an Existing StoreBuilder-Generated Product
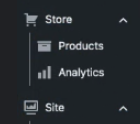
This is the easiest way to go and one of the ways that StoreBuilder stands out in helping you set up your store. Simply go to your Store > Products page on the left panel of your dashboard.

Click on the check box of a product similar to yours, hover your mouse over the name of the product and then select Edit in the bar. This will allow you to swap out your product photographs, descriptions, prices, and more.


Method #2: Add a New Product in WooCommerce
Alternatively, you can create a brand new product. This is helpful when your products have unique configurations. While in your WordPress Dashboard, scroll down the left sidebar to find the Store > Products option.

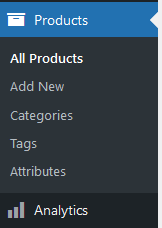
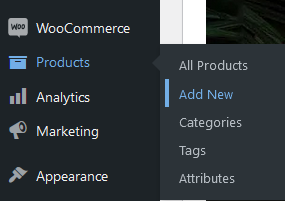
Or you can select Show Full Menu to take you to the full suite of WooCommerce tools.


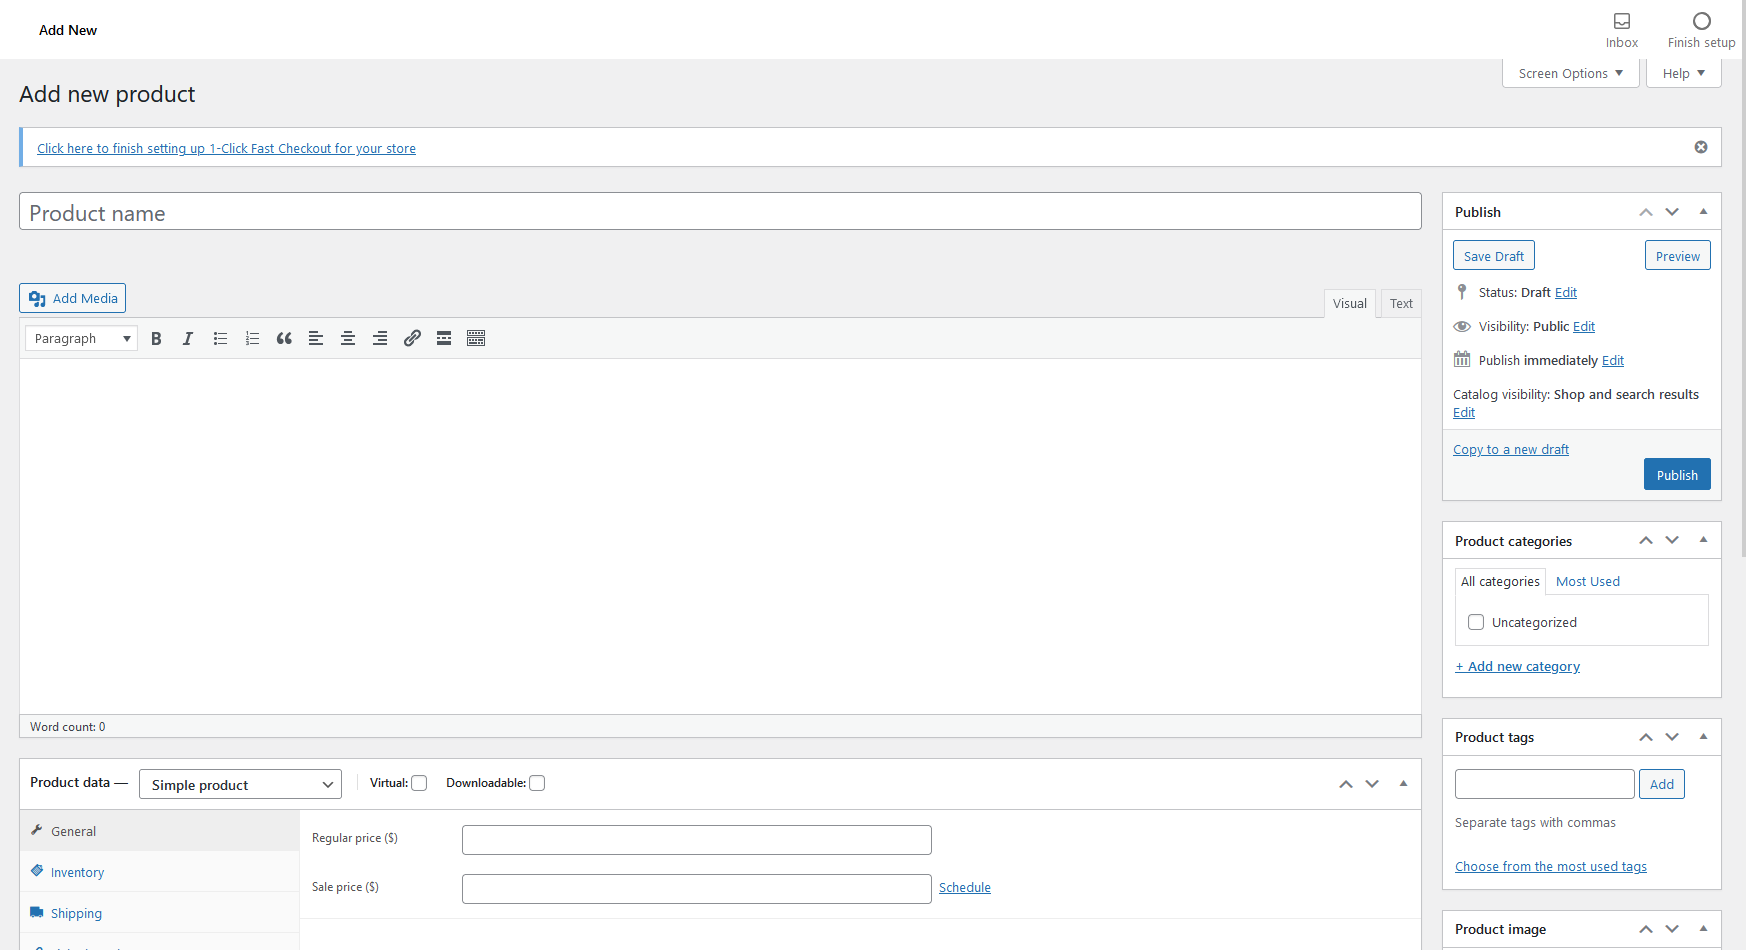
Select WooCommerce > Products > Add New.

Both of these options are available to you and take you to the same location in your StoreBuilder dashboard. In this menu, add your product photographs, descriptions, prices, and more.

If you need more help configuring your products, the WP101 WooCommerce video tutorial collection is always at your disposal with short (under 5 minutes) tutorials that walk you through all the possible options you can use to tailor your product information to exactly match your needs.
You can find the Video Tutorials in the left panel on your dashboard.

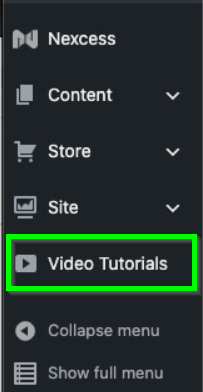
The Create a Simple Product tutorial explains all the different options available on your product page.
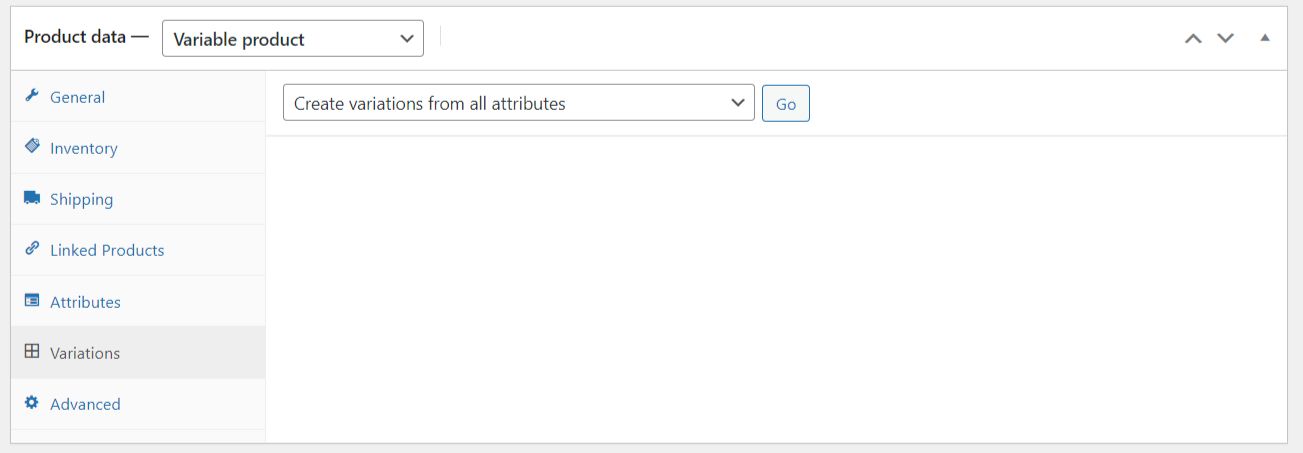
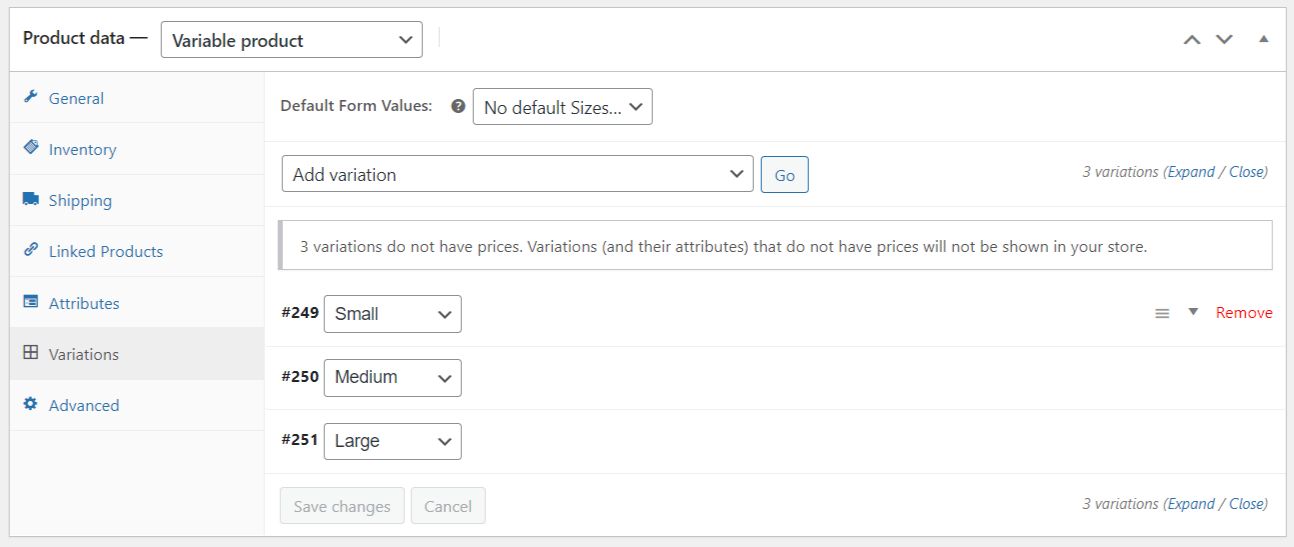
Add a Product With Variations In WooCommerce
Often, you have to add products to stores with a variation. For example, you may have different sizes for a shirt or colors for a mug. By selecting Variable Product from the Product Data menu inside your new WooCommerce product, you will be able to add these variations to your new product. First, add which variations you want to add in the Attributes tab, then use those saved attributes to create the variations.


Another commonly used product type would be a downloadable product which could be a PDF or an audio file sold in your store.


All the powerful tools of the WooCommerce platform are at your fingertips in your StoreBuilder Dashboard.


And if you want to dig deeper into tailoring your products, the following StoreBuilder Academy videos are great tutorials to get you started:
- Create a Grouped Product
- Create an External Product
- Create a Variable Product
- Create a Downloadable Product


