Exploring Your My Liquid Web Account
My Liquid Web is the account portal that gives you access to all of your servers and services in one location. You can check statuses, monitor services, order new products, and get help all from one simple site.
Logging in to my.Liquidweb.com
Logging in is as simple as going to the site (https://portal.liquidweb.com) and entering the credentials provided when you set up your account.

Logging in with Social Sign-On
You can now link your Google account to your Liquid Web account to make logging in even easier. Just click the User icon on the main page and select My user profile from the drop-down menu. You’ll be taken to your user login profile where you can view and edit login information, as well as enabling Google SSO. For more information, see Using Google Accounts in your Liquid Web Account.
Home
The Home screen contains information and links to various helpful features. These include account and payment information, support links, recommended articles, and more.
Welcome to the portal
At the top of the home page, you’ll see the welcome to your Liquid Web portal greeting. This includes a link to View Your Servers (one of the most common reasons to open the portal).

Create something new
Below the welcome are links to make adding common items to your account as easy as possible. VPS purchasing, domain registration, add-ons, and WordPress hosting can all be accessed from this part of the home screen.
Support
The Support Center gives you quick access to the most popular support options (help with passwords, contacting support, secure notes, and the Liquid Web API documentation).
Left Side Navigation
The portal displays access to most of the navigational functions through the use of the Left Side Navigation bar. Here you can find Favorites, Projects, Servers, Hosting, Storage, Network, Security, and Domains.

Favorites
The Favorites link allows you to customize your portal experience by pinning your most used pages to the Favorites list. On any page, click the star icon next to the page title to add that page to your Favorites list.
Projects
The Projects link will take you to the Projects page where you can organize all of your servers and services together into Projects to make finding the right servers and services easy.
Servers
The Servers menu contains links to the Servers page, Public SSH keys, the Migration Center, and Scheduled tasks. The servers page will contain all of the servers on your account, including relevant details to access and manage them.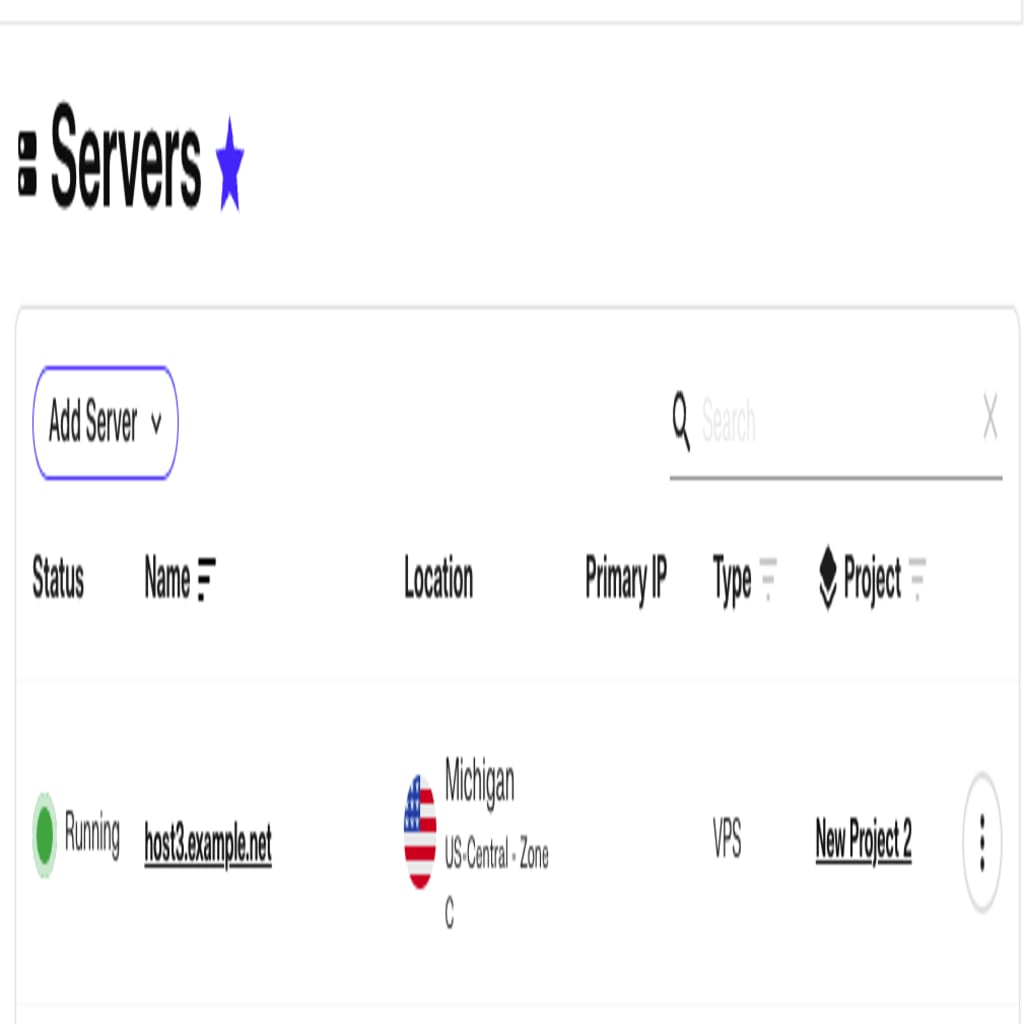
Hosting
The Hosting section of the portal provides links to various hosting services that are not tied directly to a particular server. These include Load Balancers and other hosted services like Cloud Sites and Premium Business Email.
Storage
Storage contains quick access links to Acronis backups, Cloud Block Storage, and Cloud Object Storage.
Network
The Network menu allows to access your Cloud VPN, Cloud Private Network, and Cloud IPs from one easy location.
Security
Use the Security section of the menu to access Cloudflare, Cloud Firewalls, and Hardware Firewalls.
Domains
The Domains menu has links to the Domains list, Registering a new domain, Transferring a domain, DNS settings, and SSL management. Clicking the Domains List link will load the Domains List page will all of the domains associated with your account.
Top Navigation options
At the top right side of the screen, you will see 5 buttons to access additional functionality in the portal.
Create and deploy
The create and deploy drop-down menu gives you quick access to adding servers to your account. You can also find a link to the Liquid Web marketplace where you can browse all of our products.

Cart
The shopping cart icon will take you to your current cart. If there are items in your cart, you can finish the ordering process by customizing your choices and completing your purchase.
Search
Clicking the magnifying glass icon will launch a search bar that gives you access to our Help Docs articles. These articles are designed to answer questions you might have about your account or managing your servers and services.
Support
Clicking the Question mark icon will open the Support drop-down menu. From this menu, you can view your Support Cases, open a chat, view the Help Docs collection, or access your Support passphrase.
User Menu
The final icon at the top right of the screen is the Account Menu. This drop-down menu contains links for Account management, Billing Center, Manage Users, view your Profile, and Liquid Web policies, as well as a logout button.
