An Intro to React JS
In our modern world of smartphones and applications, it is more important than ever to have a fast, responsive website that impresses your visitors. Created by the development team at Facebook, ReactJS is a JavaScript ‘framework’ or method of building web pages and apps that can ‘react’ to user interaction and external changes. ReactJS does this via components that can refresh themselves and their contents without a page reload. Better still, these components are modular. This concept means they can be coded quickly (called ‘hacking’ in the ReactJS community) and reused easily between projects.
While programming React JavaScript code is outside the scope of this tutorial, we are happy to help you and your development team hit the ground running by creating a development environment. Our focus is on getting the official ReactJS tutorial example running on a Liquid Web WHM/cPanel Virtual Private Server or VPS. Servers built on our VPS platform work well as development/testing servers and can be easily created. Feel free to spin up a VPS to follow along with us today!
A dedicated server may provide more stability for your application over the long-term once development has been completed. If your application is HIPAA related, you will need a dedicated server with HIPAA compliance hosting. The differences between the VPS and Dedicated Server platforms can be found in our Knowledge Base article. Additionally, ReactJS can also be installed on our Plesk, Windows, and Ubuntu platforms. Let’s get started!
Install NodeJS
First, we will need to install the latest version of NodeJS; This application allows our JavaScript files to import (or reference) each other, share global variables, access advanced command-line arguments, install additional modules and more.
At the time of writing, the latest version of NodeJS is 11.X Always use the most up-to-date software to ensure the stability and safety of your applications. Today we will be downloading and installing the latest version.
First, we log into our terminal and set up the NodeSource repository :
curl -sL https://rpm.nodesource.com/setup_11.x | bash -
Next, we install NodeJS and its dependencies :
yum install -y nodejs gcc-c++ make
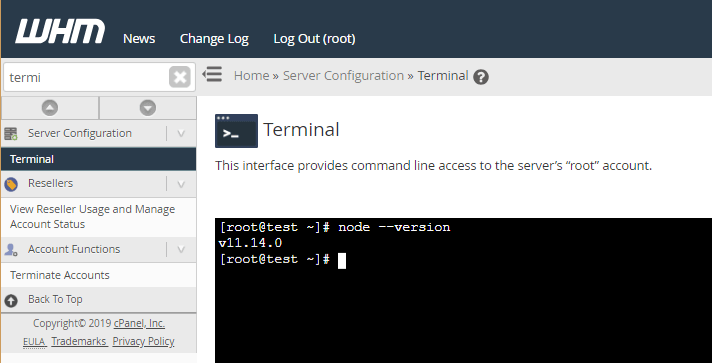
To verify the installation and check the version, we run :
node --version
Install Serve
ReactJS Apps can be served by Apache or by the lightweight “Serve” application. Serve can run alongside Apache/Nginx accomplished by running Serve on an alternate port.
To install Serve globally, we run the following command :
npm install -g serve
In this tutorial, we will be running this application on a newly created cPanel account. but it can also run on any existing account. Our cPanel username in this example is ‘react’, and our development folder meant to house our source code will be named ‘dev’. This dev folder will sit our cPanel account’s root folder (/home/react/dev). A folder can be created via File Manager or FTP, but in this example, we are doing this via the command line :
mkdir /home/react/dev/
Install ReactJS
Our next step is to use the application ‘create-react-app’ command to build the framework and install the necessary prerequisites. No need to worry about updating ‘create-react-app’, this application updates automatically when run.
This command requires a path to build properly. In our example we are running the following to build in our dev folder.
npx create-react-app /home/react/dev
The create-react-app process can take a few minutes, but it will keep you updated of progress like so :

When completed, you’ll see an overview of some important development commands and a warm welcome into the ReactJS Community.
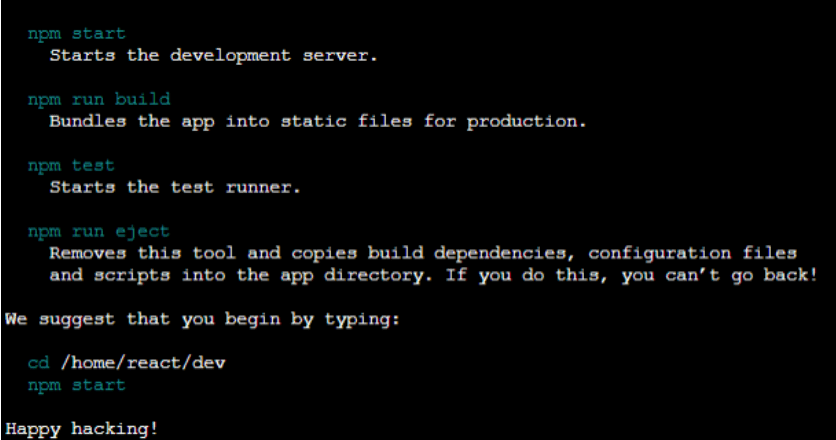
The create-react-app script generated the above files for us with default content. With that, you and your developers can begin the development process.
- .html files; These provide the structure to your app.
- .css files; These contain the styling for your app content.
- .js or Javascript Files; These provide app functionality.
Run ReactJS Default Application
While Liquid Web Support is not able to assist with code-related issues, in this tutorial, we will be going a step further by launching the default application. Finally, we’ll be reviewing and launching the ReactJS ‘tic-tac-toe game’ tutorial application.
First, let’s confirm that ReactJS is running by building the default application. We want to be in the command line and our working folder.
cd /home/react/dev/Run the following code to have React build the default package contents.
npm run build
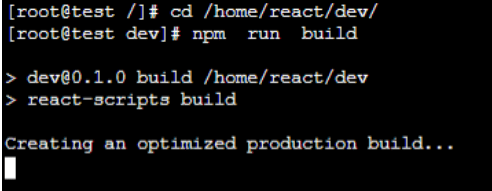
There are a few options here, by default if we use ‘Serve’ it will use port 5000; This is run by calling the following :
serve -s build

Viewing ReactJS Default App
To have our app available to the outside world, we will need to ensure that port 5000 is open in the firewall; Though this port is not open by default we can adjust that easily;
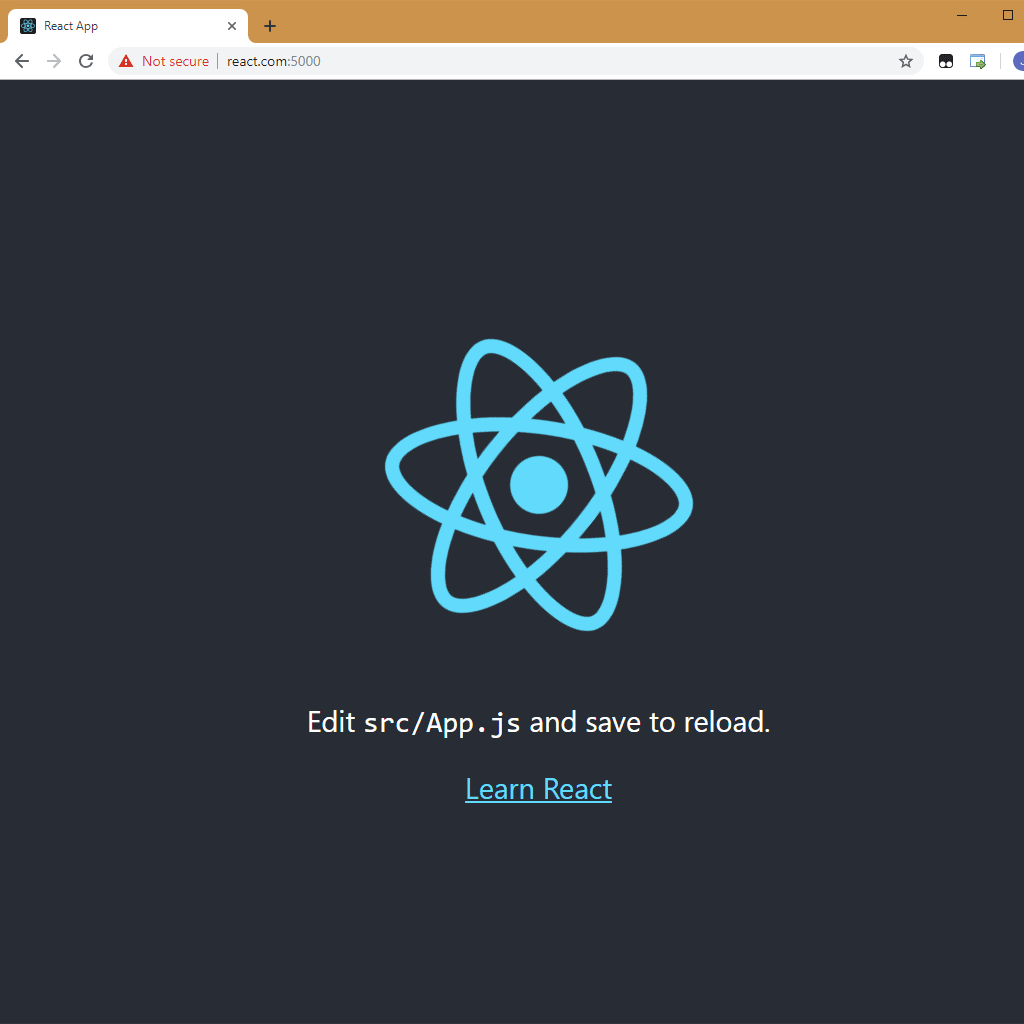
We are looking for the section called ‘Opening and Closing Ports in the Firewall’. Once implemented, you’ll see the default ReactJS application running in the browser. We do not own the domain ‘react.com’ so we will need to adjust our /etc/hosts file locally on our workstation. Here is more information on editing your /etc/hosts files.
If you own your domain and your site’s DNS ‘A’ Record pointing to the Liquid Web server IP this should also be visible to you. The default ReactJS screen looks like this if everything is configured and running properly.
Run ReactJS
It is possible to run ReactJS applications over the typical Apache or Nginx ports; Please note, running ReactJS with Serve over port 80 means Apache or Nginx would need to be disabled. If the primary focus of your server is to handle this application, Apache can be disabled server-wide. Serve is a very lightweight application and works very well. If you do not have another service running on port 80; The following command will start ‘Serve’ on port 80.
PORT=80 serve -s build

The above can be adjusted to a different port as well. In this way, multiple ReactJS applications can be run on the same domain. In addition to this, Apache can serve your ReactJS application as static content. To do so, we would need to copy the contents of our application’s /build folder to the desired location within the directory configured for web delivery.
In our case, we will be copying /home/react/dev/build to /home/react/public_html. This can be done on the command line with :
cp -r /home/react/dev/build /home/react/public_html
Depending on how you built the application package, you may need to adjust the permissions of your files. In our case, the ownership of these files was set to ‘root’. In response to this, we are changing the ownership to ‘react’.
In this example, we are going to be adjusting all files in the public_html folder to be owned by the user ‘react’ with the following command :
chown -R react. /home/react/dev/public_html/*
To have Apache serve the above, we are going to be adjusting the .htaccess configuration in our project.
vim /home/react/public_html/.htaccess
With our text editor, we are going to be adding the following :
Options -MultiViews

RewriteEngine On

RewriteCond %{REQUEST_FILENAME} !-f

RewriteRule ^ index.html [QSA,L]
If everything is configured correctly, you should now see the contents of your application as delivered by the Apache service when visiting your site. You now know the basics of how to get the default ReactJS environment running on a Liquid Web Linux WHM/cPanel VPS Server!
Example ReactJS Application
We are going one step further here by going over a tutorial. This tutorial goes over every aspect of getting started with ReactJS with great detail into programming some components needed to get a running tic-tac-toe game. We advise going line by line through the code as well as the documentation. With this knowledge, you can build your own application. The best source for ReactJS syntax and concepts can be found in their documentation. Feel free to take your time going through these examples and documentation; There is a lot to go through, but you can start small and build your way up. Today we are going to copy the contents of the Final Code to see how they run on our Liquid Web Server.
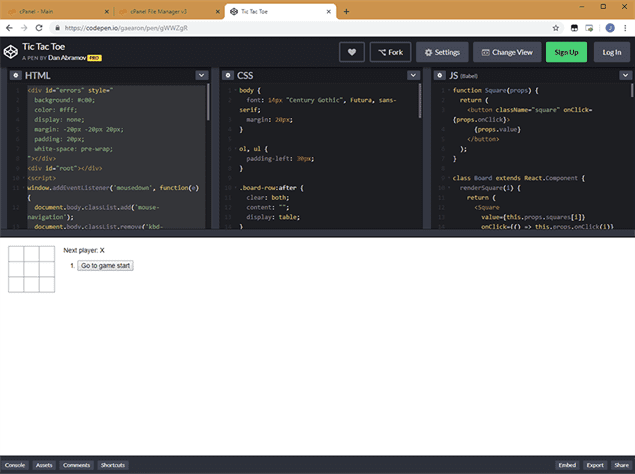
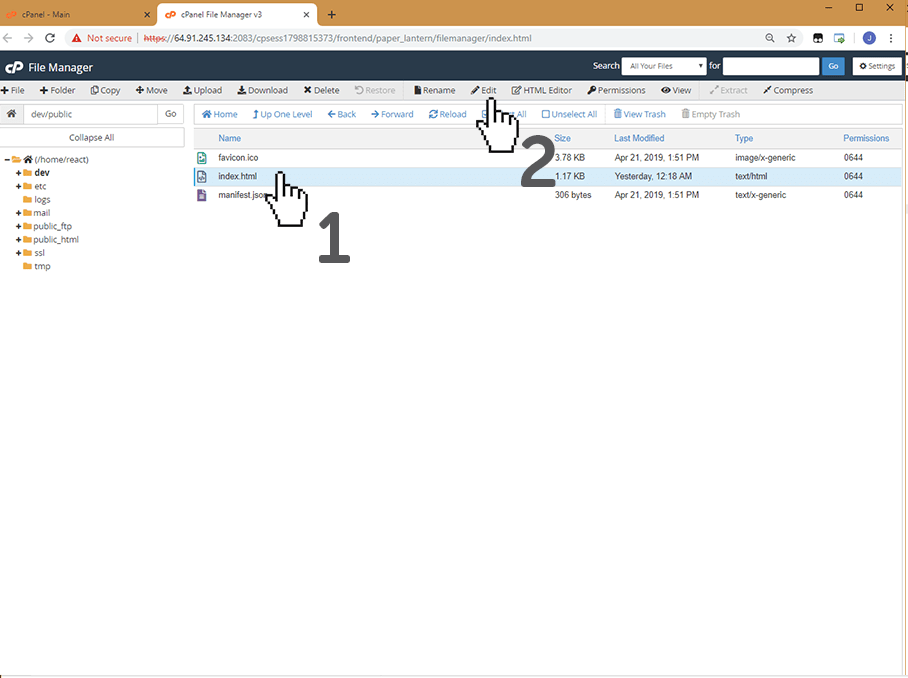
There are multiple ways to adjust the contents of index.html, index.css, and index.jss files. While outside of the scope of this tutorial, you can use other command line text editing tools, FTP, cPanel’s File Manager tool, Git and many more to edit files. In our case, we are using the cPanel File Manager Text Editor. Here is a walkthrough of this interface and how to edit files using the file manager.
First, we open the File Manager, navigate to the location of our file /home/react/dev/public/index.html, then we select the index.html file ( 1 ) and click“Edit” ( 2 )
We are going to be copy-pasting the code from CodePen into our server-side files.
Second, we do the same with /src/index.css.

Finally, we copy paste the contents of /src/index.js.
At the top of the index.js file, we add some needed code; This is necessary for referencing the React installation and our CSS files.
import React from 'react';

import ReactDOM from 'react-dom';

import './index.css';
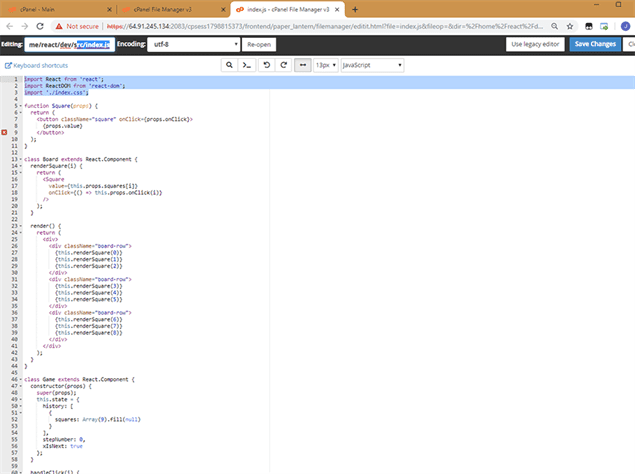
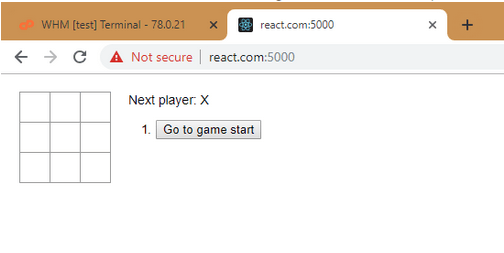
With all three files copied over, we are going to rebuild our project. To rebuild, we will go back to our development folder and rerun our build script. With that, we can test by serving our new build with our serve script. By visiting react.com:5000 we see our tic-tac-toe game live on our Liquid Web server!
In conclusion, we went over what ReactJS offers developers, installed ReactJS along with customization. WIth the official documentation, you now have all you need to build out your dream application. We cannot wait to see what you have in mind!
Have other thoughts or questions about this topic? Our Sales and Support teams are available 24 hours a day and can be reached via phone or e-mail to assist. Open a support ticket with us today at support@liquidweb.com, giving us a call at 1-800-580-4985 or, open a chat with us and we’ll be happy to answer any questions you may have!
Related Articles:

About the Author: Jonai Alvarez
Our Sales and Support teams are available 24 hours by phone or e-mail to assist.
Latest Articles
How to use kill commands in Linux
Read ArticleChange cPanel password from WebHost Manager (WHM)
Read ArticleChange cPanel password from WebHost Manager (WHM)
Read ArticleChange cPanel password from WebHost Manager (WHM)
Read ArticleChange the root password in WebHost Manager (WHM)
Read Article


