Adding Multiple Mailboxes in PBE and Hosted Exchange
Just like adding a single mailbox, adding multiple mailboxes at once is nearly an identical process for both Premium Business Email and Hosted Exchange. Adding Multiple mailboxes comes in handy for migrating your email to Liquid Web Premium Business Email or Hosted Exchange. With just a simple spreadsheet, you can create all the mailboxes you need for your organization. Let’s take a look at how!
Click on the product you have below to see the directions:
Note:
Pre-Flight Check
Before you start your upload, you will want to format an Excel spreadsheet or CSV so that you avoid any issues with the upload.
In the example provided above, the username, password and enabled/disabled columns are required to be completed in your file. Additional information such as the first and last name, alternate email, organization, contact information are optional and can be completed at a later date by the user.
Premium Business Email
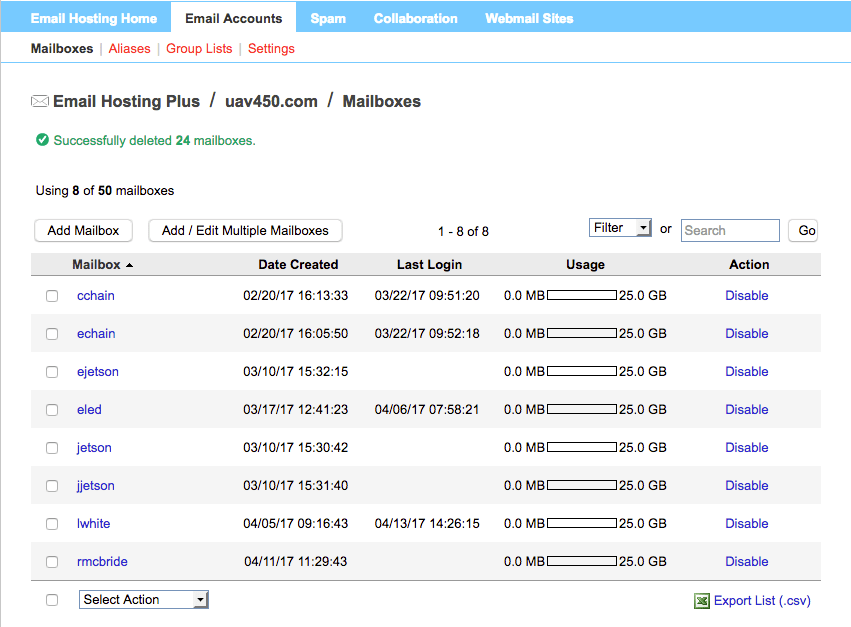
- Once you’ve created the file you are going to upload, navigate to the Email Accounts tab in your control panel.
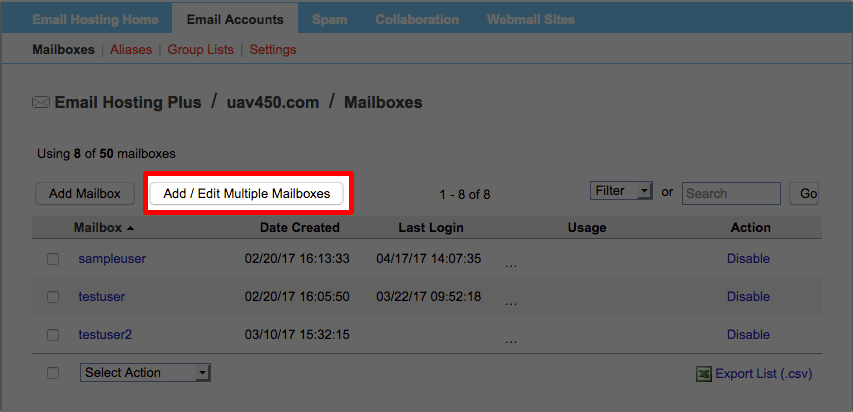
- Click the Add/Edit Multiple Mailboxes button.
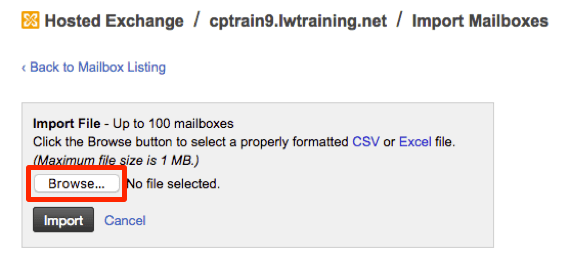
- To upload your file, click the Browse… button and select the file from your computer. Selecting the checkbox to overwrite existing mailbox details will allow you to import changes made to mailboxes already created.
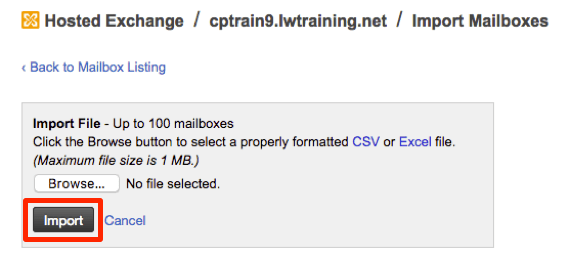
- Click the Import button to begin importing the file.
- You will be redirected to a status page for the upload. You do not have to stay on this page while the file loads.
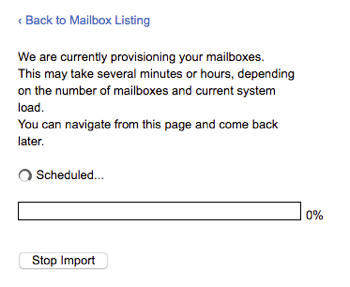
Note:Depending on the number of mailboxes being created and user data entered for them, it can take a few moments or a few hours for the mailboxes to create. - When your upload has completed, you will be directed back to the Mailboxes page and you will see the new mailboxes in the user list.
Note:
If you have blank rows in your CSV or Excel spreadsheet, an error will occur after upload. The system will tell you certain mailboxes could not be created. This is only for the blank rows, the rows you have populated with information will show in your Mailboxes list.
Hosted Exchange
- Once you’ve created the file you are going to upload, navigate to the Email Accounts tab in your control panel.
- Click the Add/Edit Multiple Mailboxes button.

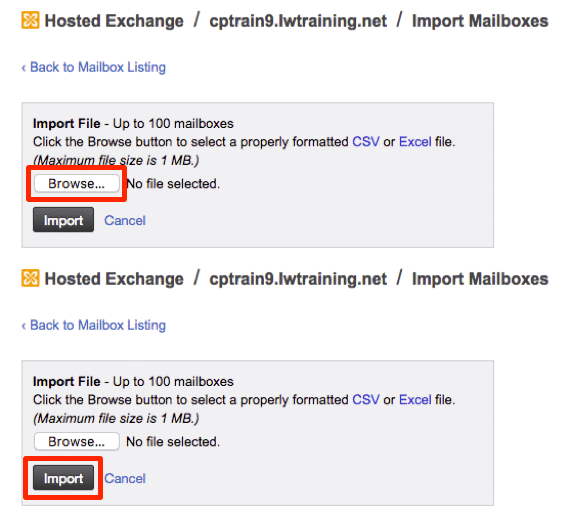
- To upload your file, click the Browse… button and select the file from your computer. Click the Import button to begin importing the file.
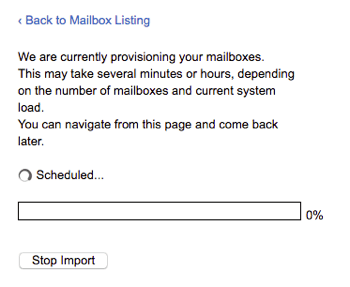
- You will be redirected to a status page for the upload. You do not have to stay on this page while the file loads.
Note:
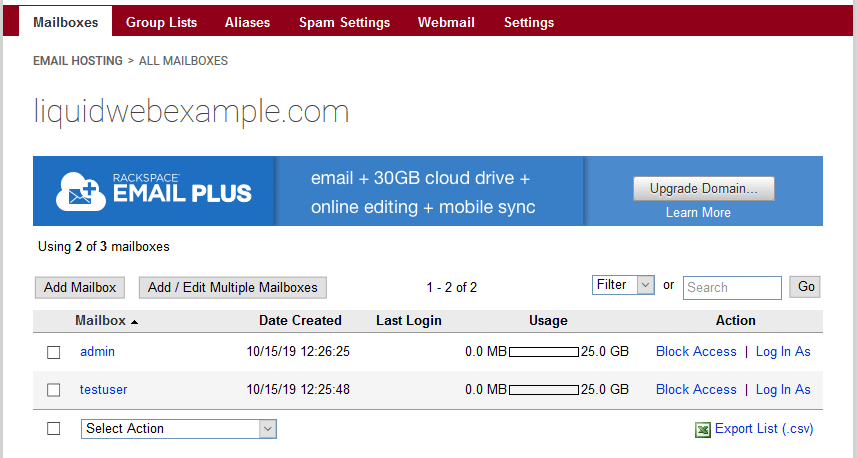
Depending on the number of mailboxes being created and user data entered for them, it can take a few moments or a few hours for the mailboxes to create. - When your upload has completed, the newly created mailboxes will show on the Mailboxes home page.
Note:
If you have blank rows in your CSV or Excel spreadsheet, an error will occur after upload. The system will tell you certain mailboxes could not be created. This is only for the blank rows, the rows you have populated with information will show in your Mailboxes list.
Related Articles:

About the Author: Libby White
Former technical writer for Liquid Web. When Libby is not writing for work, she spends time learning more about digital & technical writing, web development, hanging with her family, and taking photographs with her Nikon. Always learning, always growing, never stopping.
Our Sales and Support teams are available 24 hours by phone or e-mail to assist.
Latest Articles
How to use kill commands in Linux
Read ArticleChange cPanel password from WebHost Manager (WHM)
Read ArticleChange cPanel password from WebHost Manager (WHM)
Read ArticleChange cPanel password from WebHost Manager (WHM)
Read ArticleChange the root password in WebHost Manager (WHM)
Read Article


