


How to Set Up a Domain to use Liquid Web’s Name Servers
Using Liquid Web’s name servers to manage DNS for your domains has never been easier. You can quickly add your domain to our nameservers using your my.liquidweb.com account.
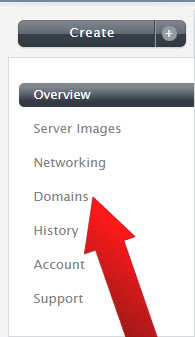
Once you are logged into my.liquidweb.com, click on Domains in the left-hand column.
Right in the middle of the page you will find the Create A DNS Zone section. In the Domain Name field, enter the domain name you are setting up DNS for. Just to the right of that, select an IP from your server or servers from the dropdown menu. This IP address will be used for all records in the domain’s zone file.
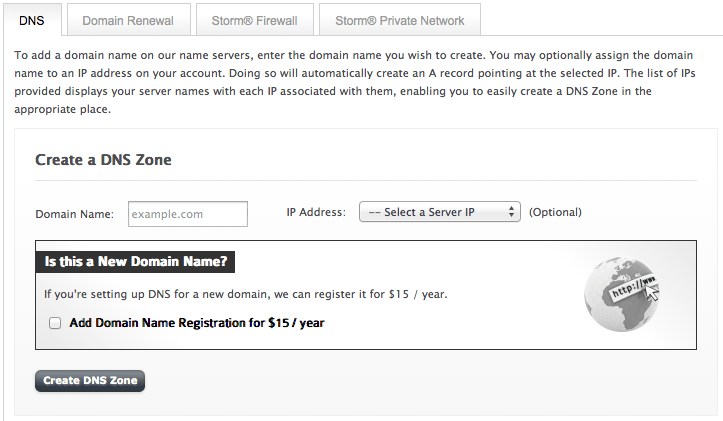
If you do not own the registration for this domain, and it is available to be registered, you can check the box to register the domain for one year. Most domain registrations can be completed for $15/ year.
Once everything looks correct, click the Create DNS Zone button.
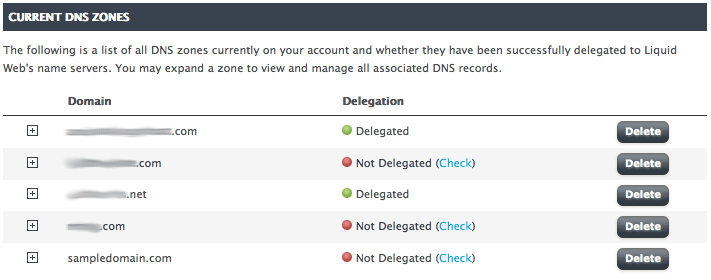
Find your desired domain and click on the + next to the domain name. This will allow you to edit DNS records for the selected domain. It’s important to note that “delegated” means that ns.liquidweb.com or ns.sourcedns.com (including ns1 for both; Liquid Web owns and operates both name servers) is controlling the selected site’s DNS settings. If a site is not delegated, the changes that you make will not have any effect on users around the world.
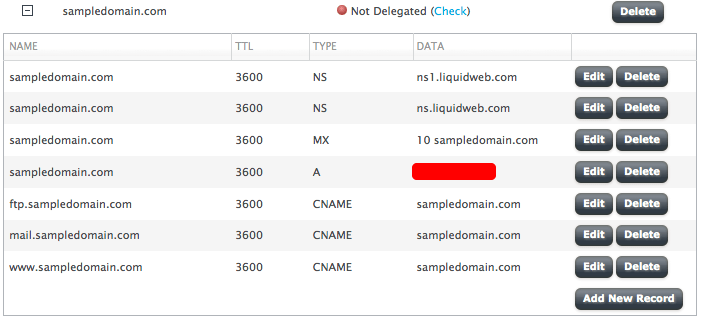
The red space is where the site’s IP address should be located. On your screen, you would have numbers there in the form of a standard IP address, such as 127.0.0.1. If you need to update that IP, you can click on the Edit or Delete buttons. If you need to add an entirely new record, simply click on the Add New Record button instead.
Please know that this is intended as a basic overview of how to manage DNS settings from the manage.liquidweb.com interface and is not intended for use as an exhaustive guide.
Related Articles:


About the Author: J. Mays
As a previous contributor, JMays shares his insight with our Knowledge Base center. In our Knowledge Base, you'll be able to find how-to articles on Ubuntu, CentOS, Fedora and much more!


Our Sales and Support teams are available 24 hours by phone or e-mail to assist.
Latest Articles
How to use kill commands in Linux
Read ArticleChange cPanel password from WebHost Manager (WHM)
Read ArticleChange cPanel password from WebHost Manager (WHM)
Read ArticleChange cPanel password from WebHost Manager (WHM)
Read ArticleChange the root password in WebHost Manager (WHM)
Read Article