How to Create a Custom Single Post Template with Kadence Hooked Elements
The Kadence Theme Kit Pro plugin offers powerful layout customization through Hooked Elements. This feature allows you to design fully custom Single Post templates without touching code. This guide will walk you through creating a custom Single Post layout using Kadence blocks, including:
- Dynamic post titles
- Featured images
- Post content
- Layout structuring with Row Layout blocks.
- WordPress Comments block
- Optional breadcrumbs with Kadence shortcode
What you’ll need:
- Kadence Theme is installed and active.
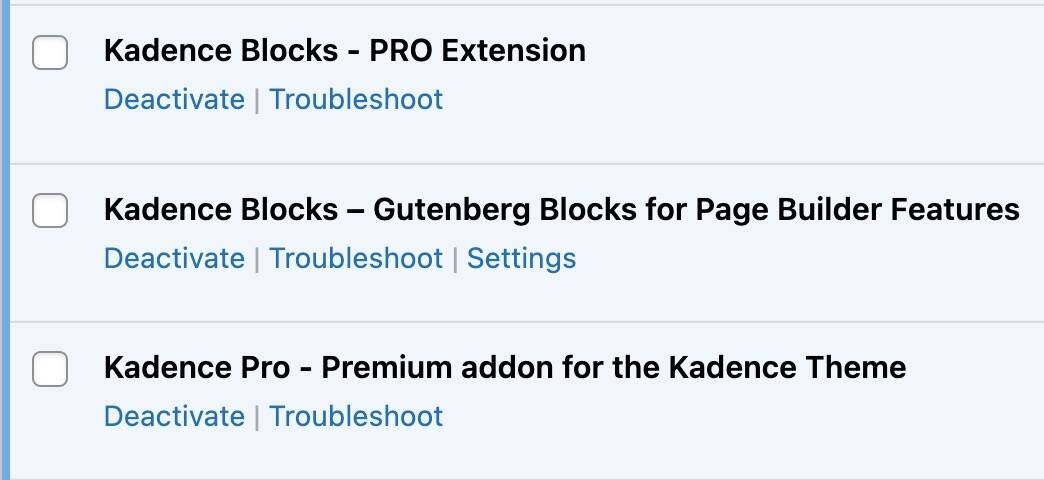
- Kadence Blocks plugins (Free and Pro) are installed and active.
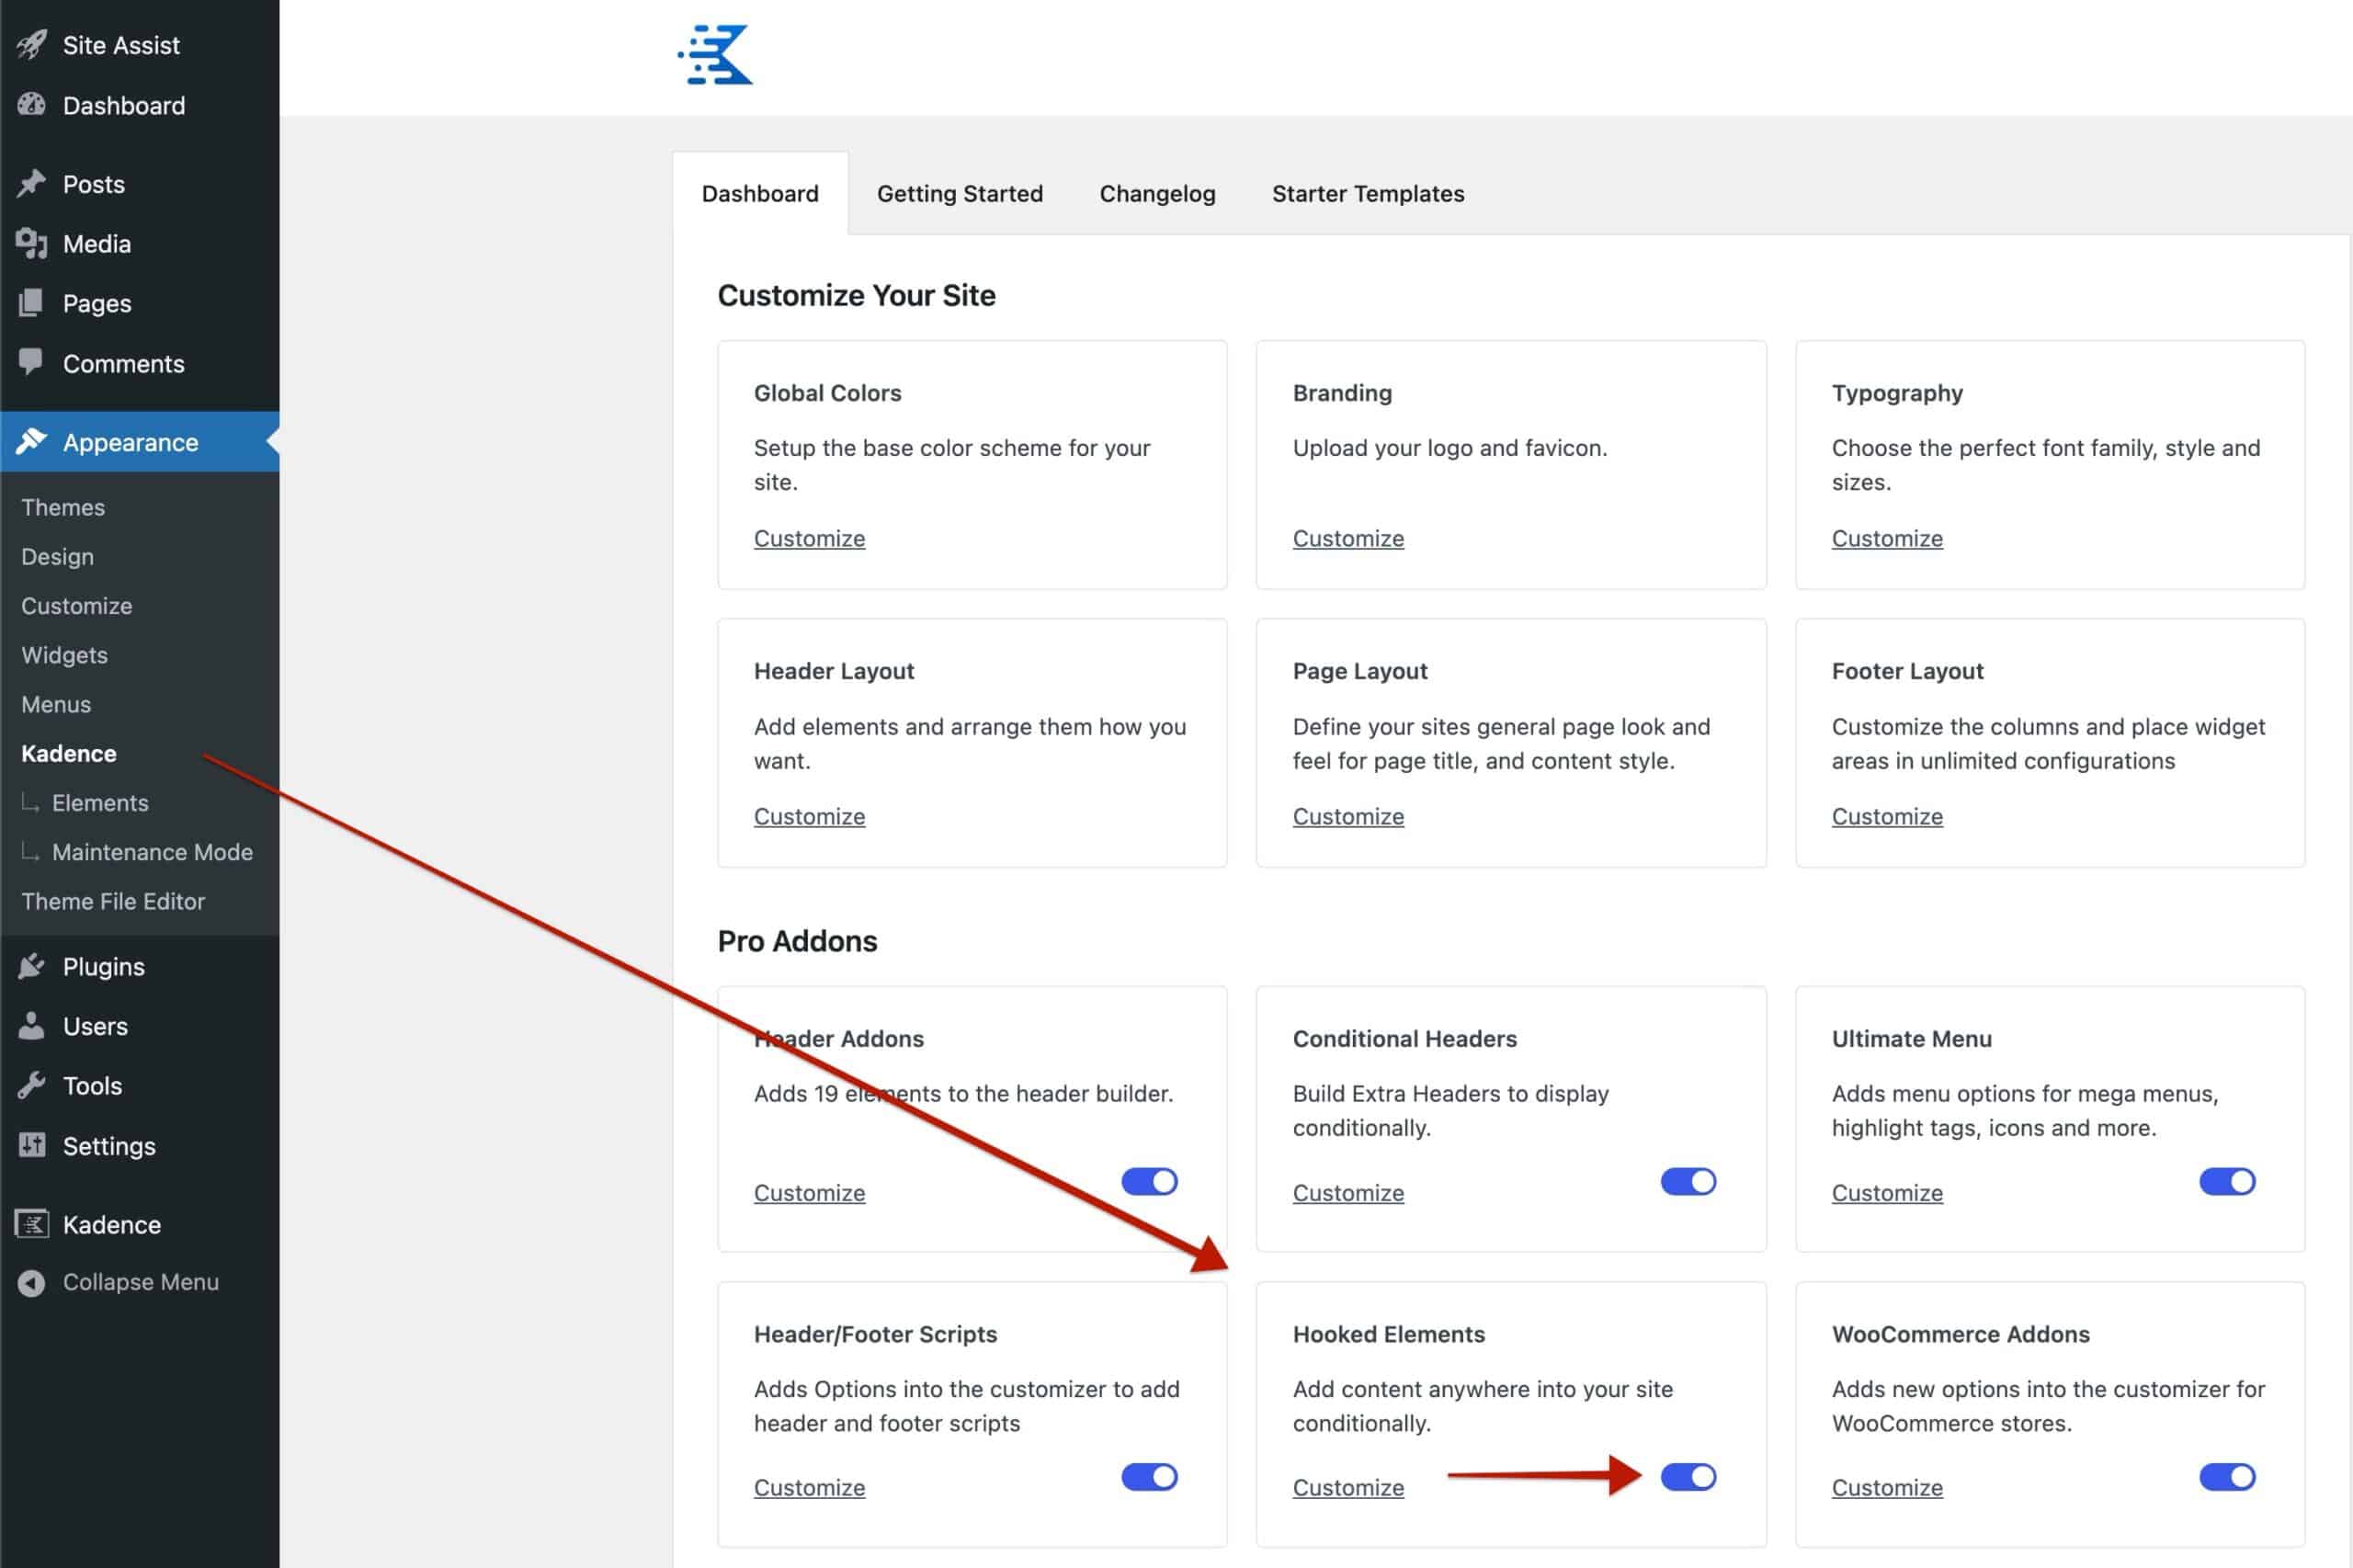
- Kadence Pro Addon with Hooked Elements enabled.
1. Create a New Hooked Element
- In your WordPress dashboard, go to Appearance > Kadence > Elements.
- Click “Add New” and choose “Template”.
- Give your element a name like “Custom Single Post Template”.
2. Design the Layout Using Kadence Blocks
- Add a Row Layout Block.
- Choose Row Layout (select single or multi-column based on your layout needs)
Select a 2-column layout to create:
- A main content area
- Area for “sidebars”.
3. Insert Dynamic Single Post Title
- Add the Text(Adv) block to the column (Section) of the Row Layout block.
- Click the “Dynamic Title” icon at the top toolbar.
- Choose “Post Title” for the Content option.
- Retain the “Current Post” selection for the Content Source option. This means the block will dynamically show the content of the current post that the user is viewing.
- Optional: Style the text using the block settings.
4. Add the Featured Image
- Add an “Image(Adv)” block
- Enable “Use Dynamic Image”.
- Set the source to “Post Featured Image”.
5. Add the Post Content
- Add a Dynamic HTML block.
- Select “Post Content” for the Source option.
6. Add WordPress Comments Block
To allow user interaction on your posts, add the “Comments” block. Add it after the block that shows the post content.
7. Add Breadcrumbs (Optional)
Some users will want to show breadcrumbs. While we don’t have a block to show them, there is an available shortcode to call.
- Add a Shortcode block before the post title.
- Add this code:
8. Set the Hooked Element (Template) Settings
- Placement: Choose
Replace Single Post Content - Display Settings → Show On: Select
Single Posts- Note that you can select a Custom Post Type or Single Pages here, depending on your intended use.
- User Settings: Choose which users can see this (e.g., All).
9. Publish and review
- Publish the hooked element.
- Go to Dashboard > Posts and view multiple posts to review how the template looks.
After following the steps here, experiment with different block layouts or use conditional display rules to target specific content types to customize further.
Reach out to Kadence Support if you encounter any issues.