

Getting Started with Kadence Site Assist
Kadence Site Assist guides you on setting up your Kadence website efficiently and thoroughly. Site Assist is a feature available with the free Kadence Starter Templates plugin. Whether you are a WordPress expert or a beginner, Site Assist helps set up the foundation of your website, such as the Site Logo, Colors, Security Configurations, and more.
Getting Started
To get started with Site Assist, you must install and activate the free Kadence Starter Templates plugin. You can find this plugin by going to the Dashboard -> Plugins -> Add New Plugin page and searching for “Kadence”.

Once the Starter Templates plugin is active on the website, you can access the Site Assist settings from the Dashboard -> Site Assist -> Site Assist page.

This document will walk you through each step of the Kadence Site Assist setup process from start to finish.
Basic Site Setup
The Basic Site Setup helps establish your website identity. From setting the title, tagline, and icon, to setting up the language and timezone. These steps will guide you in setting up your General WordPress Settings for your website.
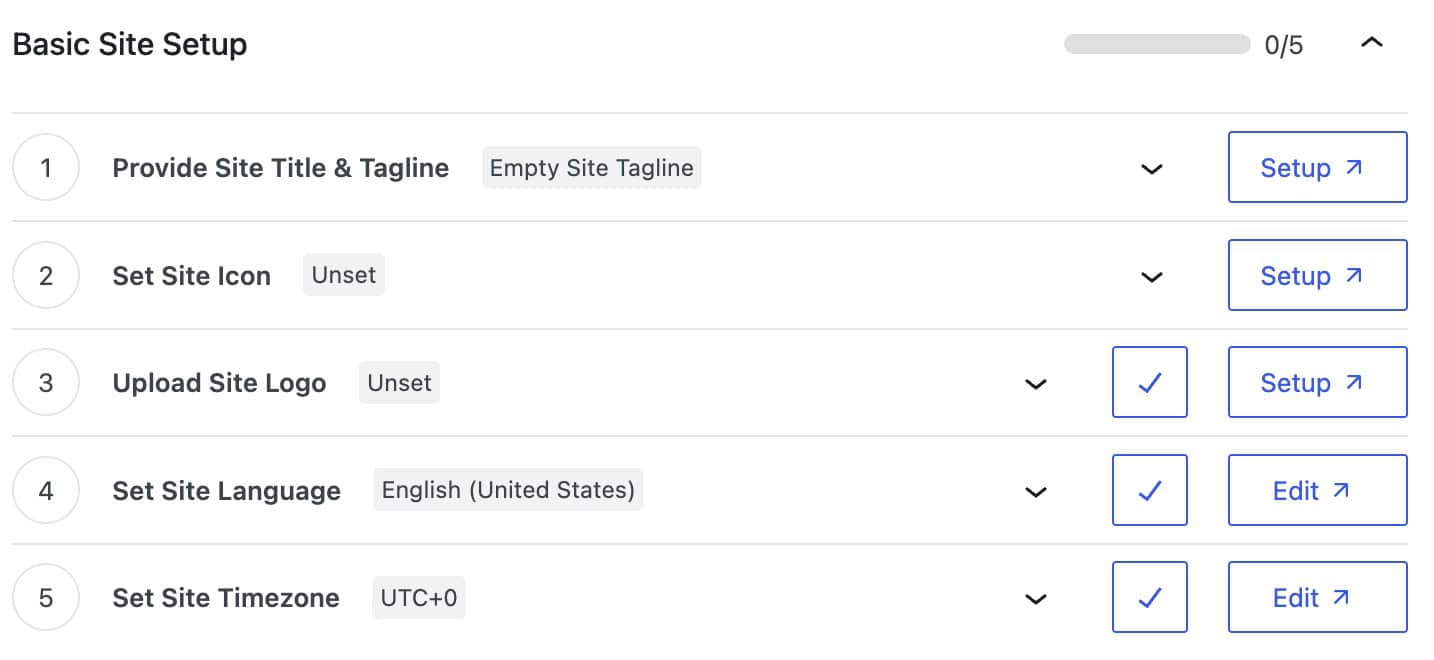
Provide Site Title & Tagline
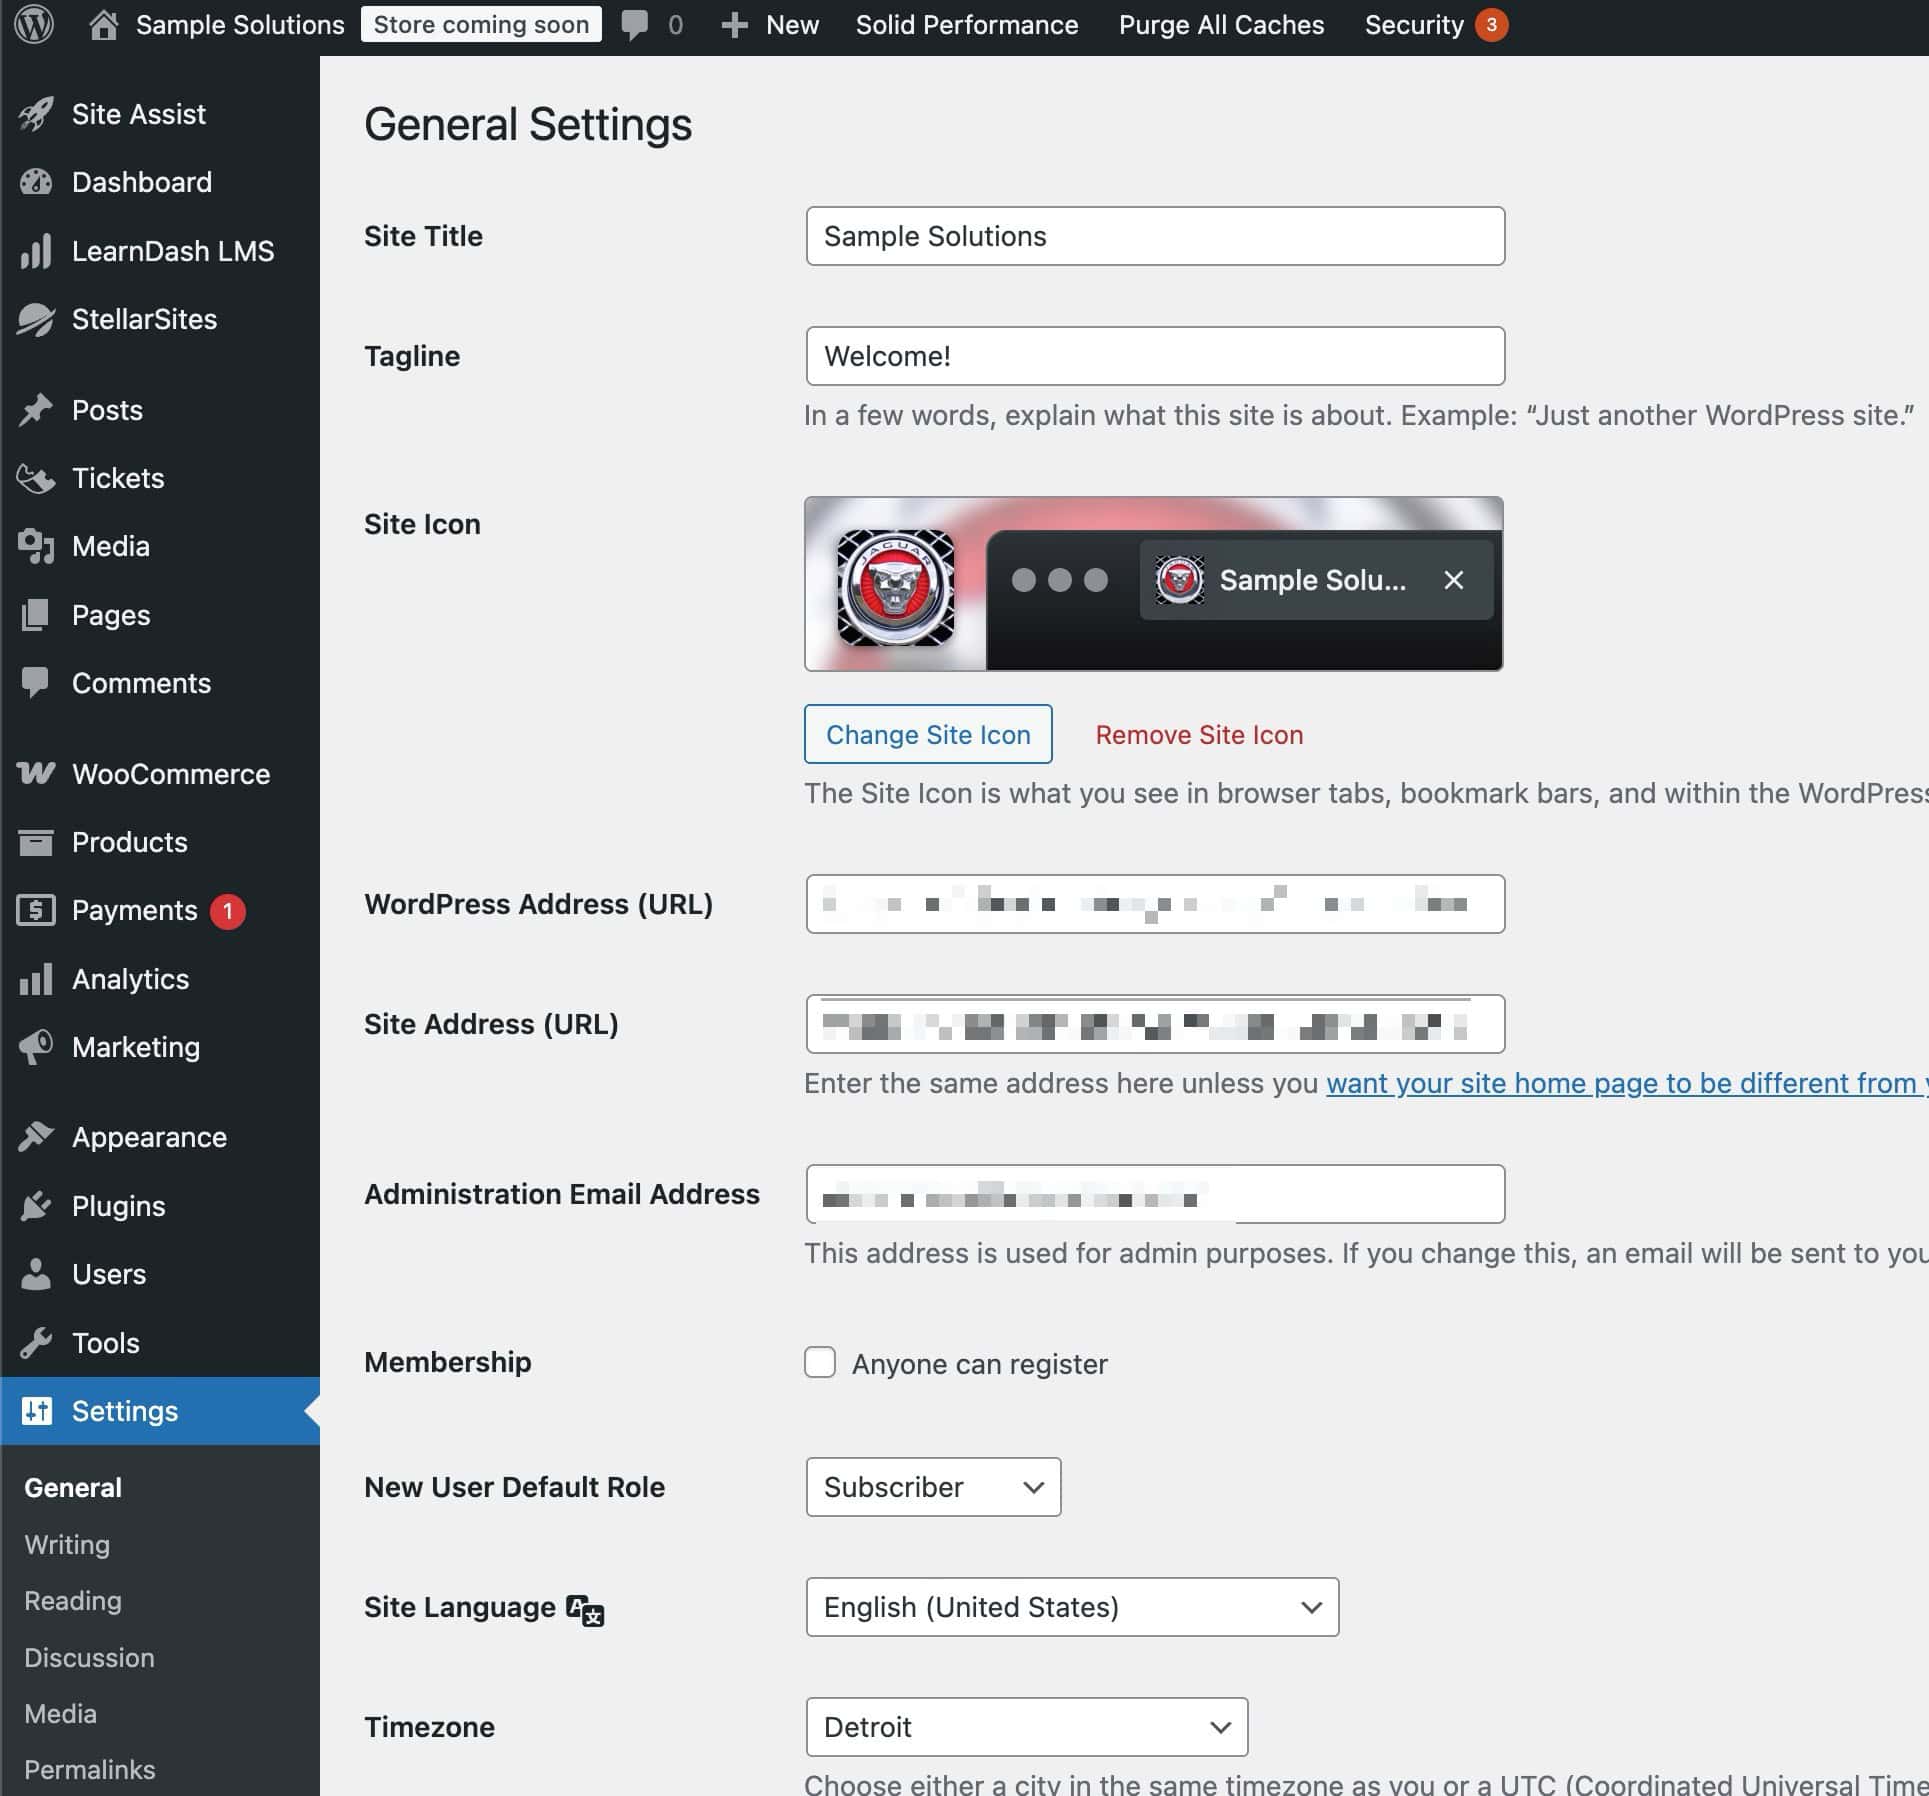
The first step is to provide the Site Title & Tagline. Once clicking on the Setup button, you will be brought to the Dashboard -> Settings -> General page.
You can adjust the first two fields to set the Site Title and Tagline.
Set Site Icon
The Site Icon can be set from the Dashboard -> Settings -> General page. The Site Icon represents the Favicon and will be displayed as the Site Icon in web browsers and other applicable areas.

Upload Site Logo
The Site Logo can be set from the Customizer -> Header -> Site Identity settings. The logo will appear in the website header across your website.
Adjust the Logo Max Width setting to control the overall Size of the logo.
Use the Logo Layout settings to choose what you want to display: just the logo, the logo with your site title, or the full combo of logo, title, and tagline.
You’ll also be able to choose how these things are positioned. Options include:
- Logo on the left, title on the right
- Logo on the right, title on the left
- Logo above, title below
- Title above, logo below

Set Site Language
Set the default Site Language. This will determine which language WordPress will use and your website code will identify your site as using. (This setting can be found on the Dashboard -> Settings -> General page.)

Site languages can also be set on a user-to-user basis by editing the user from the Dashboard -> Users page.
Get Site Timezone
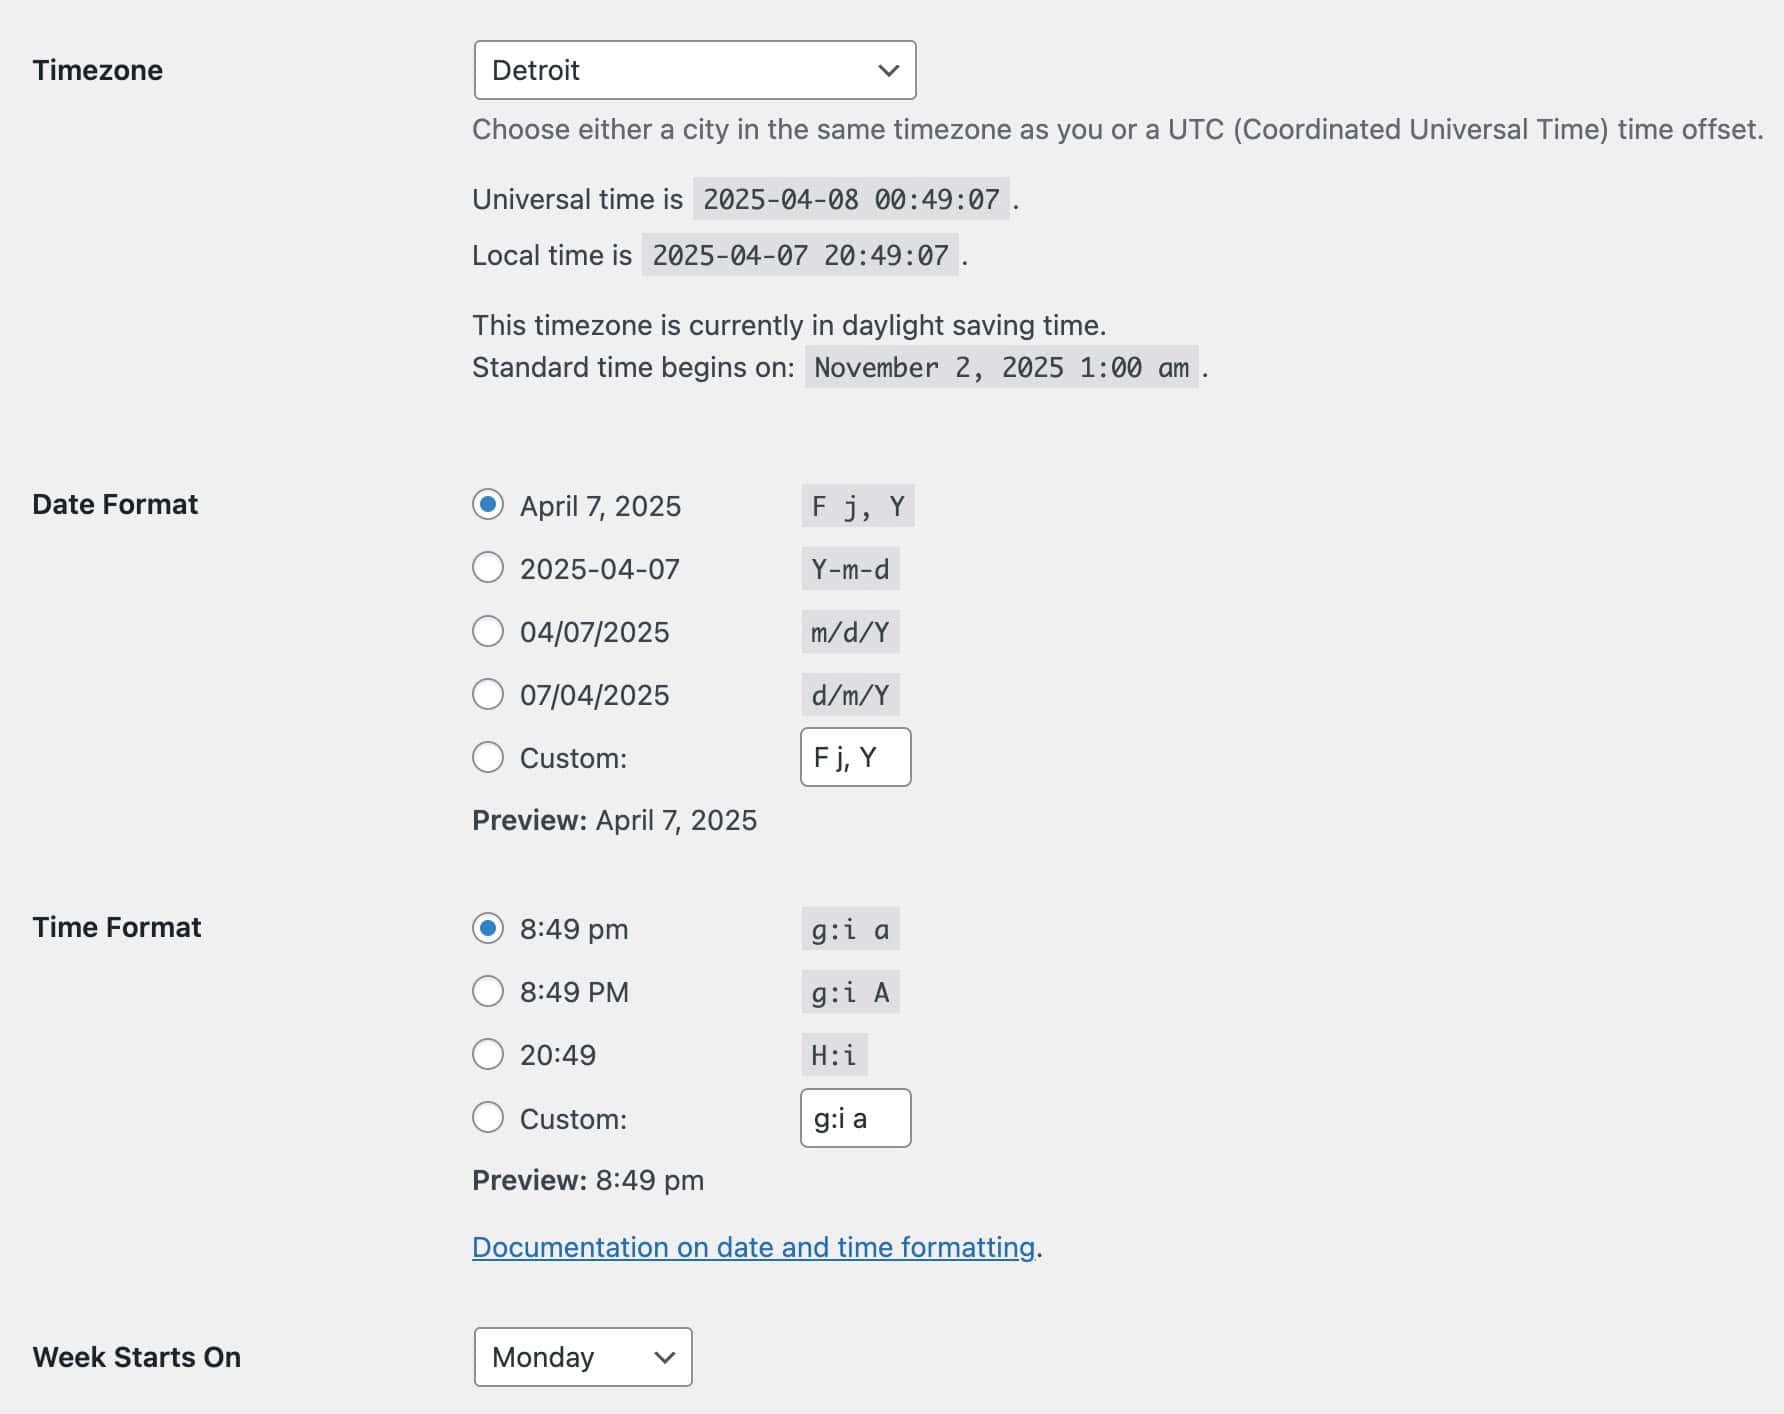
Set the official website Timezone. You can choose either a city in your desired timezone or a UTC Time Offset.
Use the Date Format setting to control the format of dates across your website.
Use the Time Format setting to control the format of specified times across your website.
Use the Week Starts On setting to control which day of the week is the first day of the week.
Design & Customization
Customize Colors
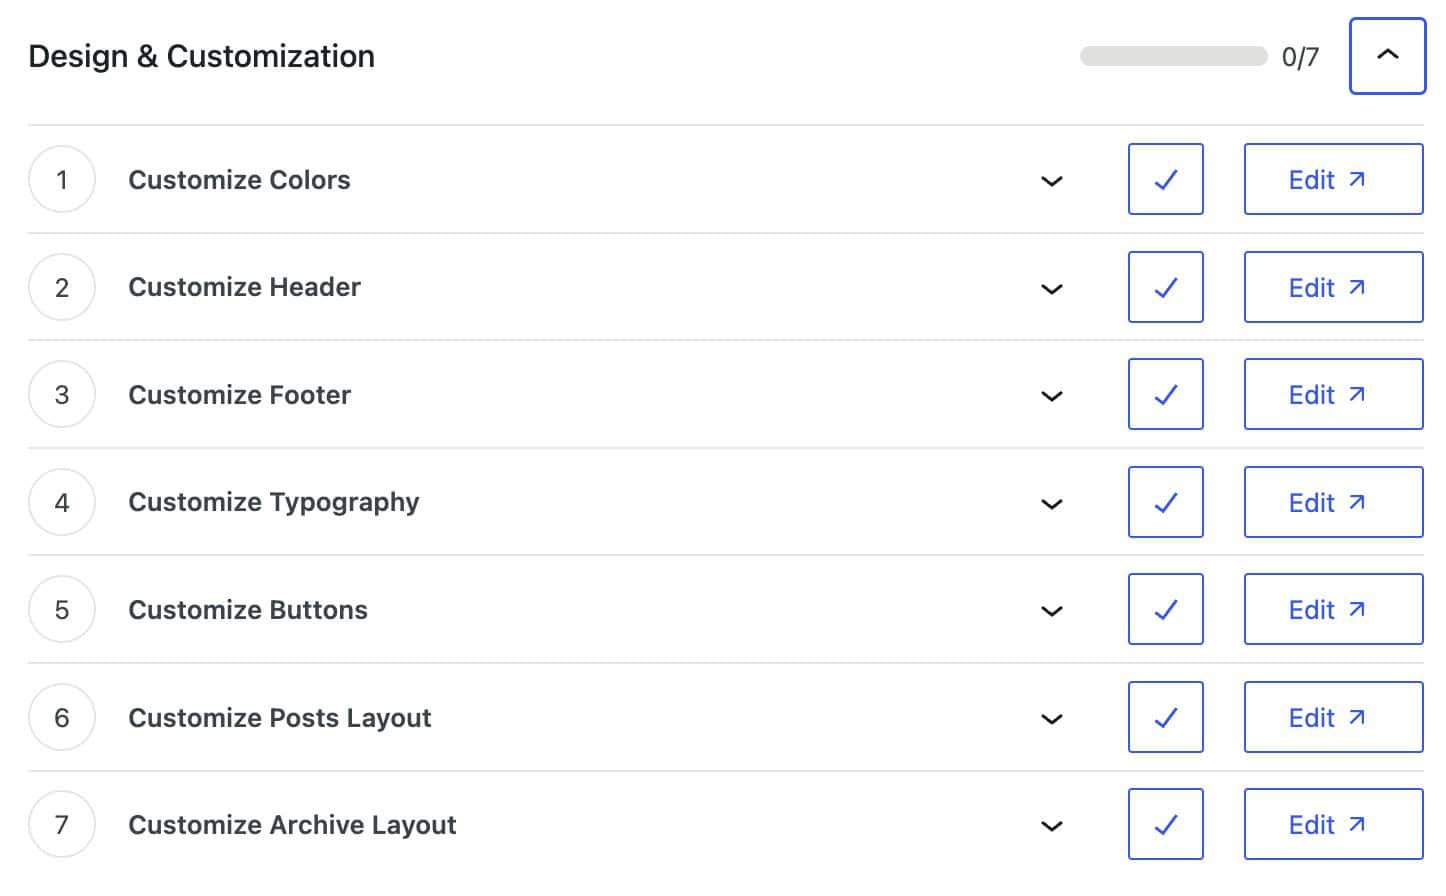
The first Design & Customization step is to Customize the Colors. This includes setting up the Website Global Palette and other basic color styles. This option will bring you to the Customize -> Colors & Fonts -> Colors settings. Notice the settings offer a desktop, tablet, and mobile icon. Use these Icons to control these settings responsively.
Use the Global Palette settings to adjust the Global Palette Colors. Learn how to properly set up your Global Palette by clicking here.
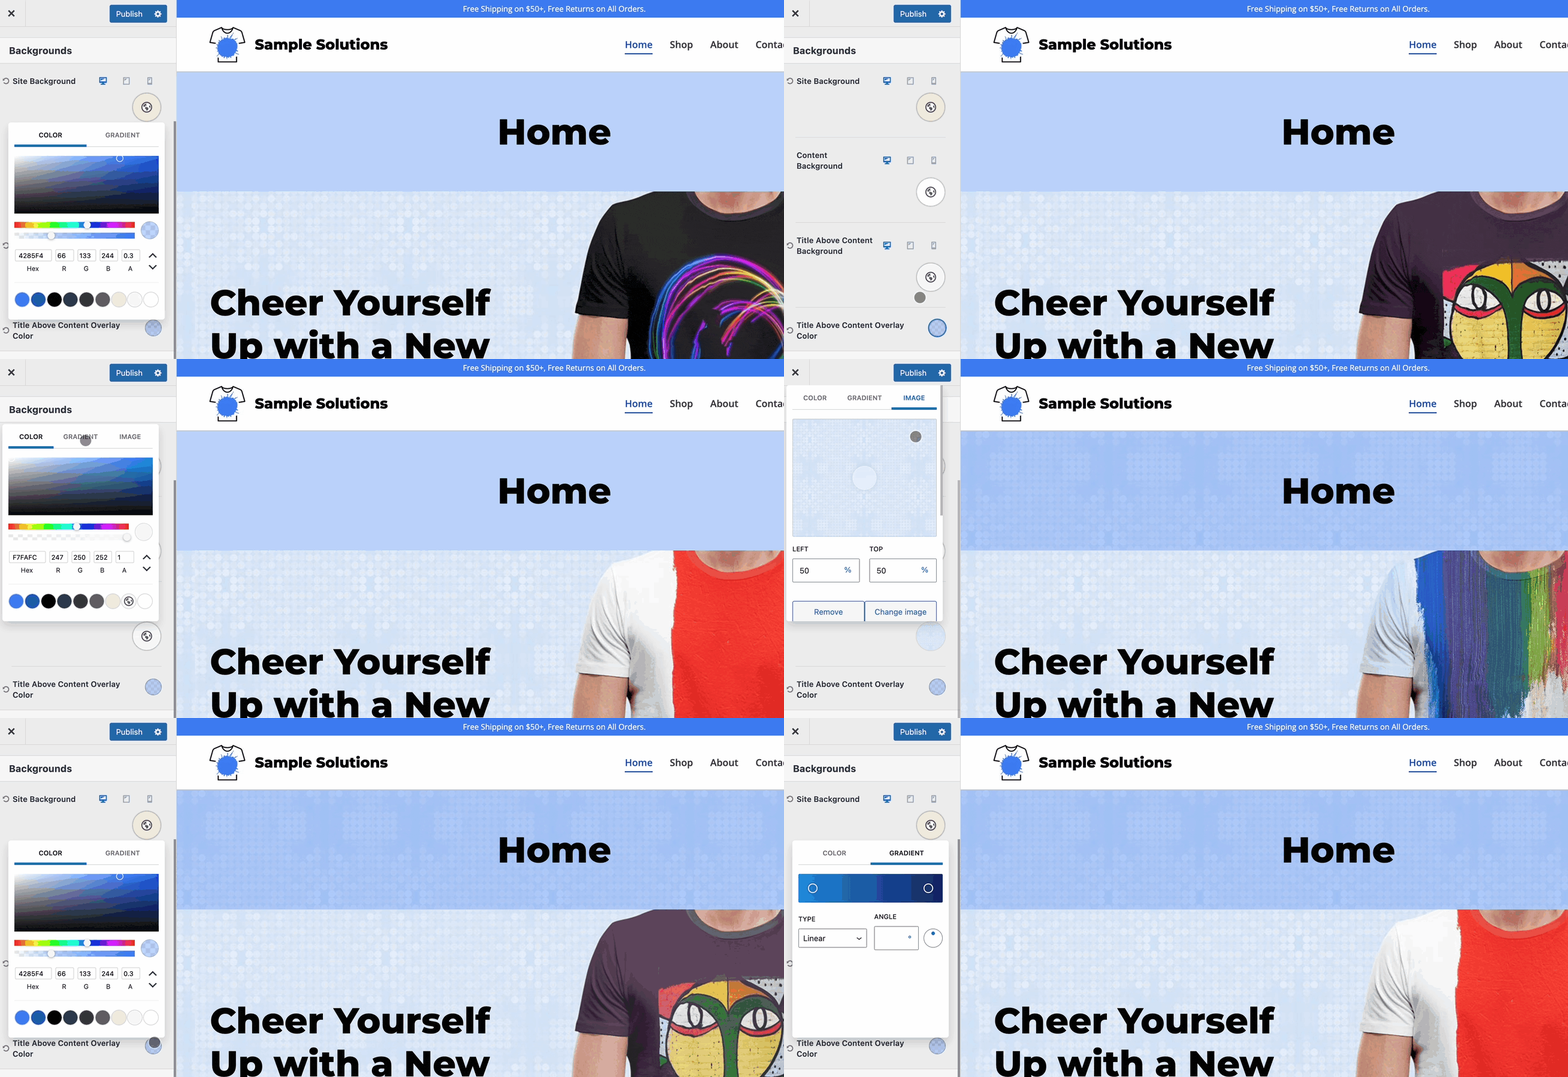
Use the Site Background setting to set the Site Background. This is for the main website and will appear as the main layer under the content layer. This Background is only viewable on Boxed-Styled-Content.
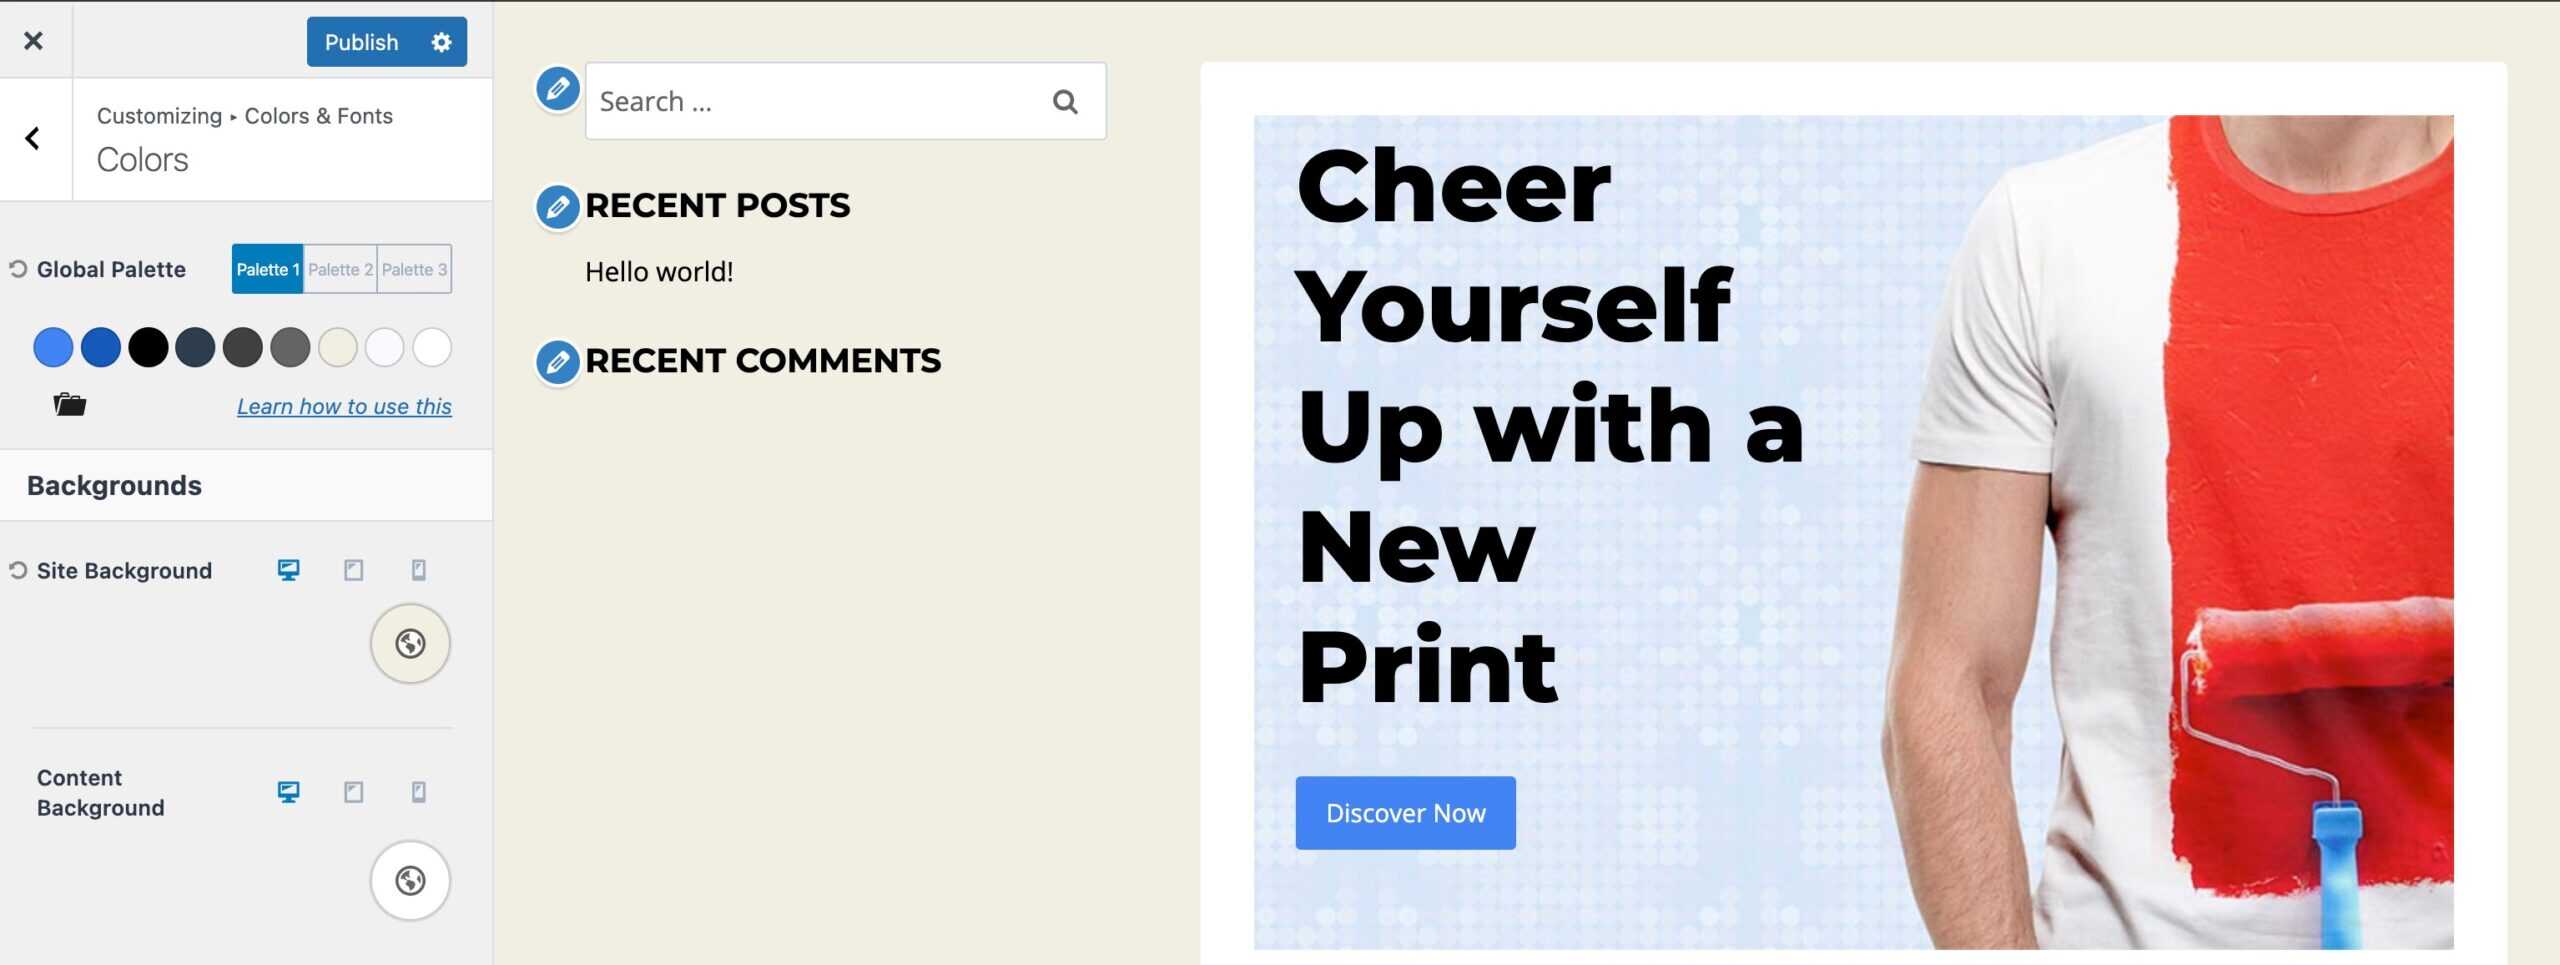
Use the Content Background setting to set the Content Background Color. This is the main Background Color for UnBoxed-Styled-Content and the secondary background for Boxed-Styled-Content.
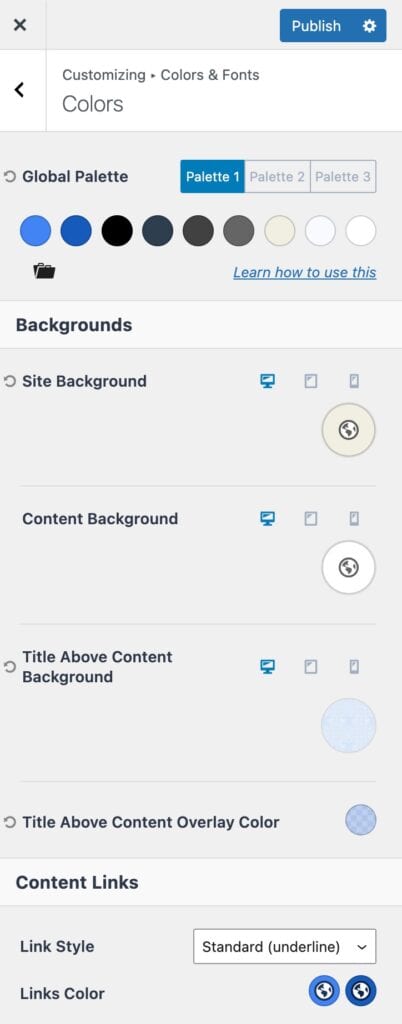
Use the Title Above Content Background setting to control the Color of the Title Above Content background. This setting offers the use of a Color, Gradient, or Image.
Then, use the Title Above Content Overlay Color setting to control an Overlay Color. You can use a Solid Color or a Gradient.
Customize Header
The next step is to set up and customize the Header. This will bring you to the Customize -> Header settings.
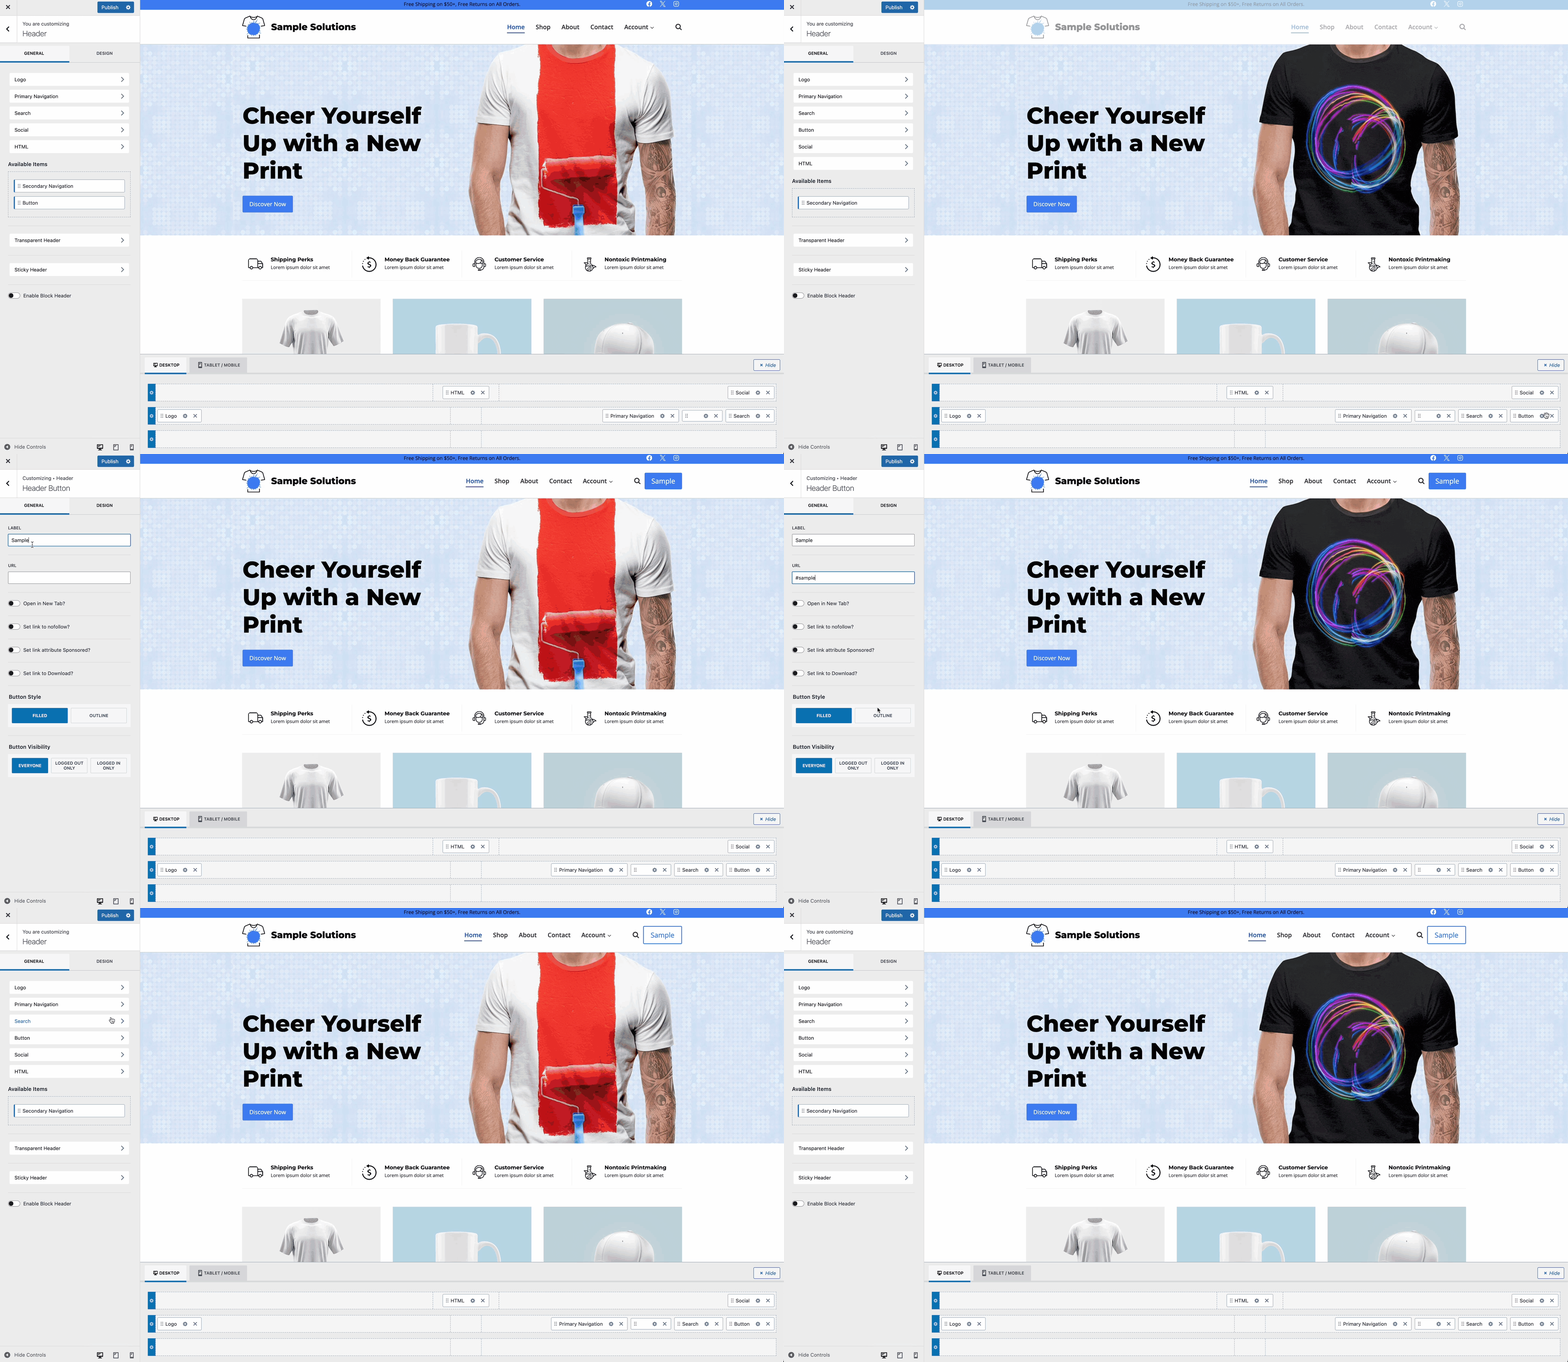
Header Items can be dragged from the Available Items list in the Customizer settings or by clicking on the Plus Icon of a section within the Visual Builder.
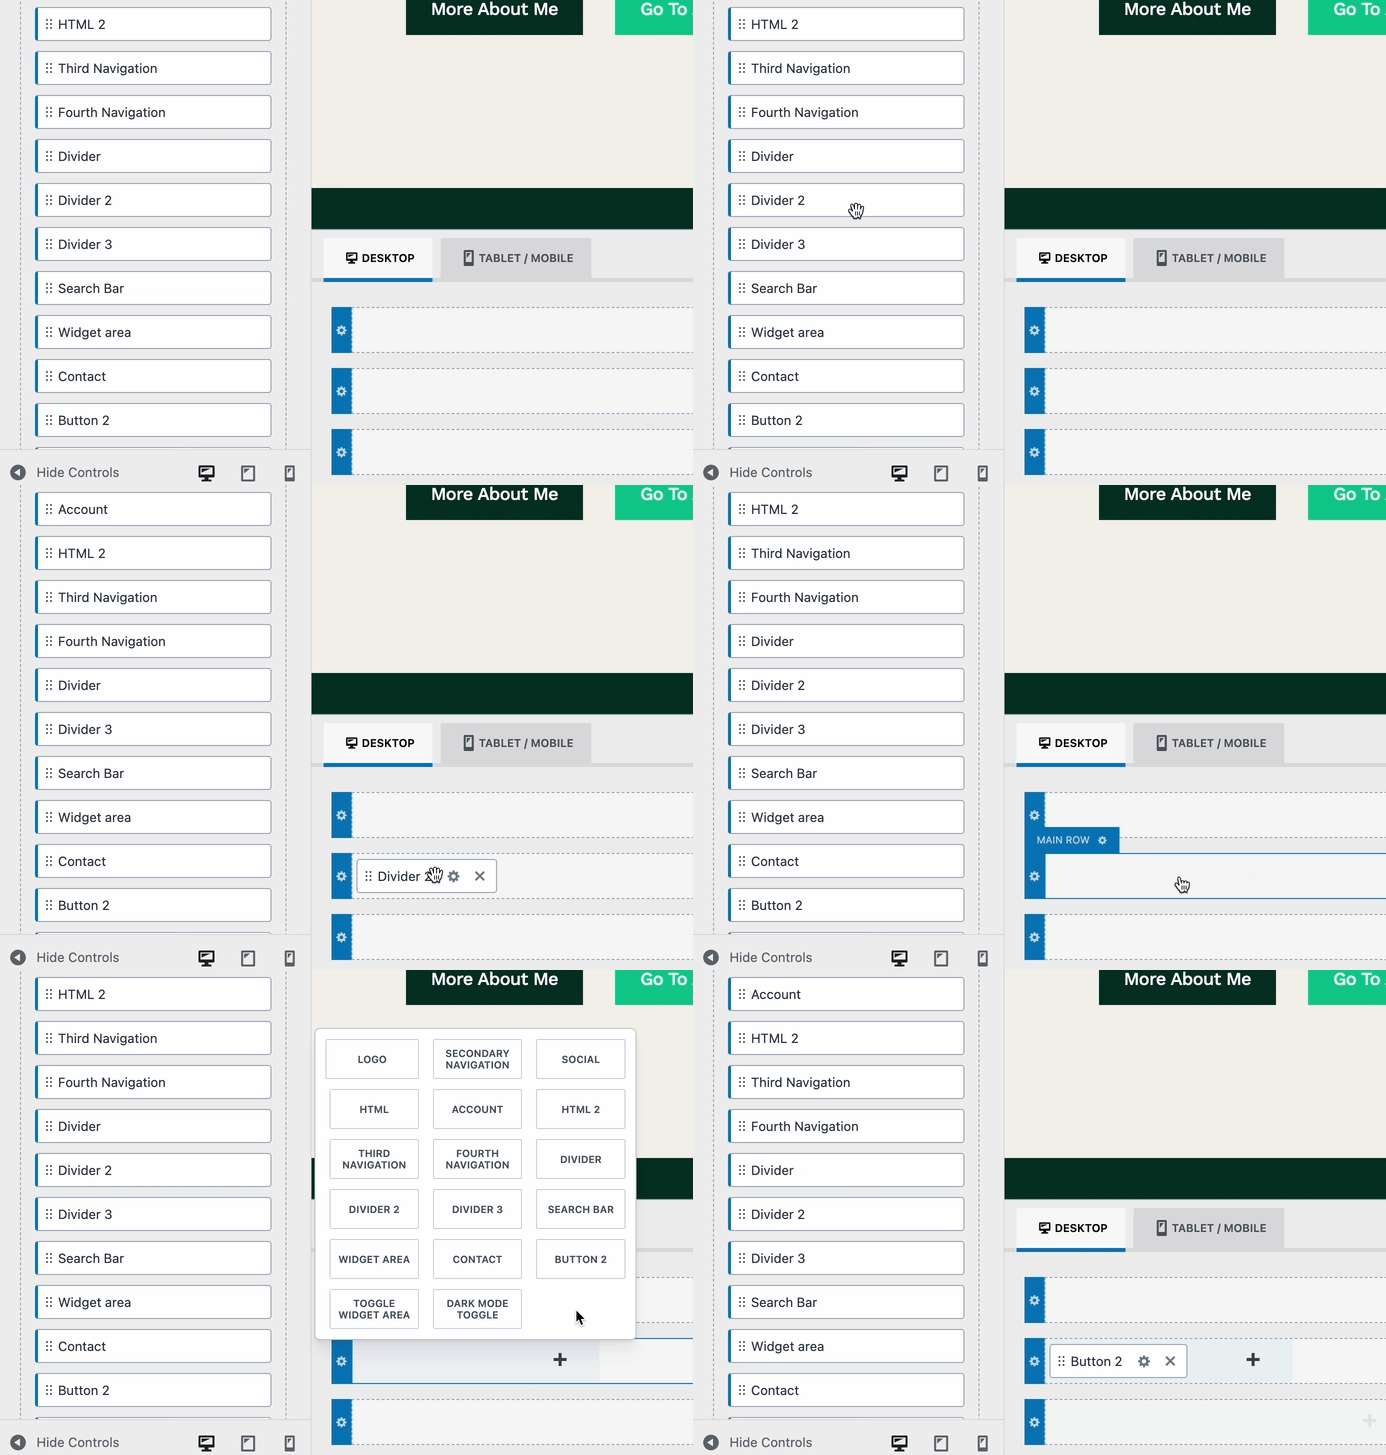
When customizing the Theme Header, Header Items, and Header Rows, use the General and Design settings to control their behavior and appearance.
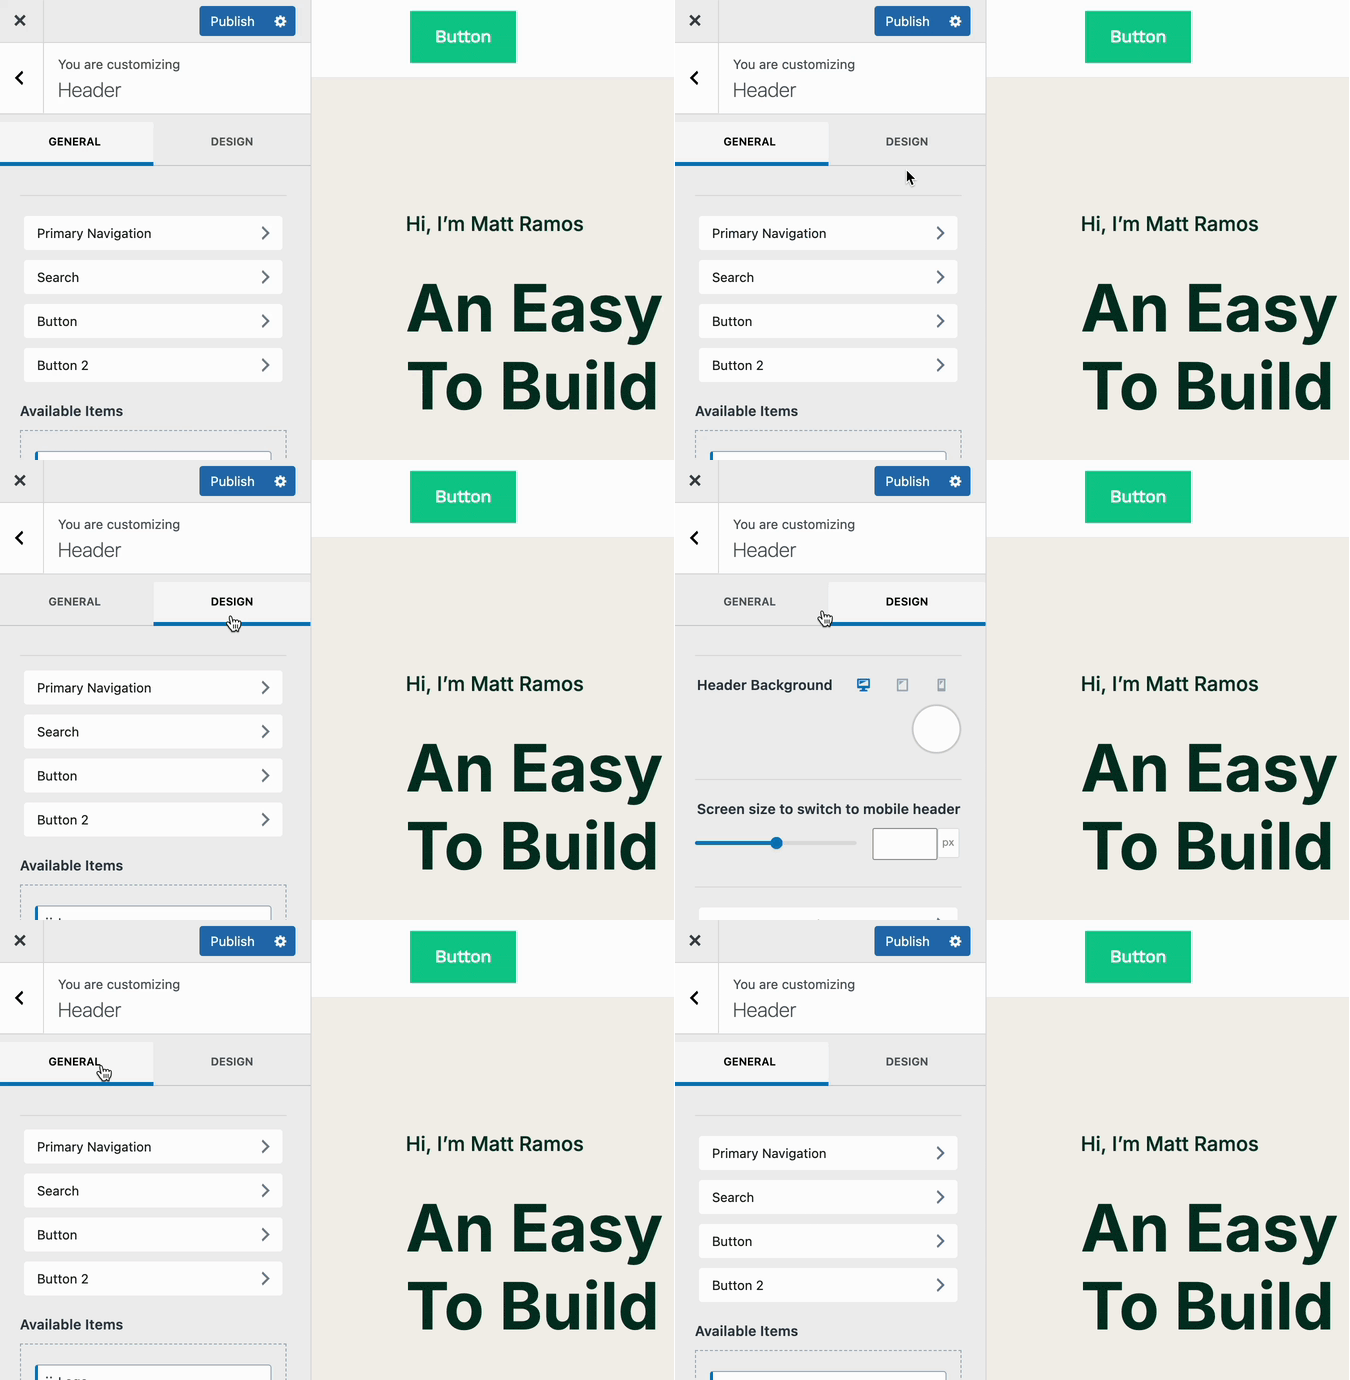
To learn more about the Kadence Theme Header and how to customize it to meet your needs, consider viewing the resources below.
- How to customize the Theme Header
- Transparent Headers
- Sticky Headers
- Creating Mobile Navigations
- Conditional Headers
- Kadence Theme Header Main Knowledgebase
Customize Footer
The next step is to set up and customize the Footer. This will bring you to the Customize -> Footer settings.
Use the Footer General and Design Tab to control the main Footer Functionalities and Styles.

To customize the Footer, drag and drop items from the Available Items list into the Footer area. Above the Available Items, you’ll find item names accompanied by an arrow icon, representing setting tabs for each item currently in the footer. As you add items, they’ll appear in this list, allowing you to click on any item tab to customize its settings individually.
You can learn more about the Kadence Theme Footer Builder by clicking here.
Customize Typography
The Typography Settings control the Font Color, Size, and other Styles across your website.
The Base Font controls the basic font across the website. For example, in paragraph text and navigation texts.
The Heading Font Family option allows you to set a font that applies across all headings. Notice each Heading Font is set to inherit, which inherits this main font. You can change any individual font by manually selecting the heading font.
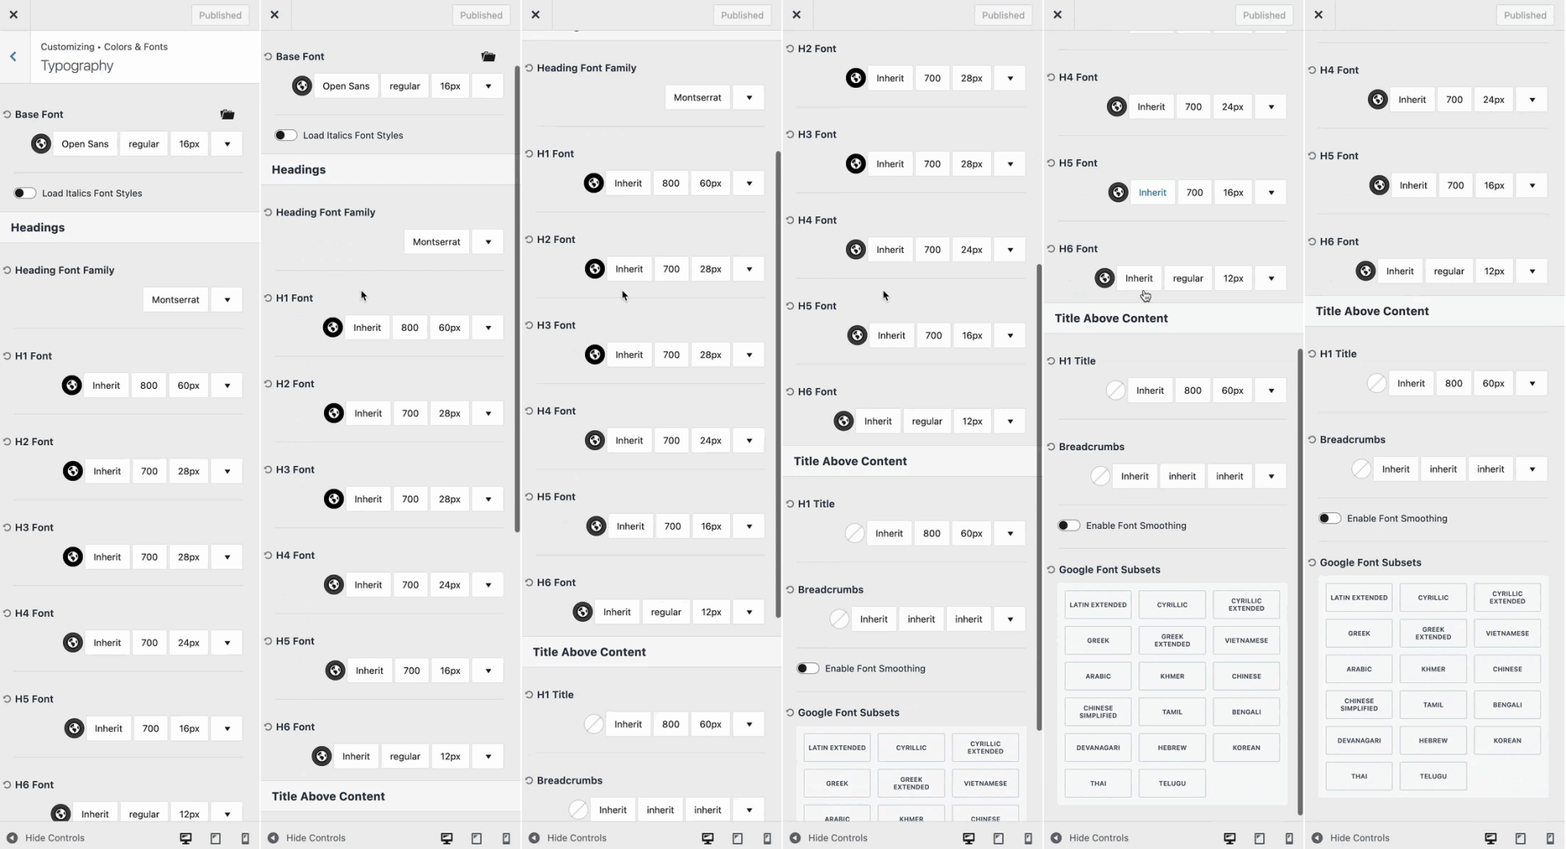
Use the Color Picker to select a Font Color. Then, you can use the Font Selector to set a specific font. On the side of the Font Selector, you can set the Font Weight. Next to the font weight, you can set a specified Font Size and adjust additional font settings.
On the far right of the Typography Setting, use the dropdown arrow to view an example of the current font setting selection.

Customize Buttons
The Customizer -> Colors & Fonts -> Buttons settings allow you to adjust the styles of buttons across your website. This includes the Text Colors, Background Colors, Border Settings, and more.
Click here for a complete overview of the Kadence Theme Button settings.

Custom Posts Layout
Use the Customizer -> Post/Pages Layout -> Post Layout settings to control the layout of Single Posts on your website.
You can also navigate to the Customizer -> Post/Pages Layout -> Page Layout to adjust the layout of Pages on your website.
Click here to learn more about the Customizer Posts/Pages Layout settings.
Custom Archive Layout
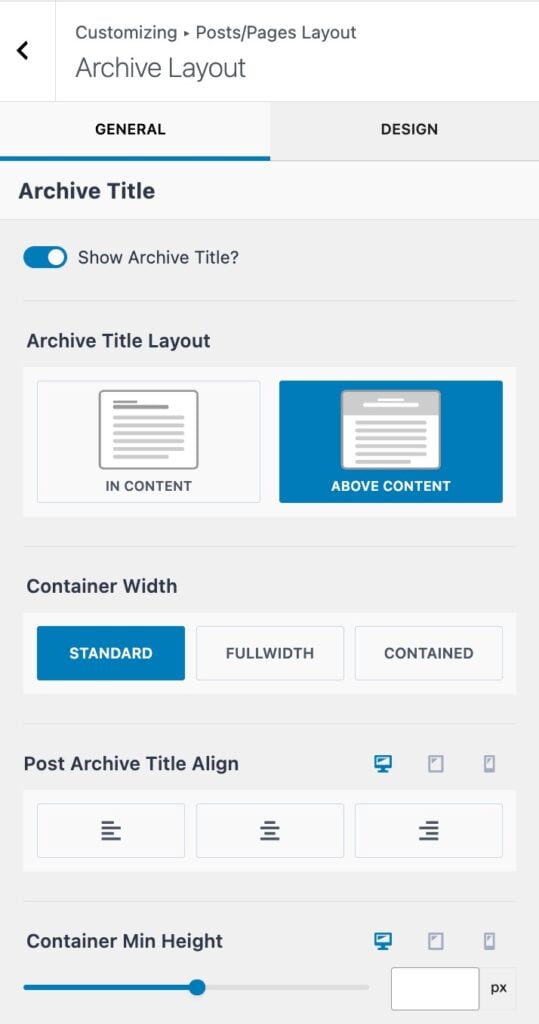
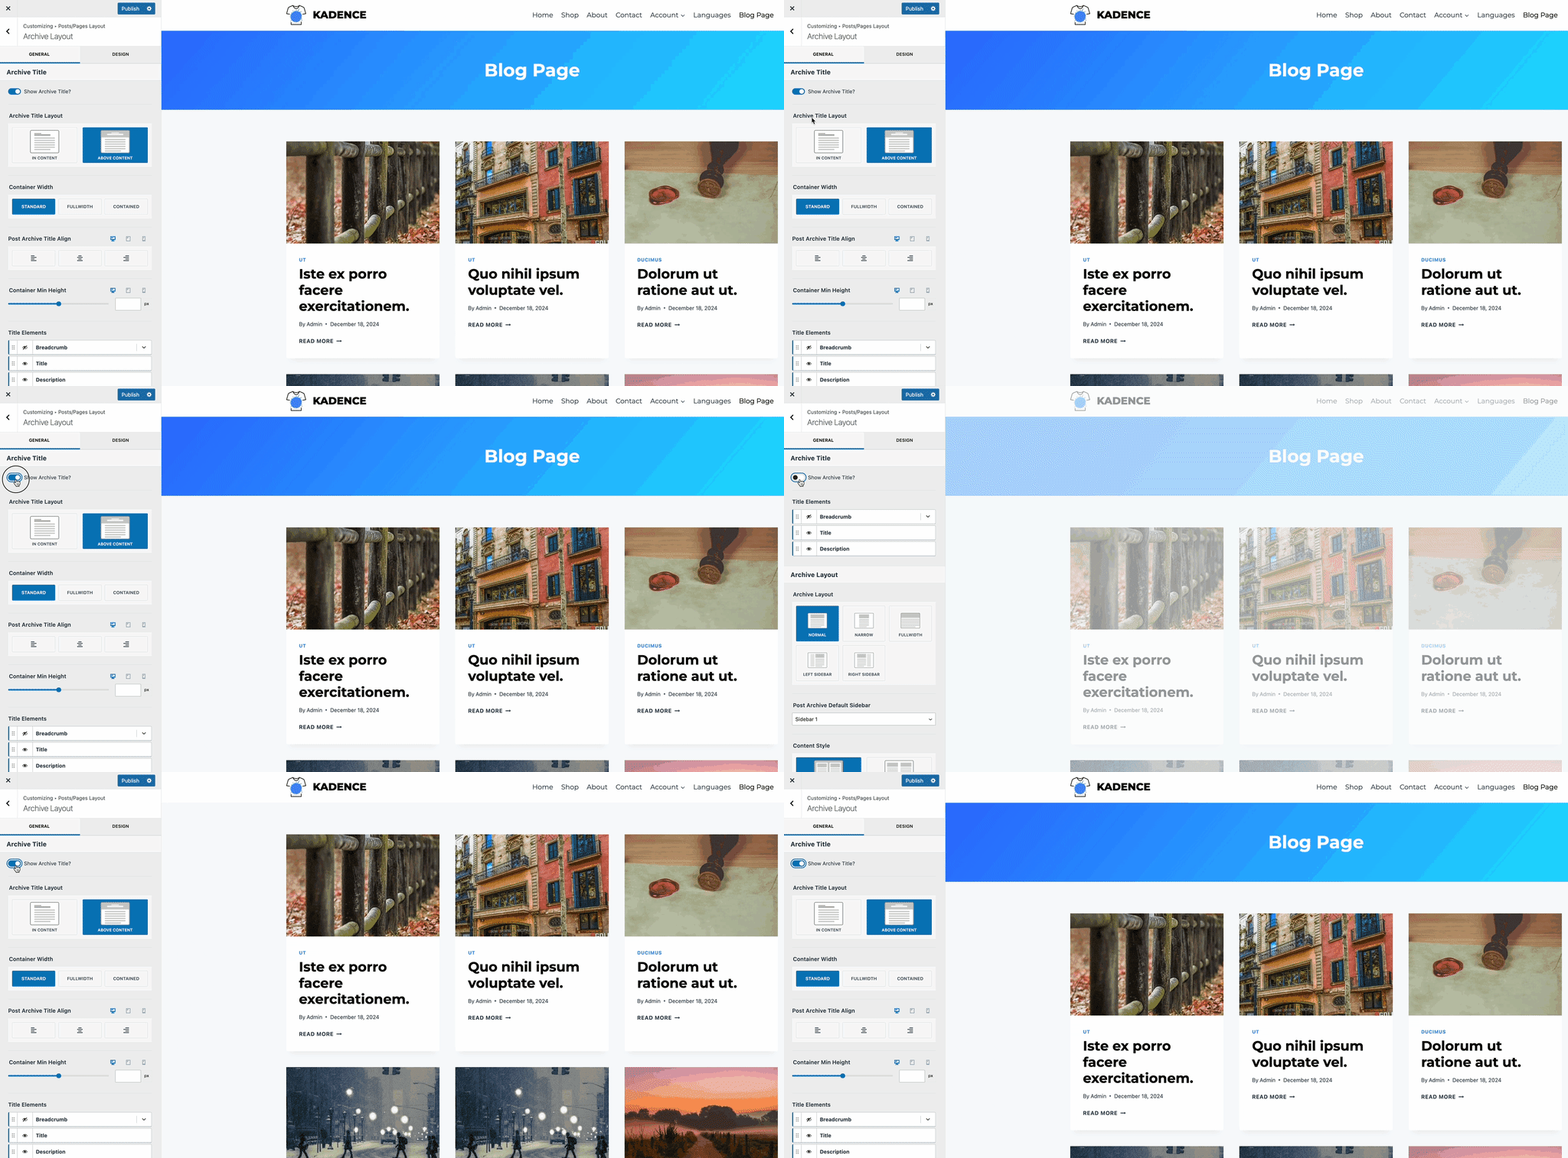
Use the Customizer -> Post/Pages Layout –> Archive Layout settings to control the layout of your archives. This includes pages like the main blog page and taxonomy archives, such as category and tag archives.
Click here to learn more about the Customizer Archive Layout settings.
Website Email Setup
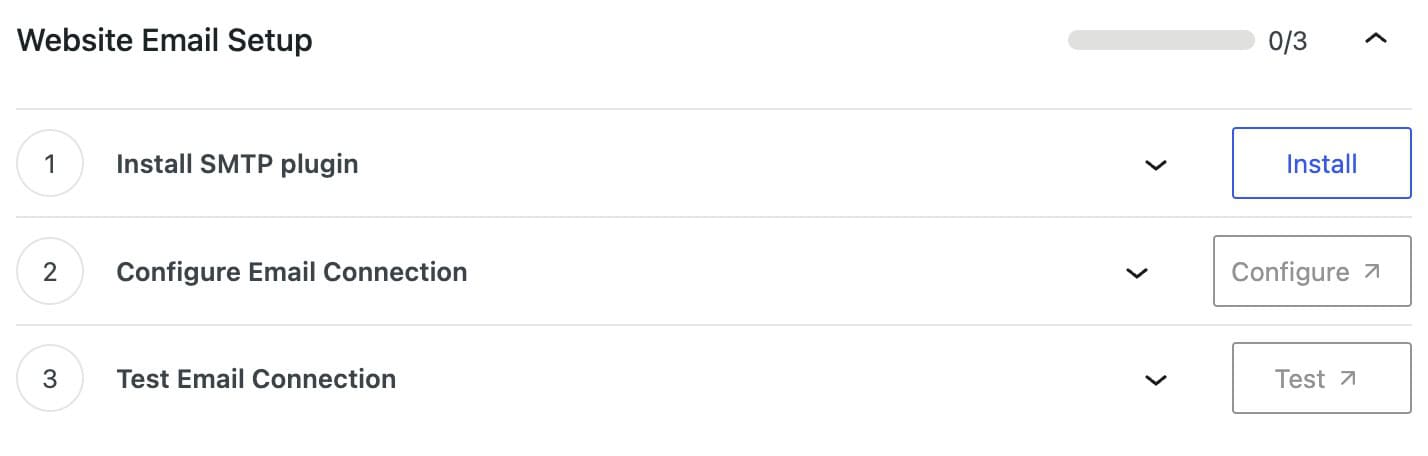
WordPress can handle basic emails, like admin emails, out of the box. However, configuring SMTP is essential to ensure more complex emails, such as contact form submissions, go through properly. The Website Email Setup options allow you to install, configure, and test your Email SMTP Setup.
Install SMTP Plugin
Use the Install SMTP Plugin option to install and activate the Solid Mail plugin. This plugin will allow you to quickly set up and configure the SMTP settings for your WordPress website.

Configure Email Connection
The next step is to configure your SMTP Connection settings.
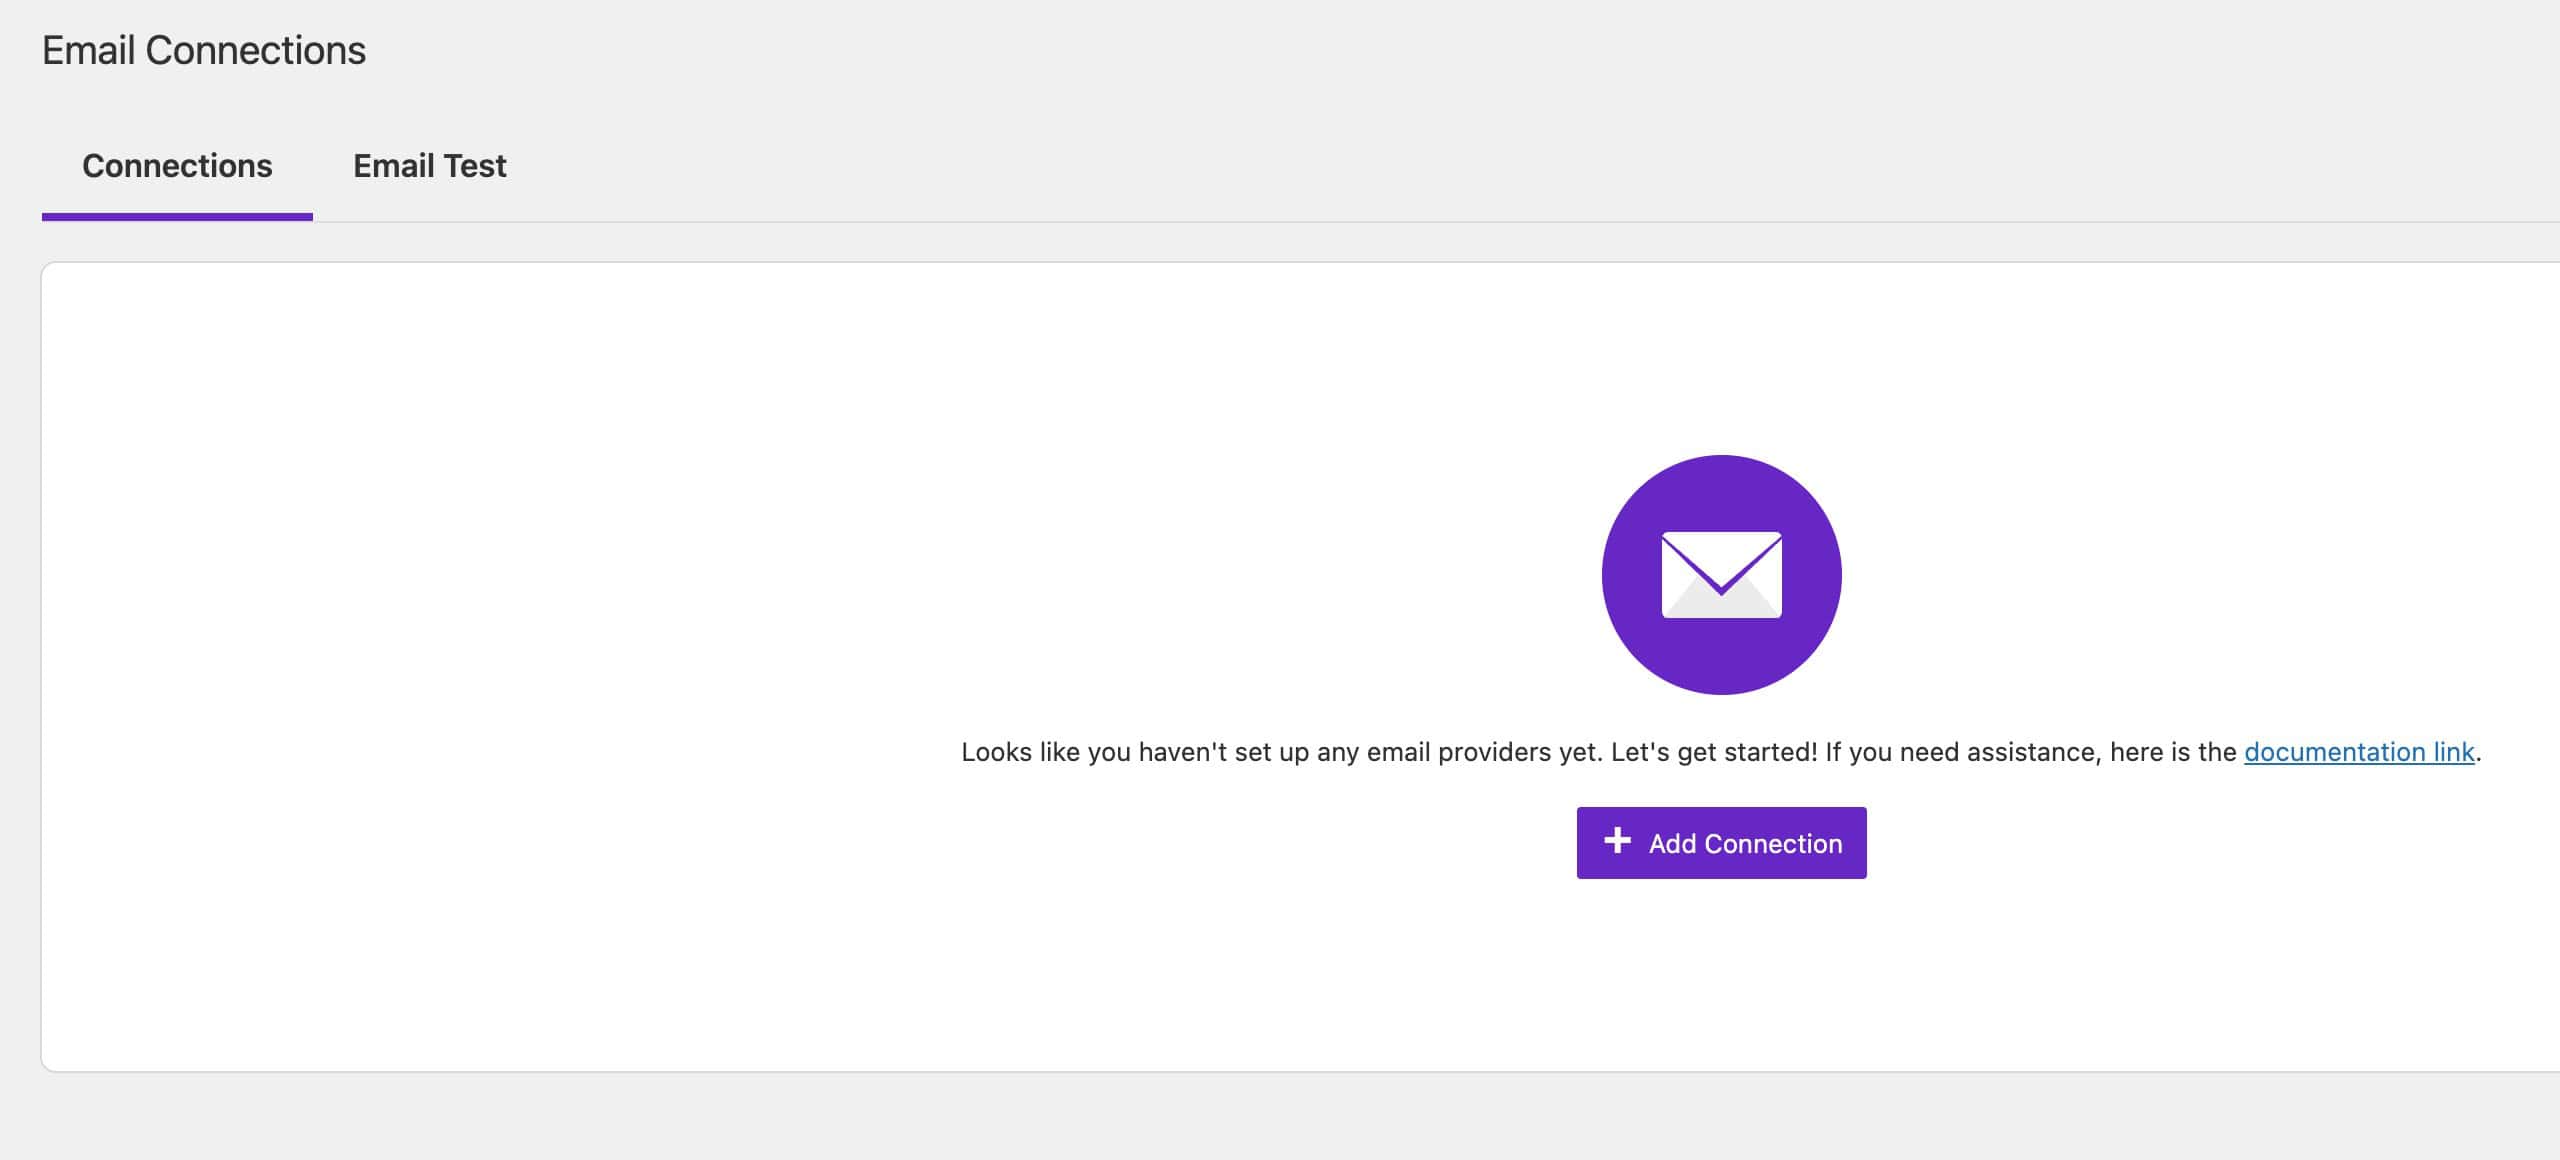
Once you click on the Add Connection button, select a provider and fill out your SMTP settings respectively.
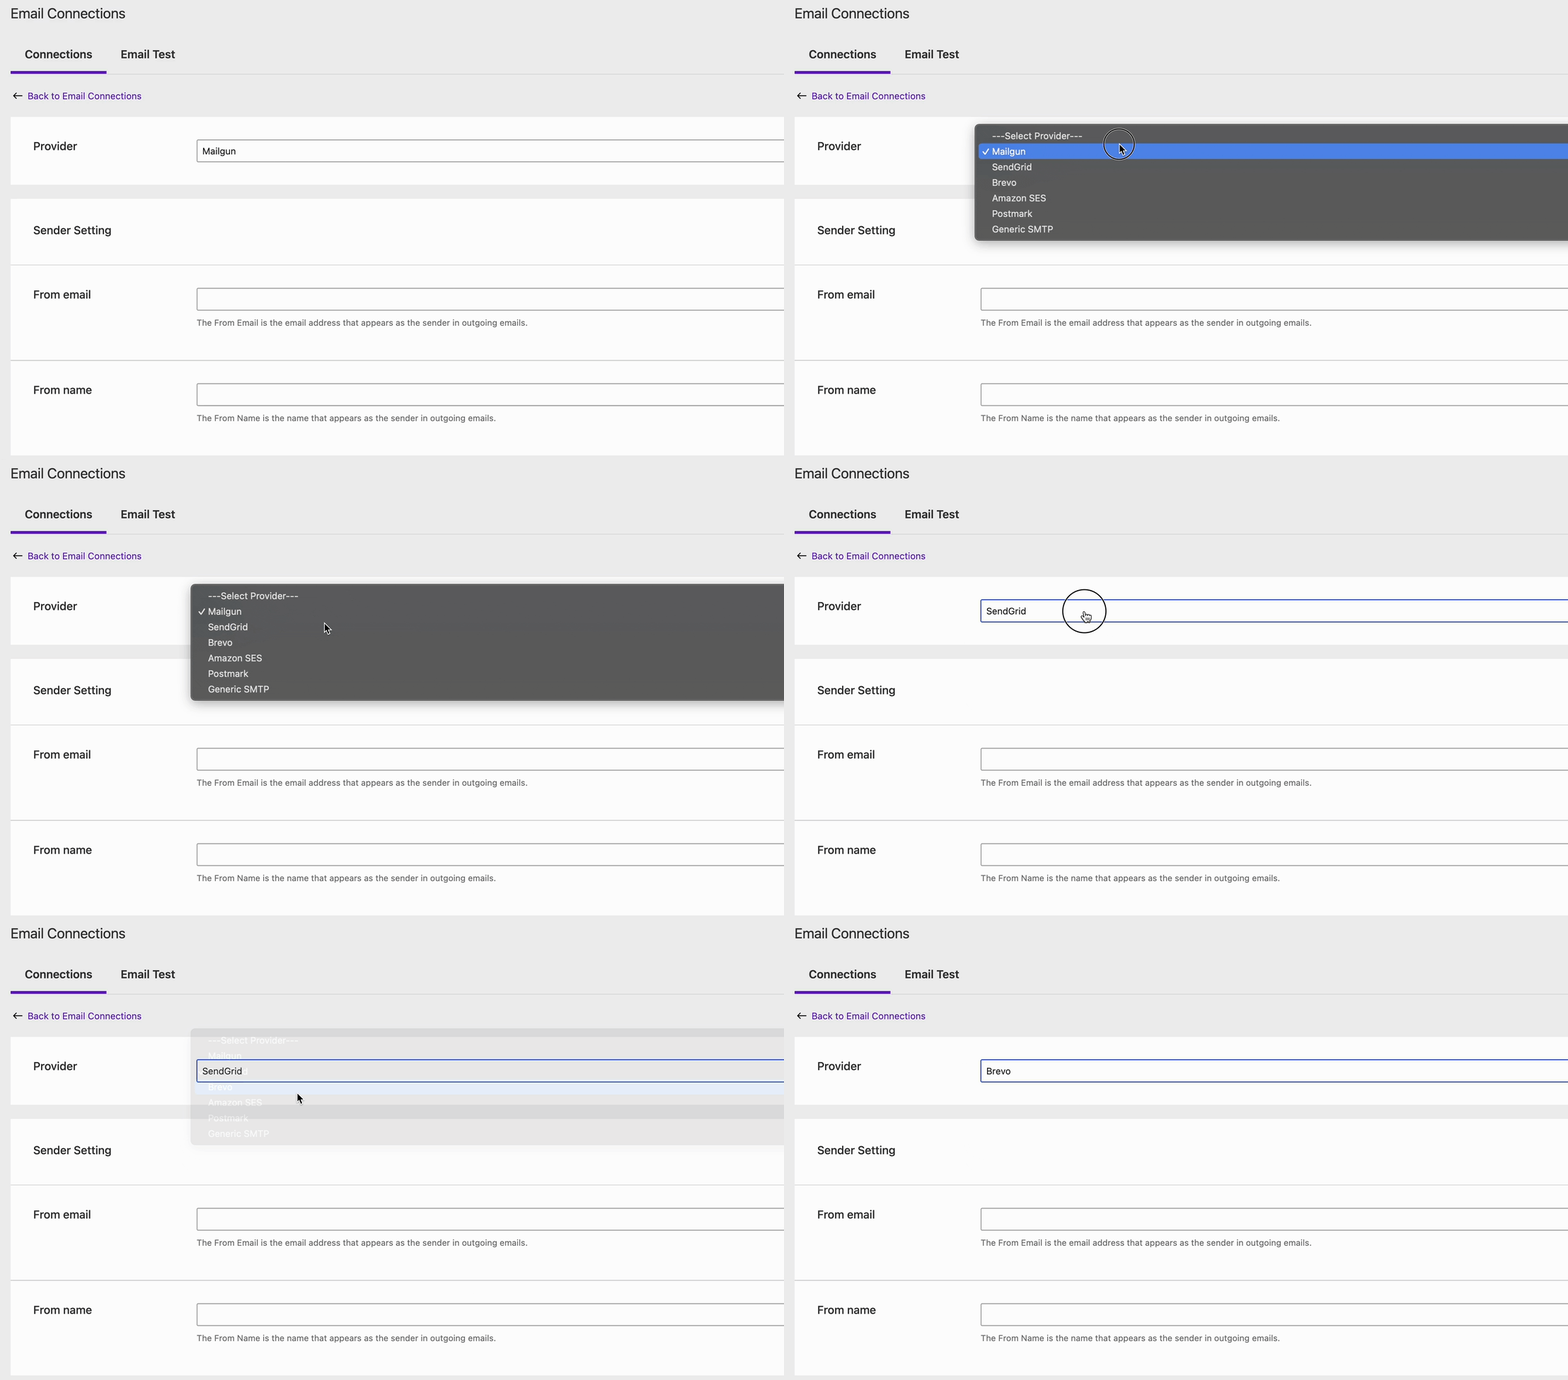
To learn more about the Solid Mail Connection Settings and how to set them up, click here.
Test Email Connection
Once you have configured the SMTP settings, you should Test the Email Connection. This will check and confirm that the email connection is working as it should. You can do so by filling out the Email Test form.
This form includes the To Email, a Subject, and a Message. Fill out the details, then click on the Send Test Email button to test your email.
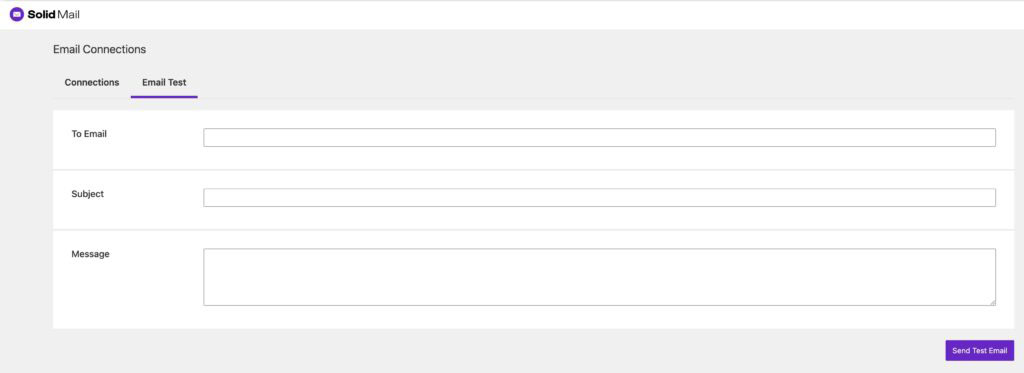
Once the test email is confirmed to work, your emails will work across the website. Including emails from Kadence Forms (Adv) blocks.
Website Security Setup

Install Site Security Plugin
Use the Install Site Security Plugin option to install and activate the Solid Security plugin. This plugin will allow you to quickly set up and configure various Security Settings for your website.

Setup Security Plugin
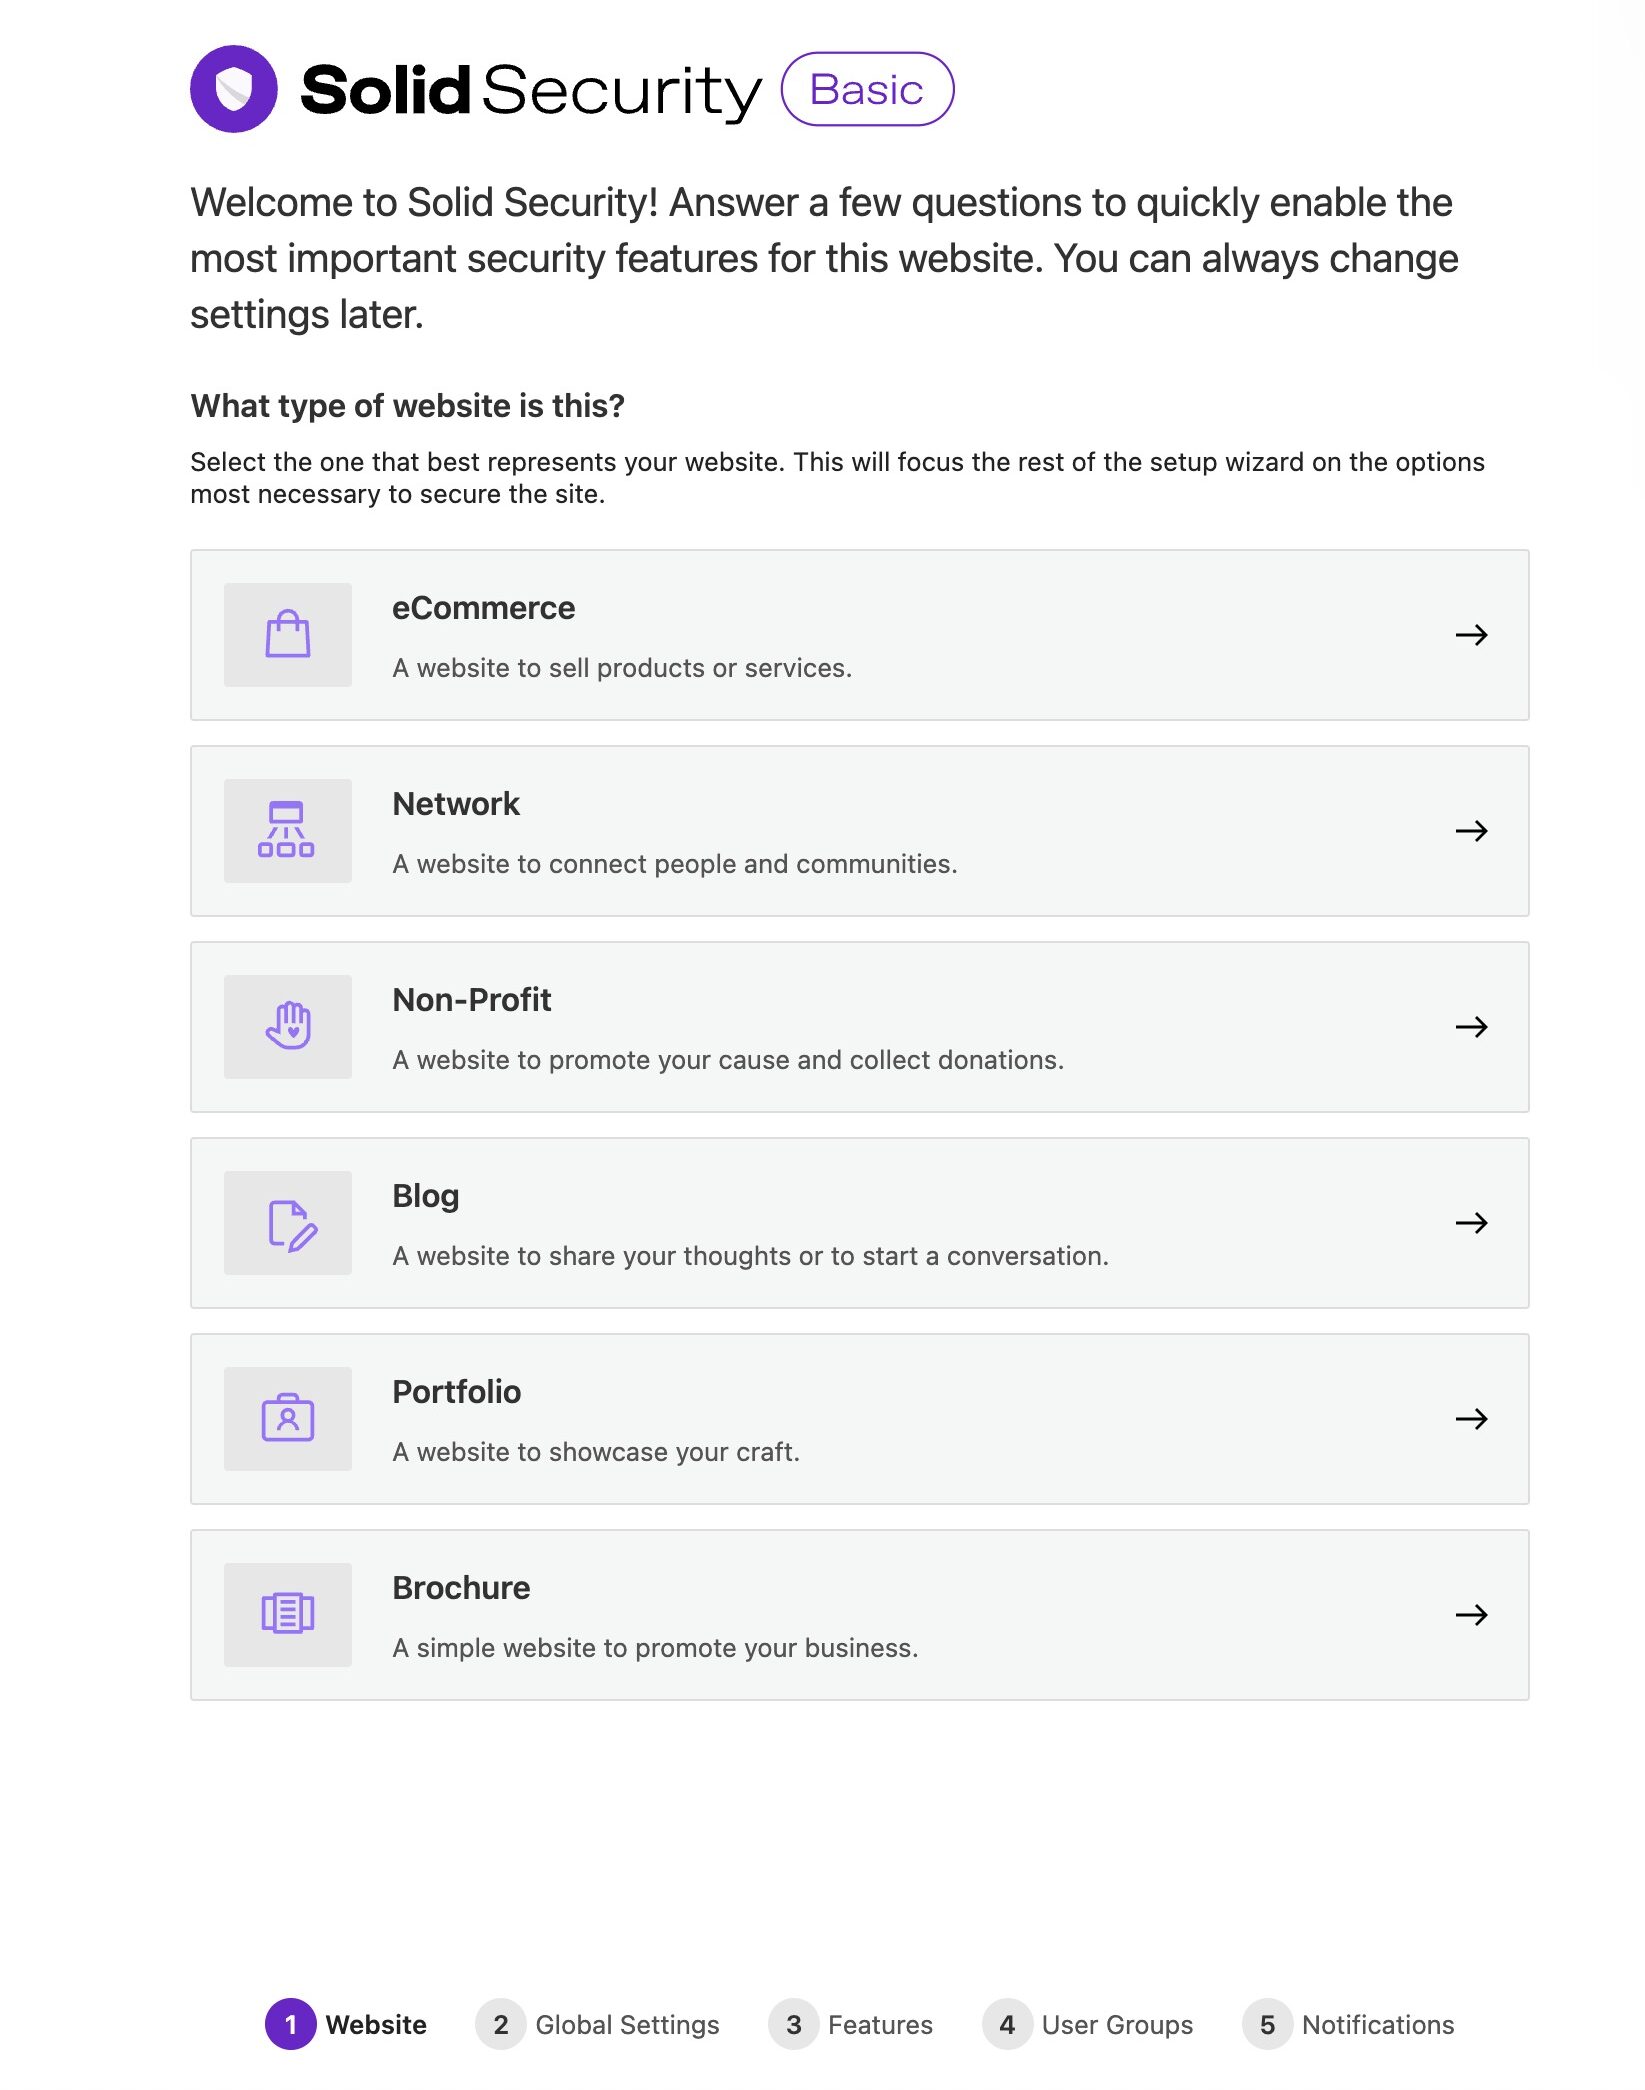
The Solid Security plugin offers many essential settings and features to help protect your website from malicious actors.
Complete the setup to help secure your website and ensure your data is secure.
Click here for a complete overview of setting up Solid Security.
Enable Two Factor Login Authentication
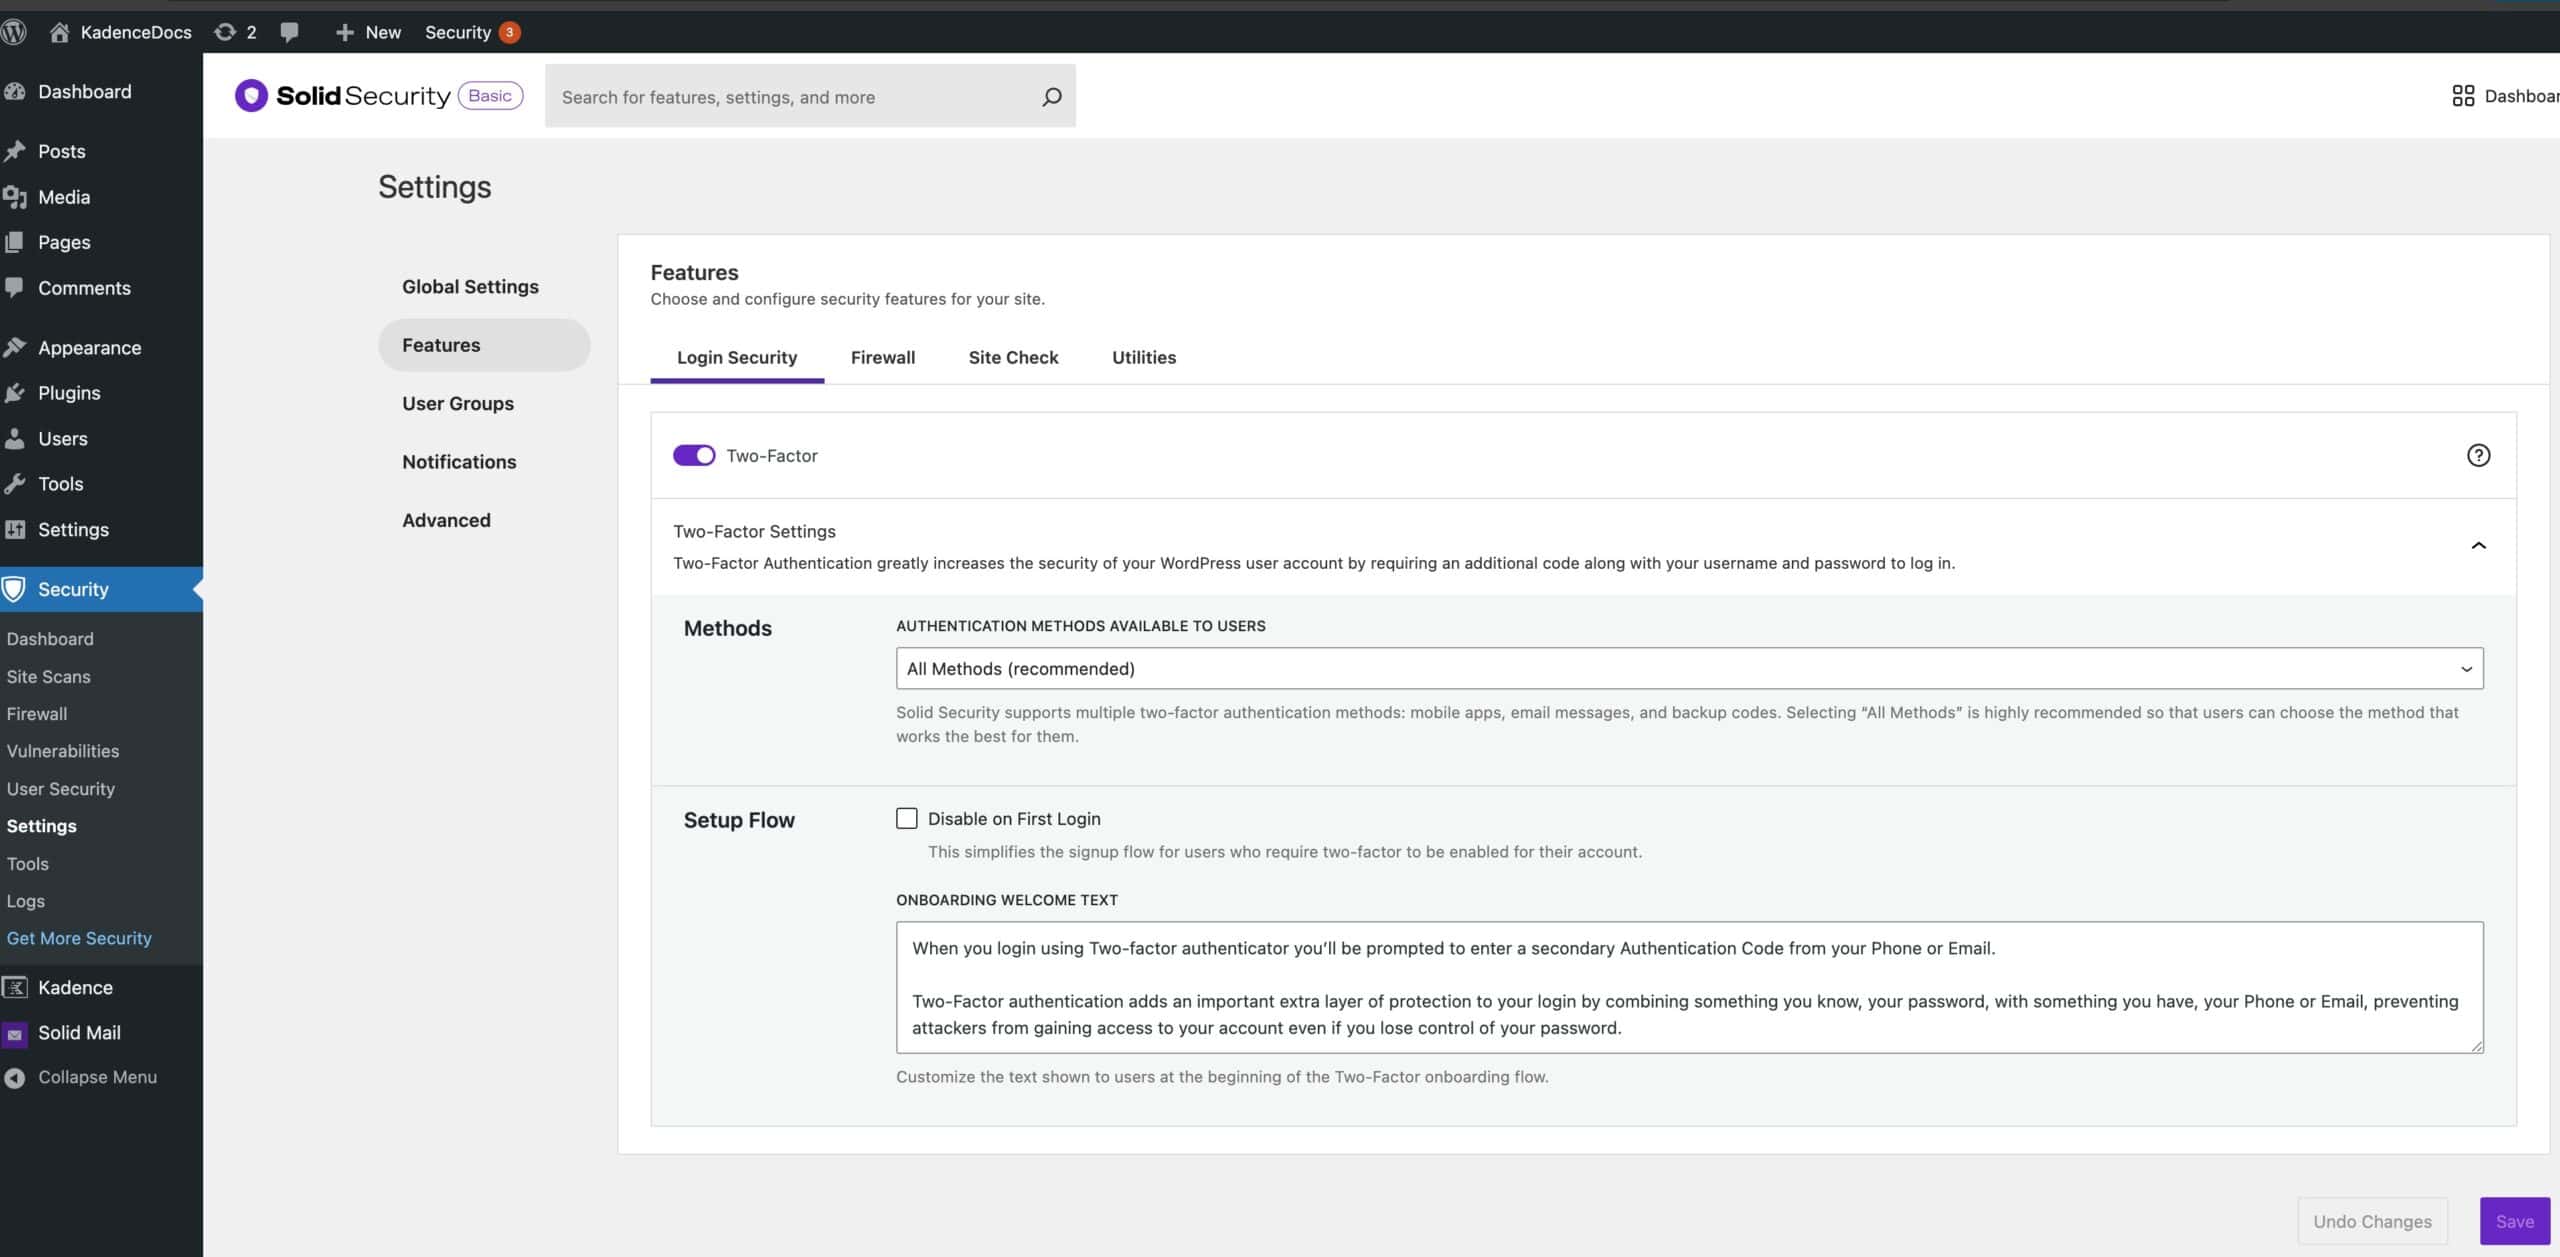
It is recommended to Enable Two Factor Login Authentication to help secure access to your wp-admin.
If you didn’t enable this during the initial Solid Security setup, you should do so now. This can be done from the Dashboard -> Security -> Features page.
Website Performance Setup
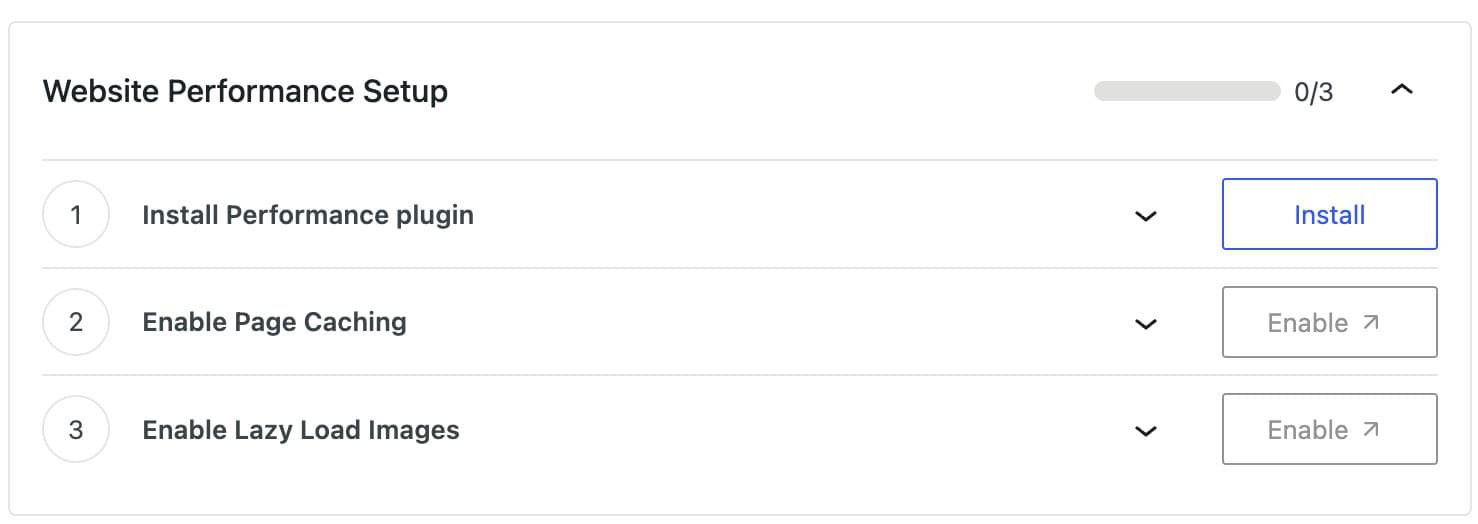
Install Performance plugin
Use the Install Site Performance Plugin option to install and activate the Solid Performance plugin. This plugin will allow you to configure various optimization settings for your website, improving your overall page speed and performance.

Enable Page Caching
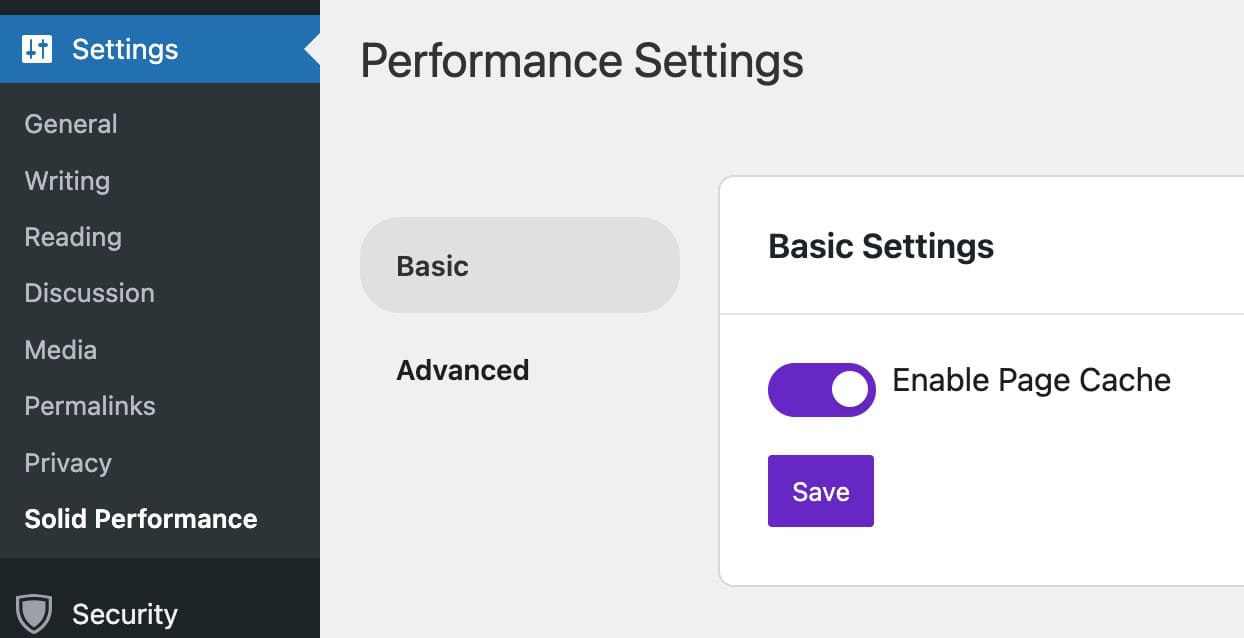
Page Caching helps improve the overall front-end performance of your website. Click here to learn more about caching in general.
You can enable Solid Performance Caching from the Dashboard -> Settings -> Solid Performance page.
Enable Lazy Load Images
Images that appear below the fold should be Lazy Loaded. This is standard practice in optimal web development. Lazy Loading images allow your website to load important above-the-fold content first. Then, as you scroll down the page, the lazy-loaded images will load as needed.
You can enable Lazy Loading from the Dashboard -> Settings -> Solid Performance -> Advanced page.

Disabling/Enabling Site Assist
You can disable Site Assist if you do not wish to use it. This can be done from the Dashboard -> Site Assist -> Site Assist page. In the top right corner, click on the three dots to access the option to disable Site Assist.
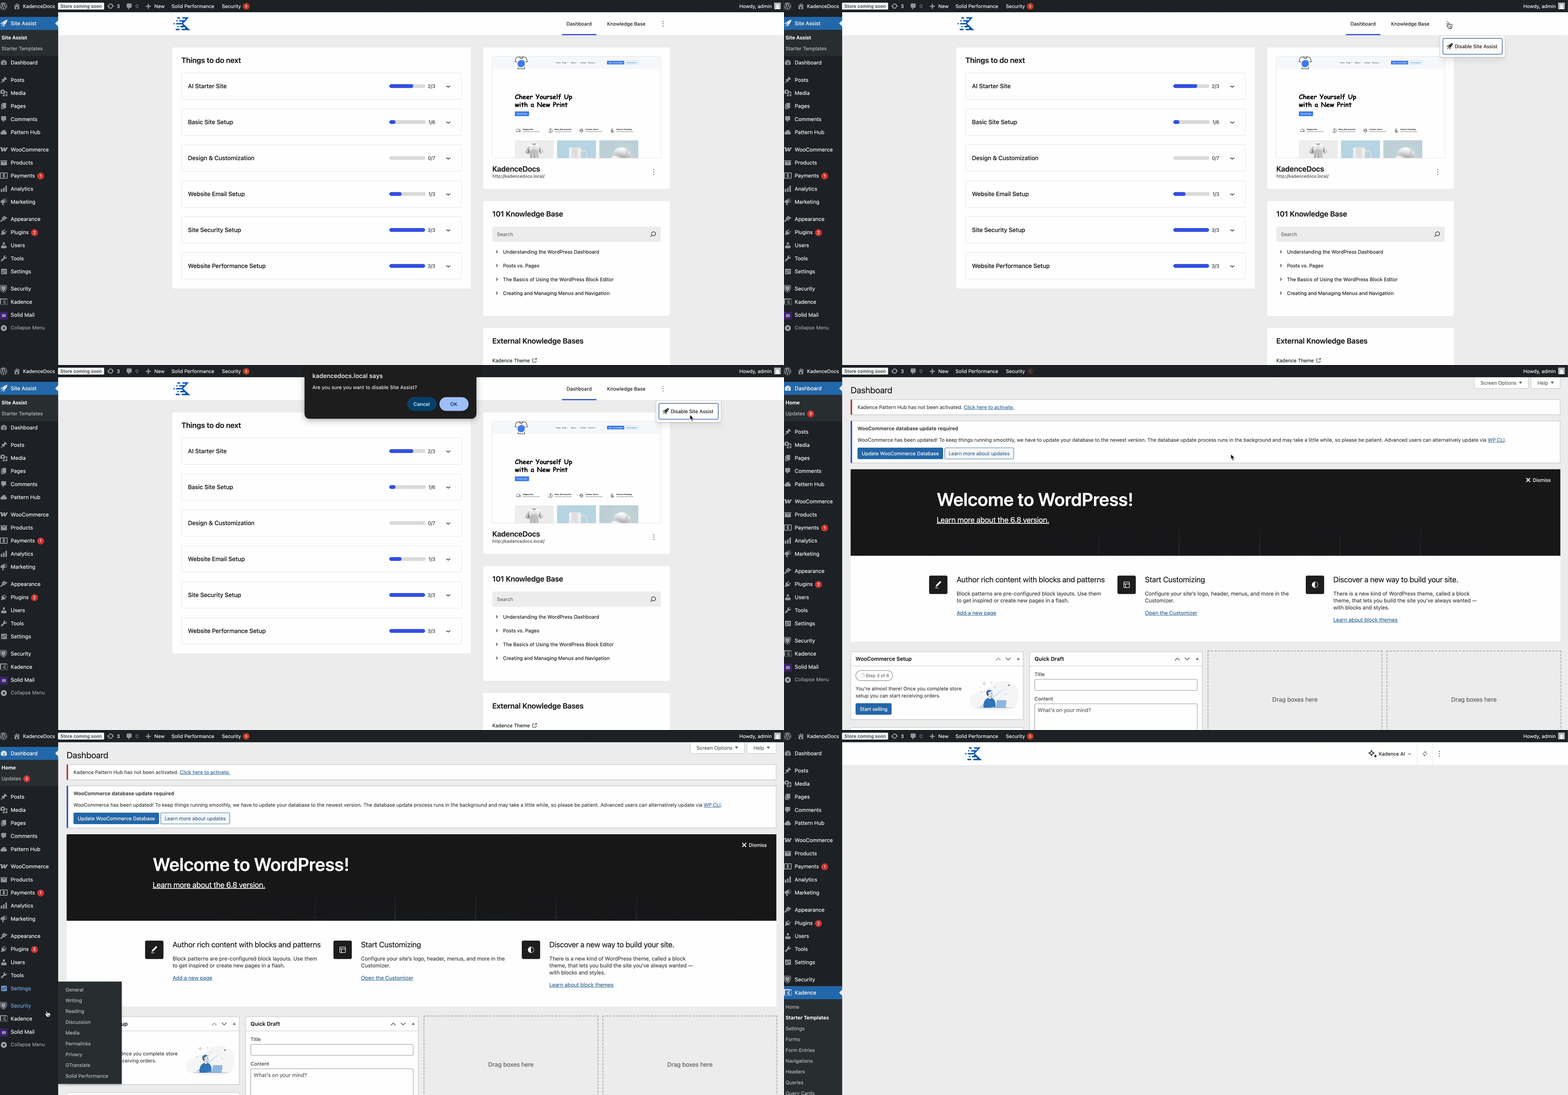
Once Site Assist is disabled, you can still access Starter Templates from the Dashboard -> Kadence -> Starter Templates page.
You can also disable Site Assist programmatically by using the following filter (for developers) :
add_filter('kadence_starter_site_assist_enabled', '__return_false');On the other hand, if you want to see the Site Assist area again, you can do that from the Dashboard -> Kadence -> Starter Templates page.
Click on the same three-dot icon at the top right to access the option to Enable Site Assist.
