Checkout Editor
Kadence Shop Kit adds a checkout manager to WooCommerce. If you wish to add any custom fields to your checkout page, this plugin makes it a breeze.
To get started, be sure that you’ve purchased a Plan with access to Kadence Shop Kit, or have purchased the plugin separately here: Kadence Shop Kit.
1. Navigate to Dashboard → Shop Kit and click Checkout Editor.

2. Enable the Checkout Fields Editor:

3. Navigate to WooCommerce> Checkout Manager

4. Choose the field set that fits your needs. The options available are Billing Fields, Shipping Fields, and/or Extra Fields.

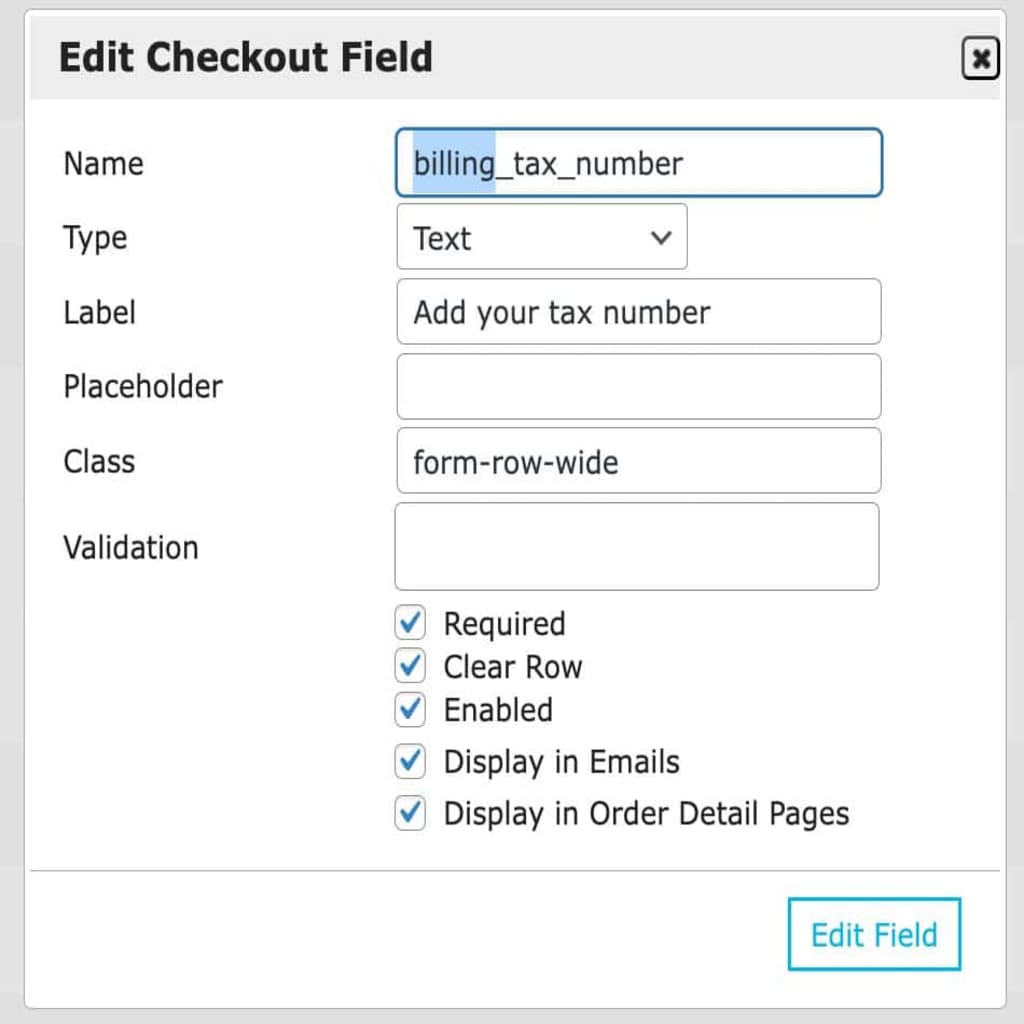
5. Then, click on the + Add field button to add new fields to the list. The available field types consist of: Text, Password, Text Area, Checkbox, Radio, and Select field types.
For this example, I’m just going to add a simple “Where you heard about us” box with a few options:

6. Save the changes:

7. View your checkout page:

Naming Guidelines for Custom Checkout Fields
When adding custom fields in Checkout Manager, always include a prefix to ensure proper integration with the checkout system. Use one of the following as a prefix depending on the type of field:
- billing_ for billing information (e.g., billing_tax_number)
- shipping_ for shipping information (e.g., shipping_instructions)
- additional_ for any extra fields (e.g., additional_notes)