How to Install and Use the Temporary Login Without Password Plugin on a WordPress Website
Managing user access in WordPress can be challenging, especially when you need to give developers, support, or clients temporary access. Instead of creating accounts and sharing passwords, the Temporary Login Without Password plugin lets you generate secure, time-limited login links. You control the user’s role, set an expiration date, and avoid leaving unused accounts behind. In this guide, we’ll show you how to install the plugin, create and share links, and manage or revoke access to keep your site secure.
Kadence support may ask for a temporary login link created with the Temporary Login Without Password plugin to help troubleshoot issues. Administrator access is often required, but for security it’s best to use a staging site or make backups before granting access. This way, your live site stays protected while support can securely log in without needing shared credentials
Installing the Temporary Login Without Password Plugin
Step 1: Access Your WordPress Dashboard
- To begin, log in to your WordPress admin area. You’ll need administrator privileges to install and activate plugins.
Step 2: Navigate to the Plugins Section
- On the left-hand side, click on Plugins.
- Then click Add New at the top of the screen.
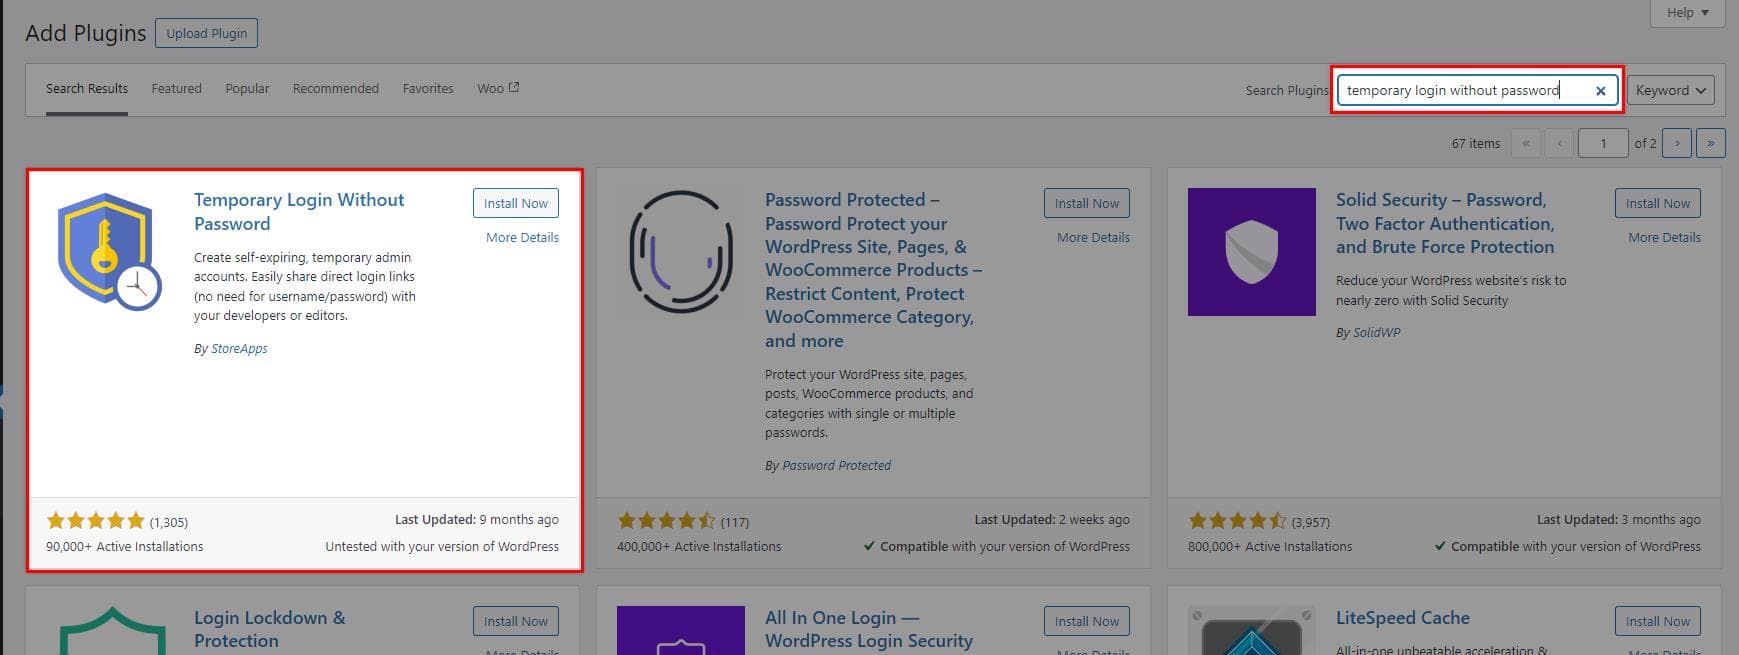
Step 3: Search for the Plugin
- In the search bar, type Temporary Login Without Password. The plugin should appear in the results.
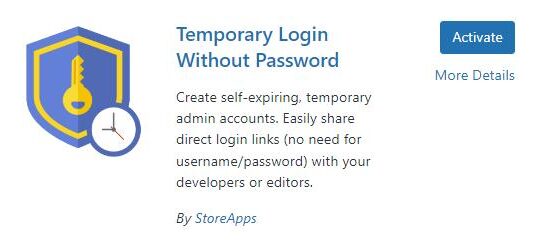
Step 4: Install the Plugin
- Click the Install Now button next to the plugin name.
- After installation is complete, click Activate to enable the plugin on your site.
Creating and Sending a Temporary Login Link
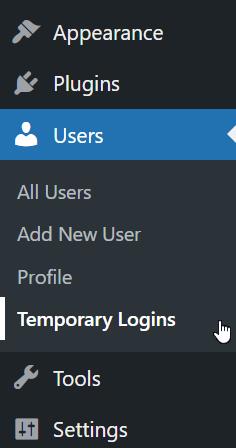
Now that the plugin is installed and activated, a new menu option will appear in the WordPress dashboard under Users. Follow these steps to generate and send a temporary login link:
Step 1: Go to Temporary Logins
- In the WordPress dashboard, go to Users → Temporary Logins. Here, you’ll find the interface to create, view, and manage temporary user accounts.
Step 2: Create a New Temporary Login
- Click on Create New at the top of the screen.
- Fill in the required details, including the name and email address of the person you want to grant access to.
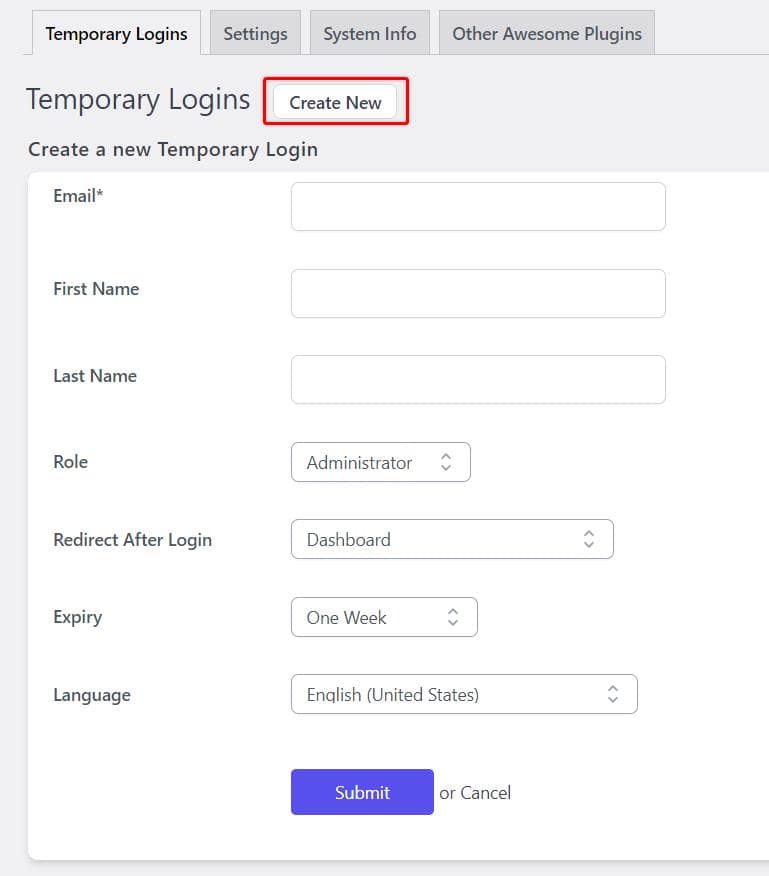
Step 3: Choose a User Role
- Select the role you want to assign to the temporary user. The available options will be the standard WordPress roles, such as Administrator, Editor, Author, Contributor, or Subscriber. Choose a role based on the level of access you want to grant. Example:
- Administrator: Full control over the site, including settings and plugins.
- Editor: Can edit and publish content but cannot modify site settings.
- Subscriber: Minimal access, typically just for viewing content.
Note: when granting access to Kadence Technical support, typically Administrator access is required.
Step 4: Set Expiration Date
- Choose how long the login link will remain valid. You can set the expiration from 1 day up to 1 month or use a custom date. Once the expiration date is reached, the temporary account will automatically expire and the user will no longer have access.
Step 5: Generate the Login Link
- Click Submit after filling in the details. The plugin will then generate a unique login link for the user.
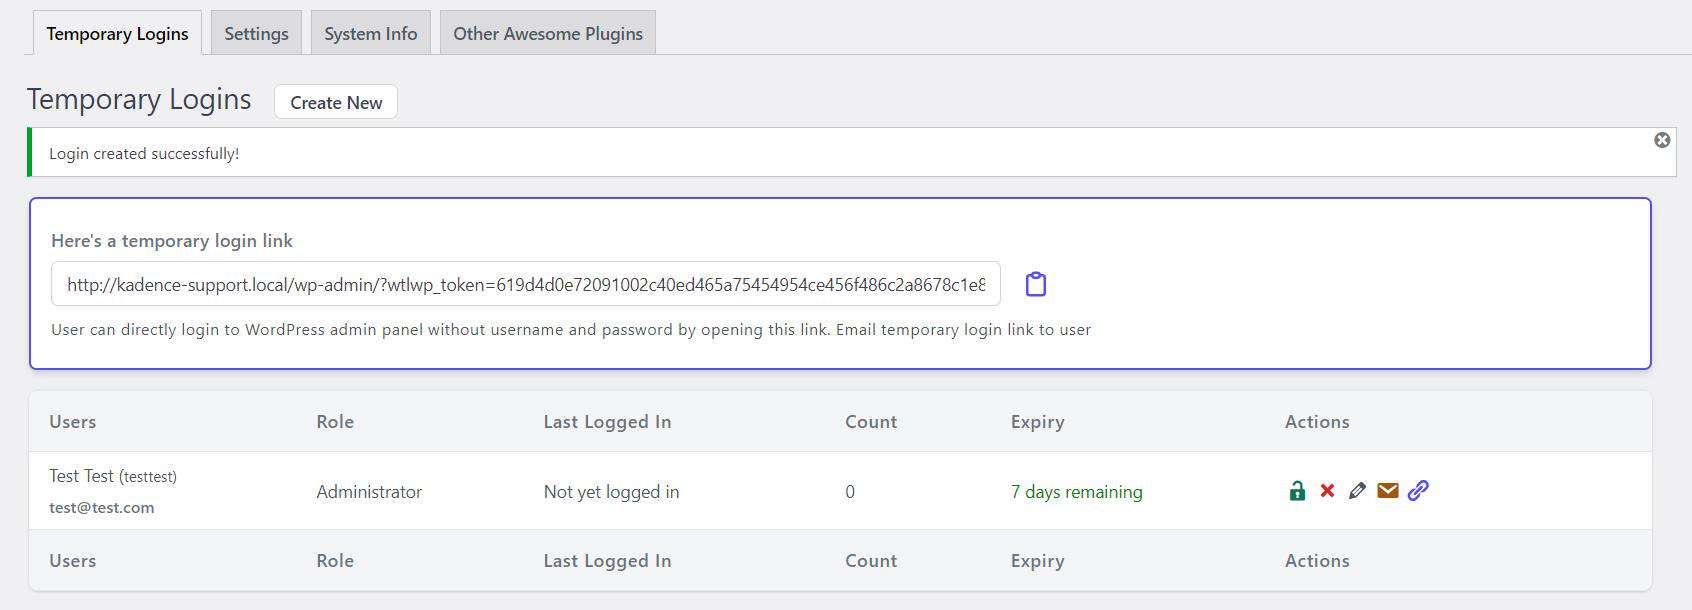
Step 6: Copy and Share the Link
- After generating the link, you’ll see it listed under Temporary Logins. Click the Copy Link icon to get the URL.
- You can now send this link via email, message, or any other communication method. When the recipient clicks the link, they’ll gain access to your WordPress site without needing a password.
Managing Temporary Logins
The Temporary Logins page fully overviews all active, expired, and pending temporary users. You can manually revoke access before the expiration date if necessary. Here’s how to manage these users:
- Viewing Login Details: You can see details such as the user’s role, email, and expiration date.
- Revoking Access: To revoke access manually, click the Delete button next to the temporary user account. This will immediately disable the link.
- Resending the Link: If the temporary user loses the link or needs to resend it, you can generate a new one by clicking Resend Link.
Security Considerations
While the Temporary Login Without Password plugin is convenient, you should follow best practices to maintain the security of your WordPress site:
- Limited Roles: Be cautious about the roles you assign. Only grant as much access as is necessary for the user’s tasks.
- Monitoring Activity: Consider using an activity log plugin to track what actions temporary users perform while accessing your site.
- Regular Review: Regularly review temporary logins to ensure no expired or unused accounts are lingering.
- Deactivate: Deactivating the Temporary Login plugin when it’s no longer needed ensures all temporary users will no longer be able to log into your site.