Vector Graphic Block
The Kadence Vector Graphic Block allows you to insert SVG Vector Codes directly into the block, allowing you to add scalable vector graphics to your content. With this feature, you can even use multi-color vector images across your website. The Vector Graphic Block is a block available in the free Kadence Blocks plugin.
In this document, you’ll learn how to add SVG code to the Vector Graphic Block and make the most of its features.
Getting SVG Codes
To use the Vector Graphic Block, you’ll need to copy and paste SVG code into the block. Many websites provide free SVGs and allow you to copy their code directly.
SVG Security Information
When using SVG formats, there are factors related to Security that should be taken into consideration. You should understand SVGs enough to be comfortable using them. Consider reading This SolidWP Article that provides a general overview of what SVGs are and how they are used.
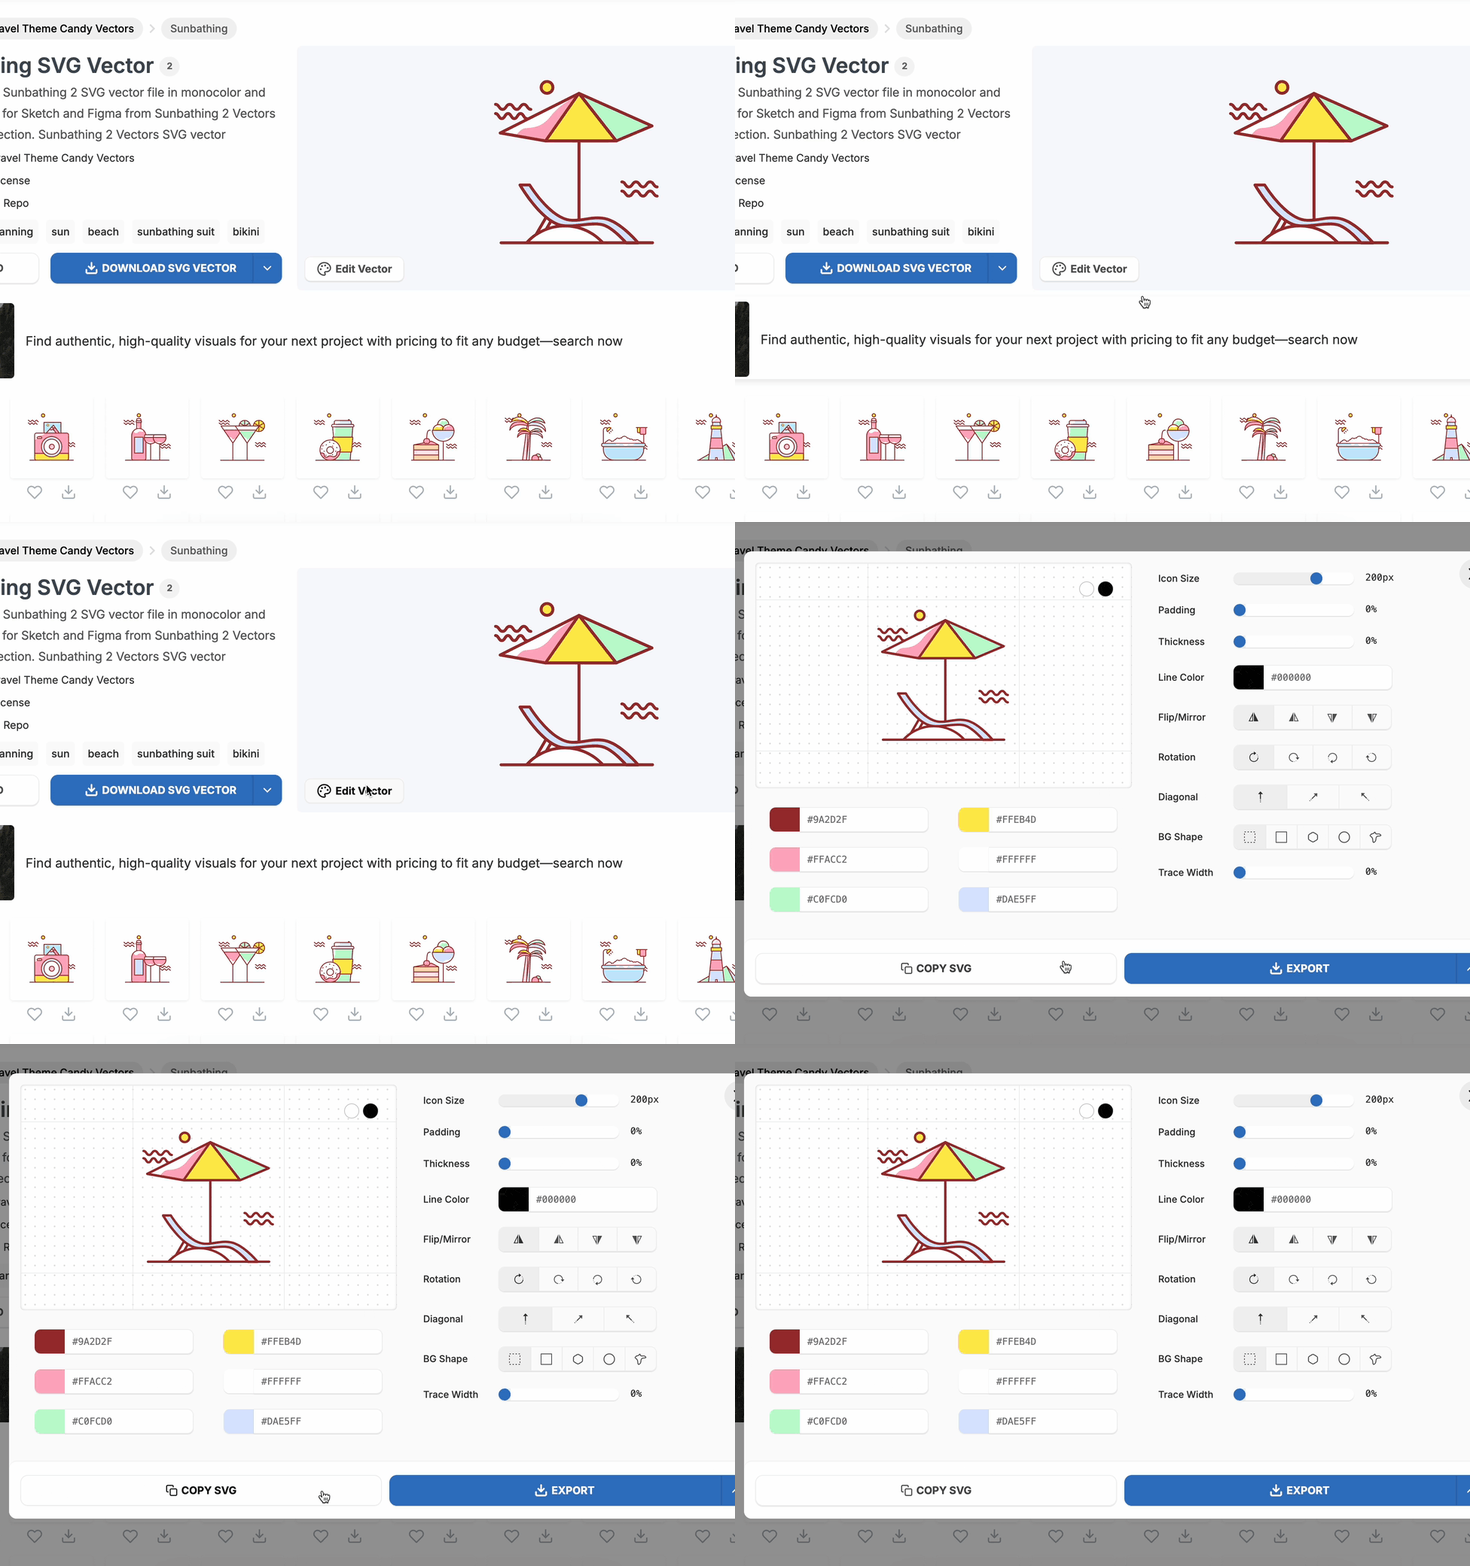
One reliable source for SVGs is SVG Repo, which provides a wide selection of graphics that you can copy and paste.
You can click on the Edit Vector button to access the Copy SVG feature in SVG Repo.
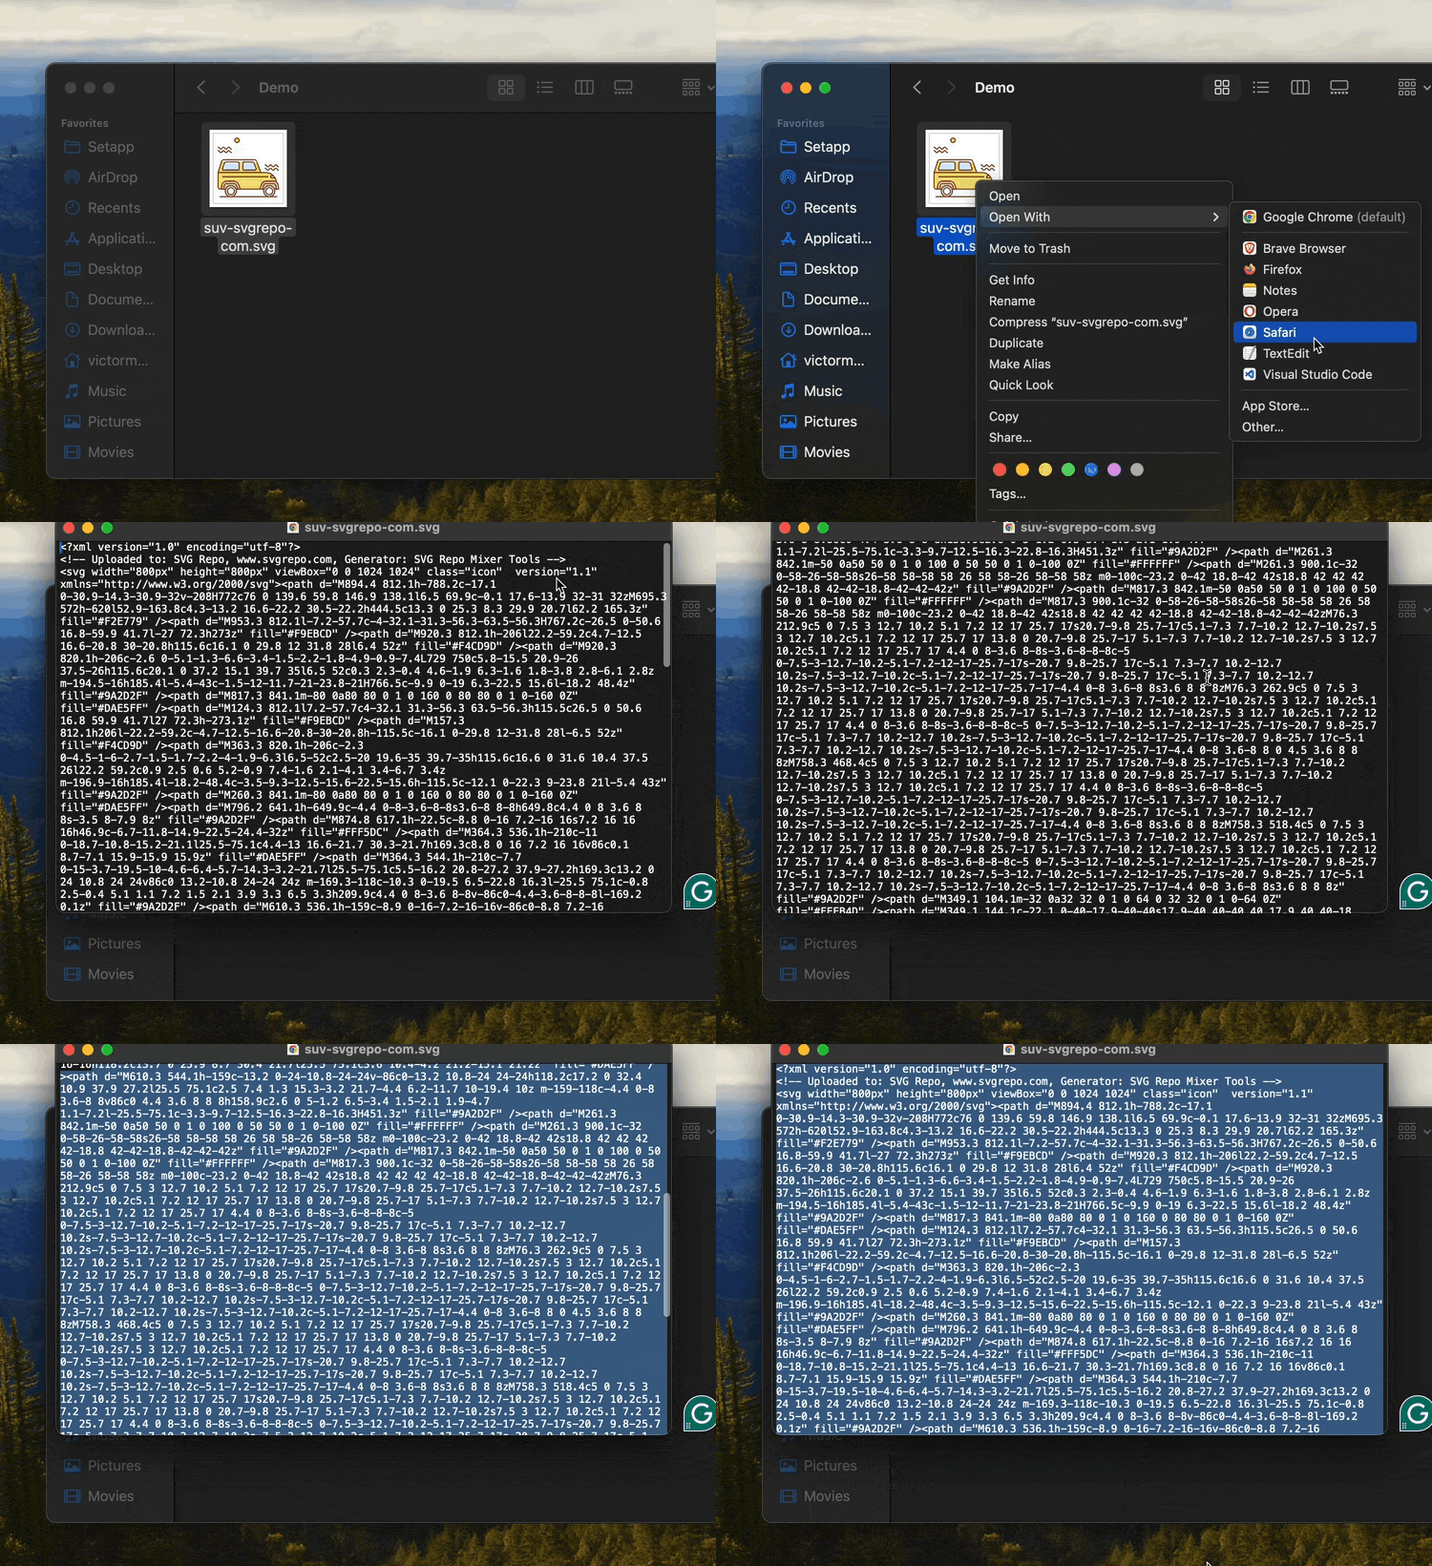
If you have an SVG file and/or your preferred platform doesn’t offer a direct Copy SVG option, you can open the file in a text editor to retrieve the SVG Code manually.
- Right-click on the SVG file and select the open with option.
- Then, choose a text editor such as Notepad, TextEdit, or VS Code.
(Every computer comes with at least one built-in text editor.) - Once the file is open, select all the text inside.
- Right-click and choose Copy to copy the SVG code to your clipboard.
Once you have the SVG code, you will need to add it to the Vector Graphic Block. View the next section to get started.
The Vector Graphic Block
You can add a Vector Graphic Block to the editor by searching for the term Vector Graphic when adding a new block.
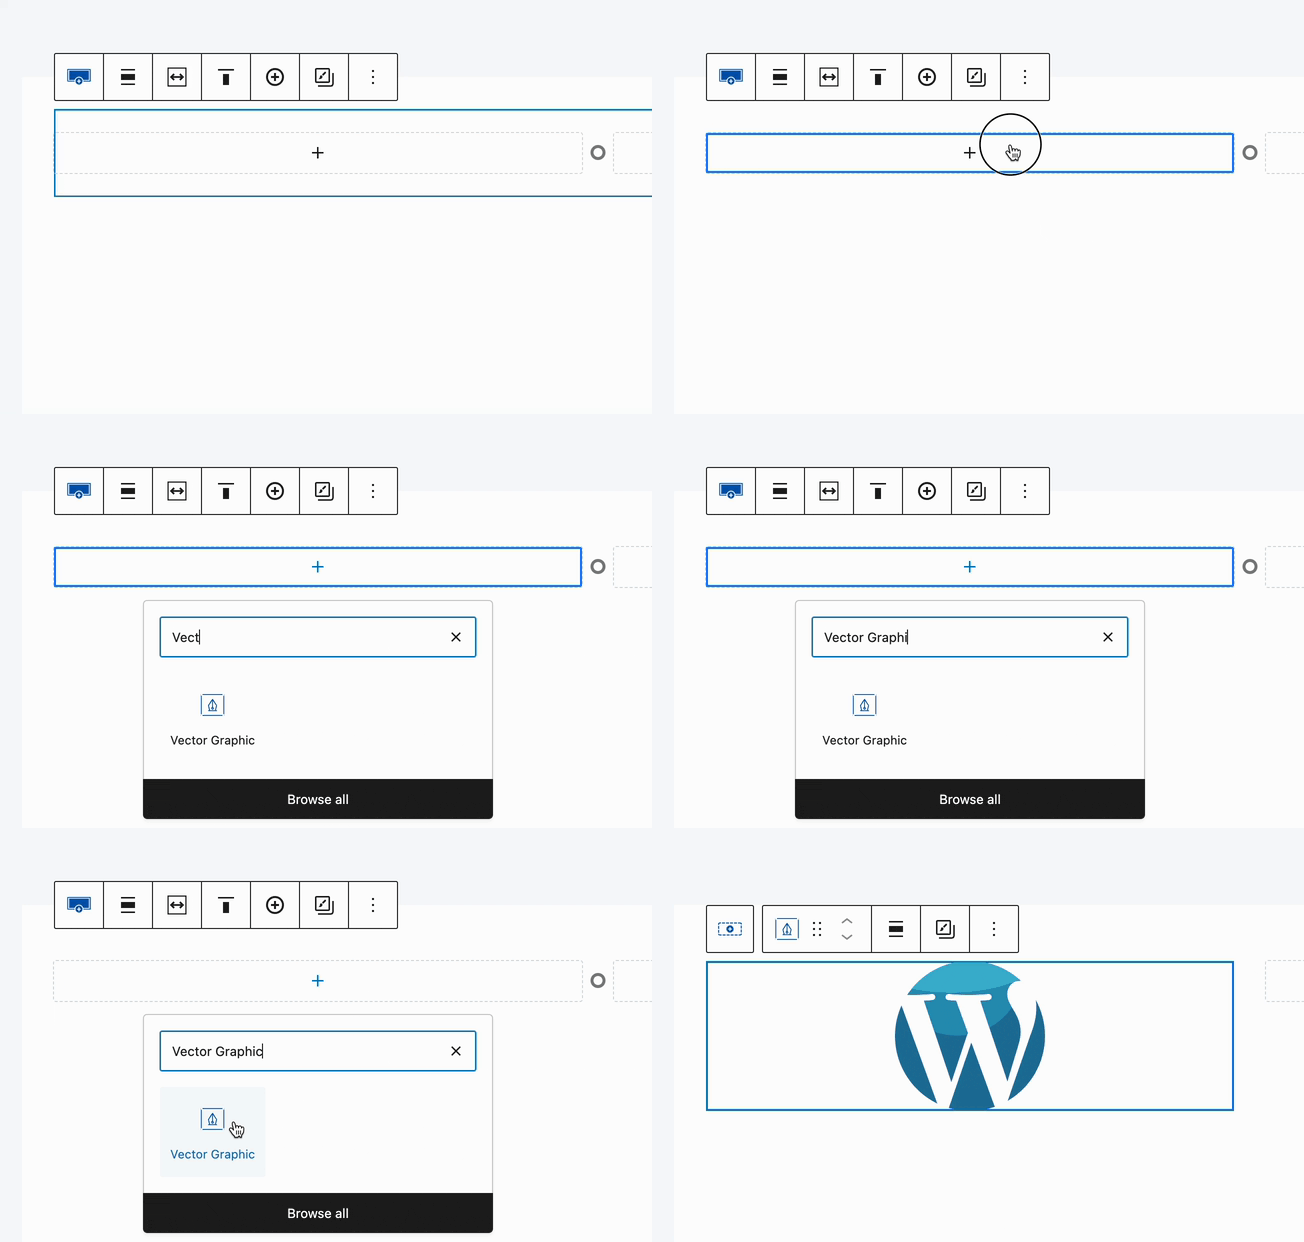
Once the block is added to the page, access the Vector Block Settings to begin setting up your Vector.

In the Vector Graphic Block settings panel, locate the first setting named Select Vector Graphic.
- Click Add New Vector Graphic to begin adding your SVG.
- In the modal that appears, enter a name for your vector image.
- Paste the SVG code into the provided field.
- Click Save to store the vector graphic.
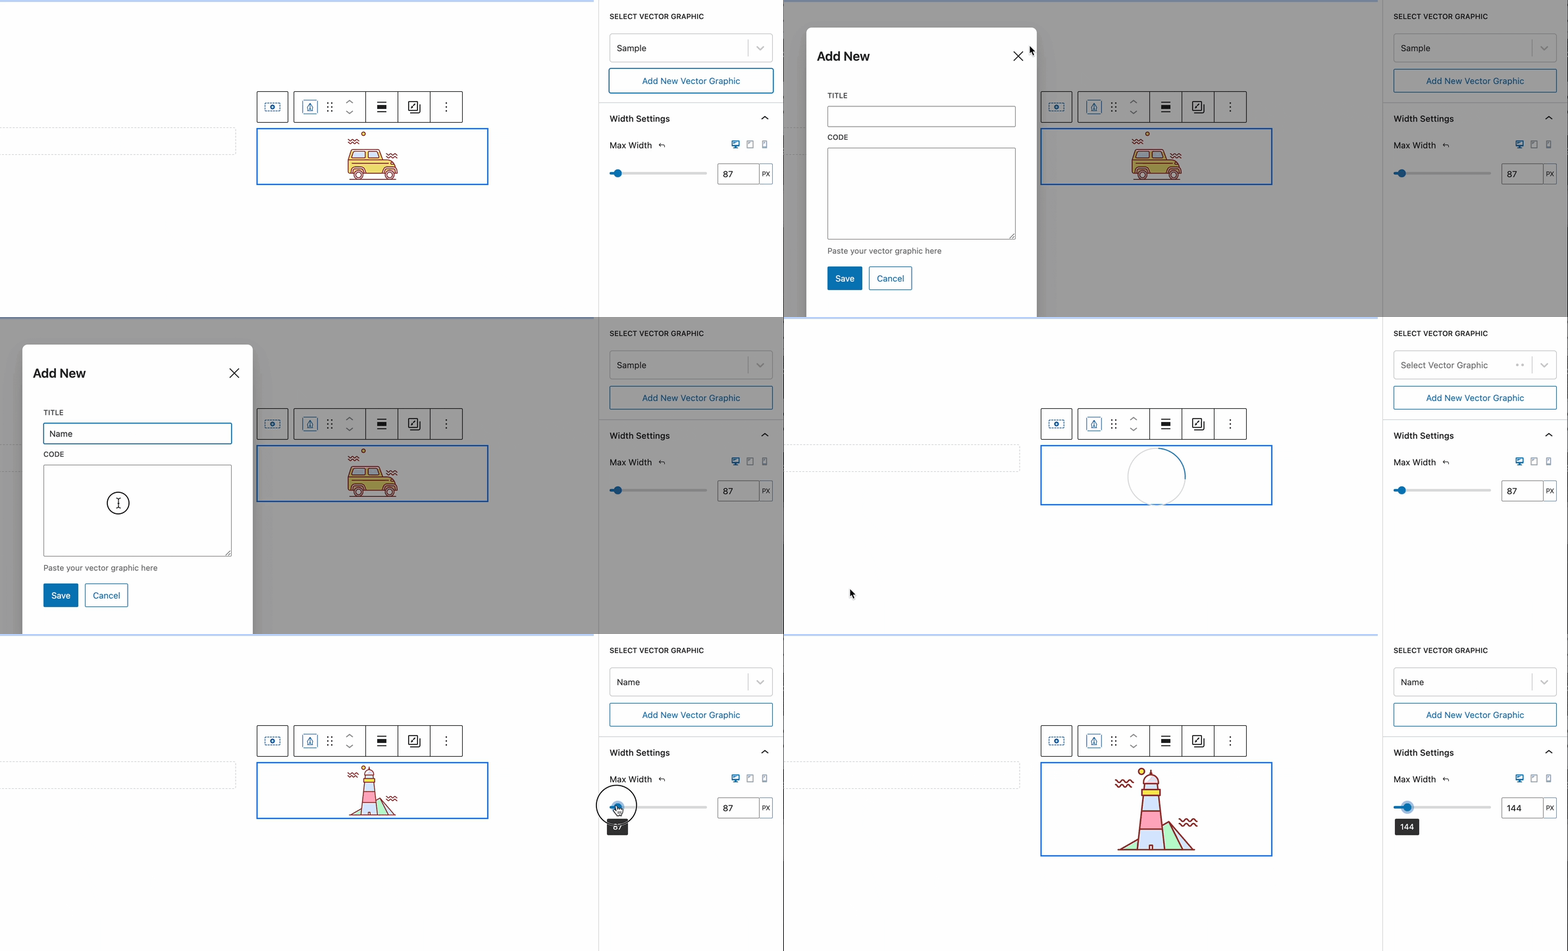
Once saved, the vector image will be applied to the current block. Additionally, it will be available in the Select Vector Graphic dropdown for future use.
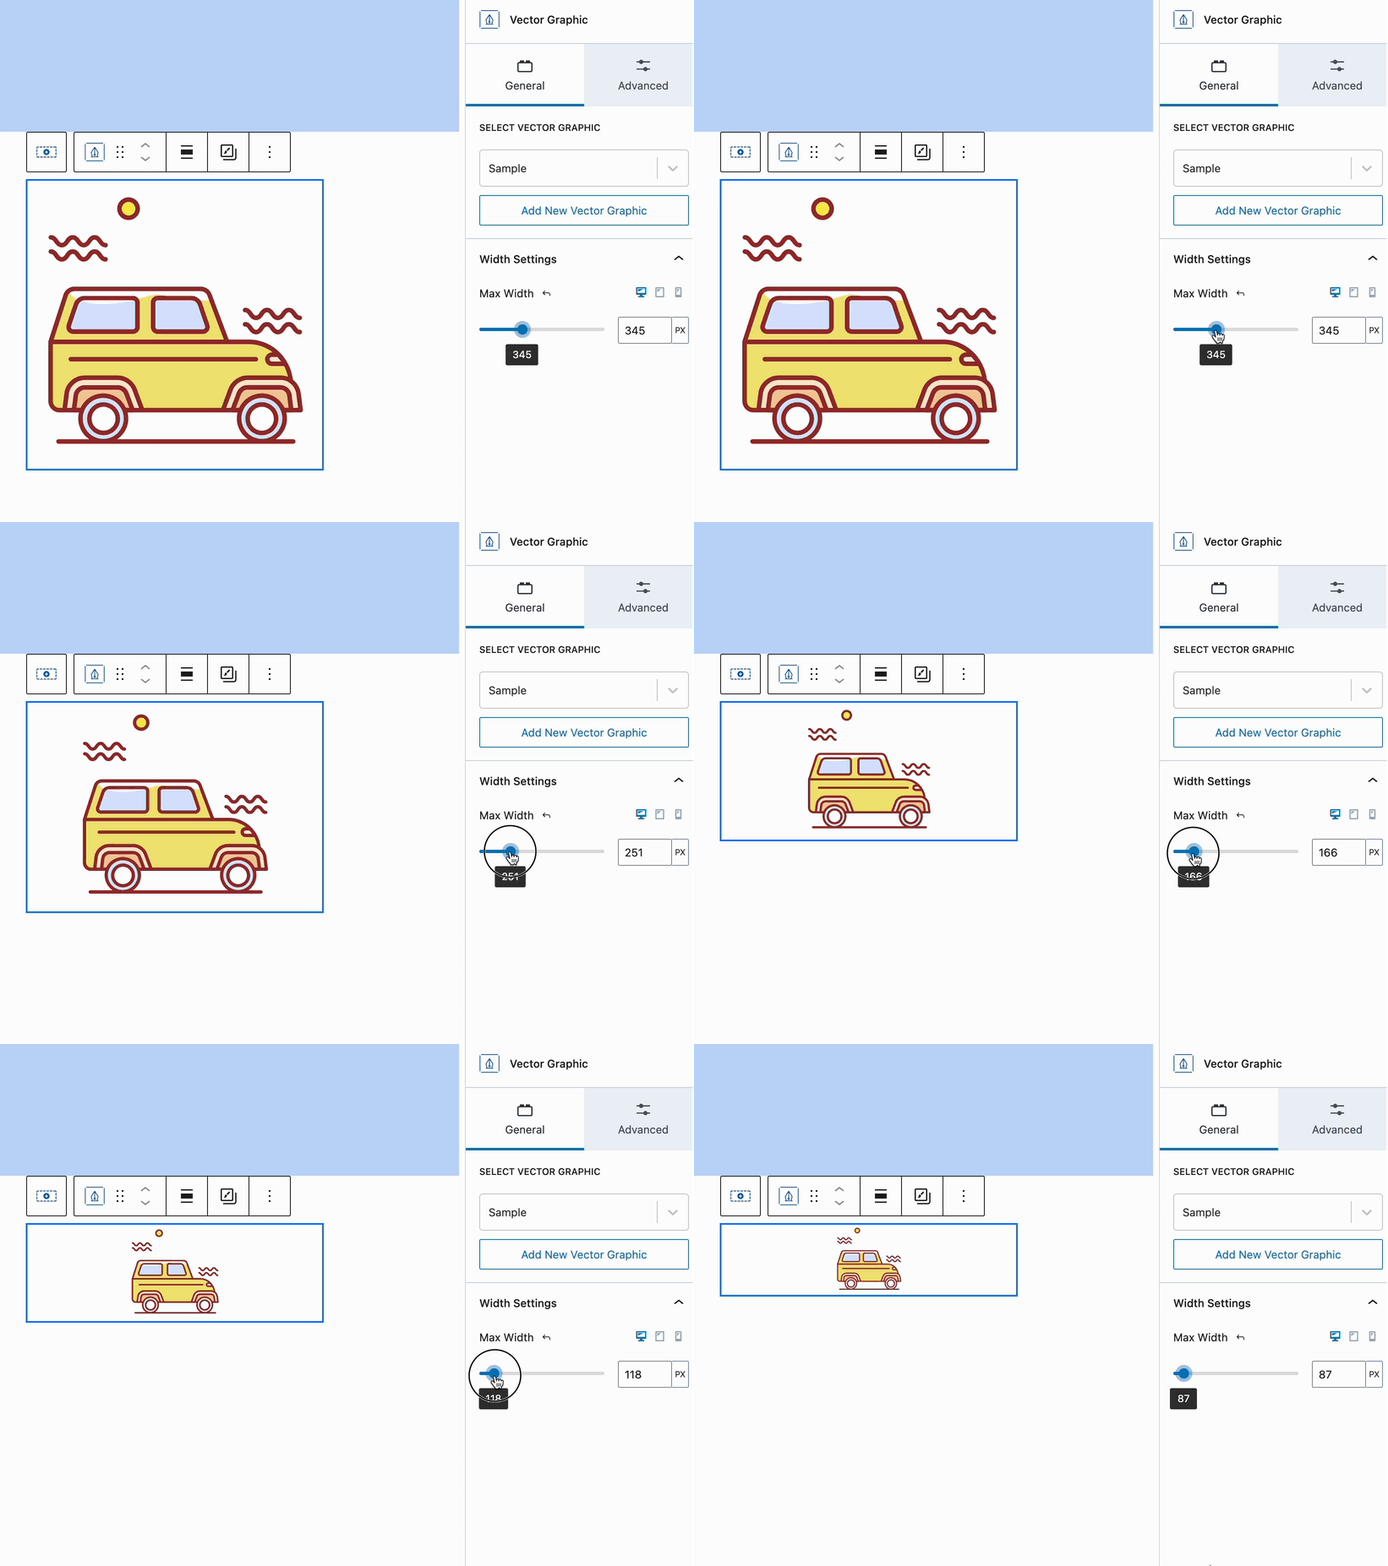
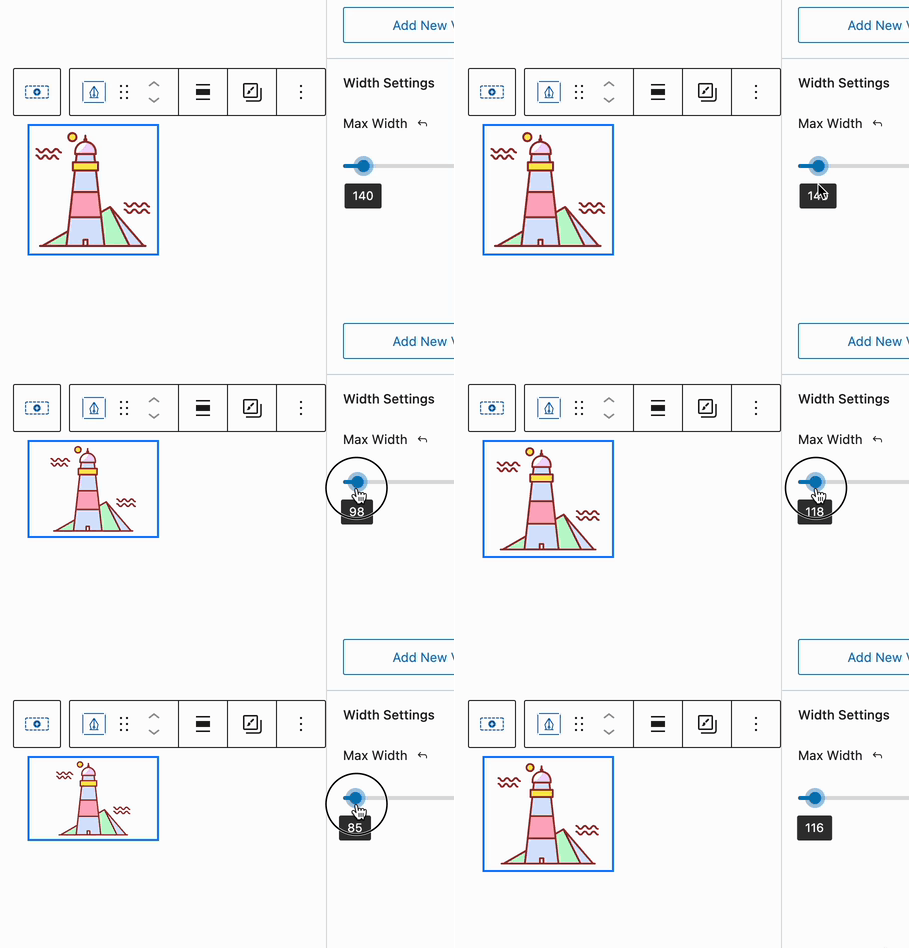
You can use the Max Width setting to adjust the maximum width of the vector image, allowing you to control its size.
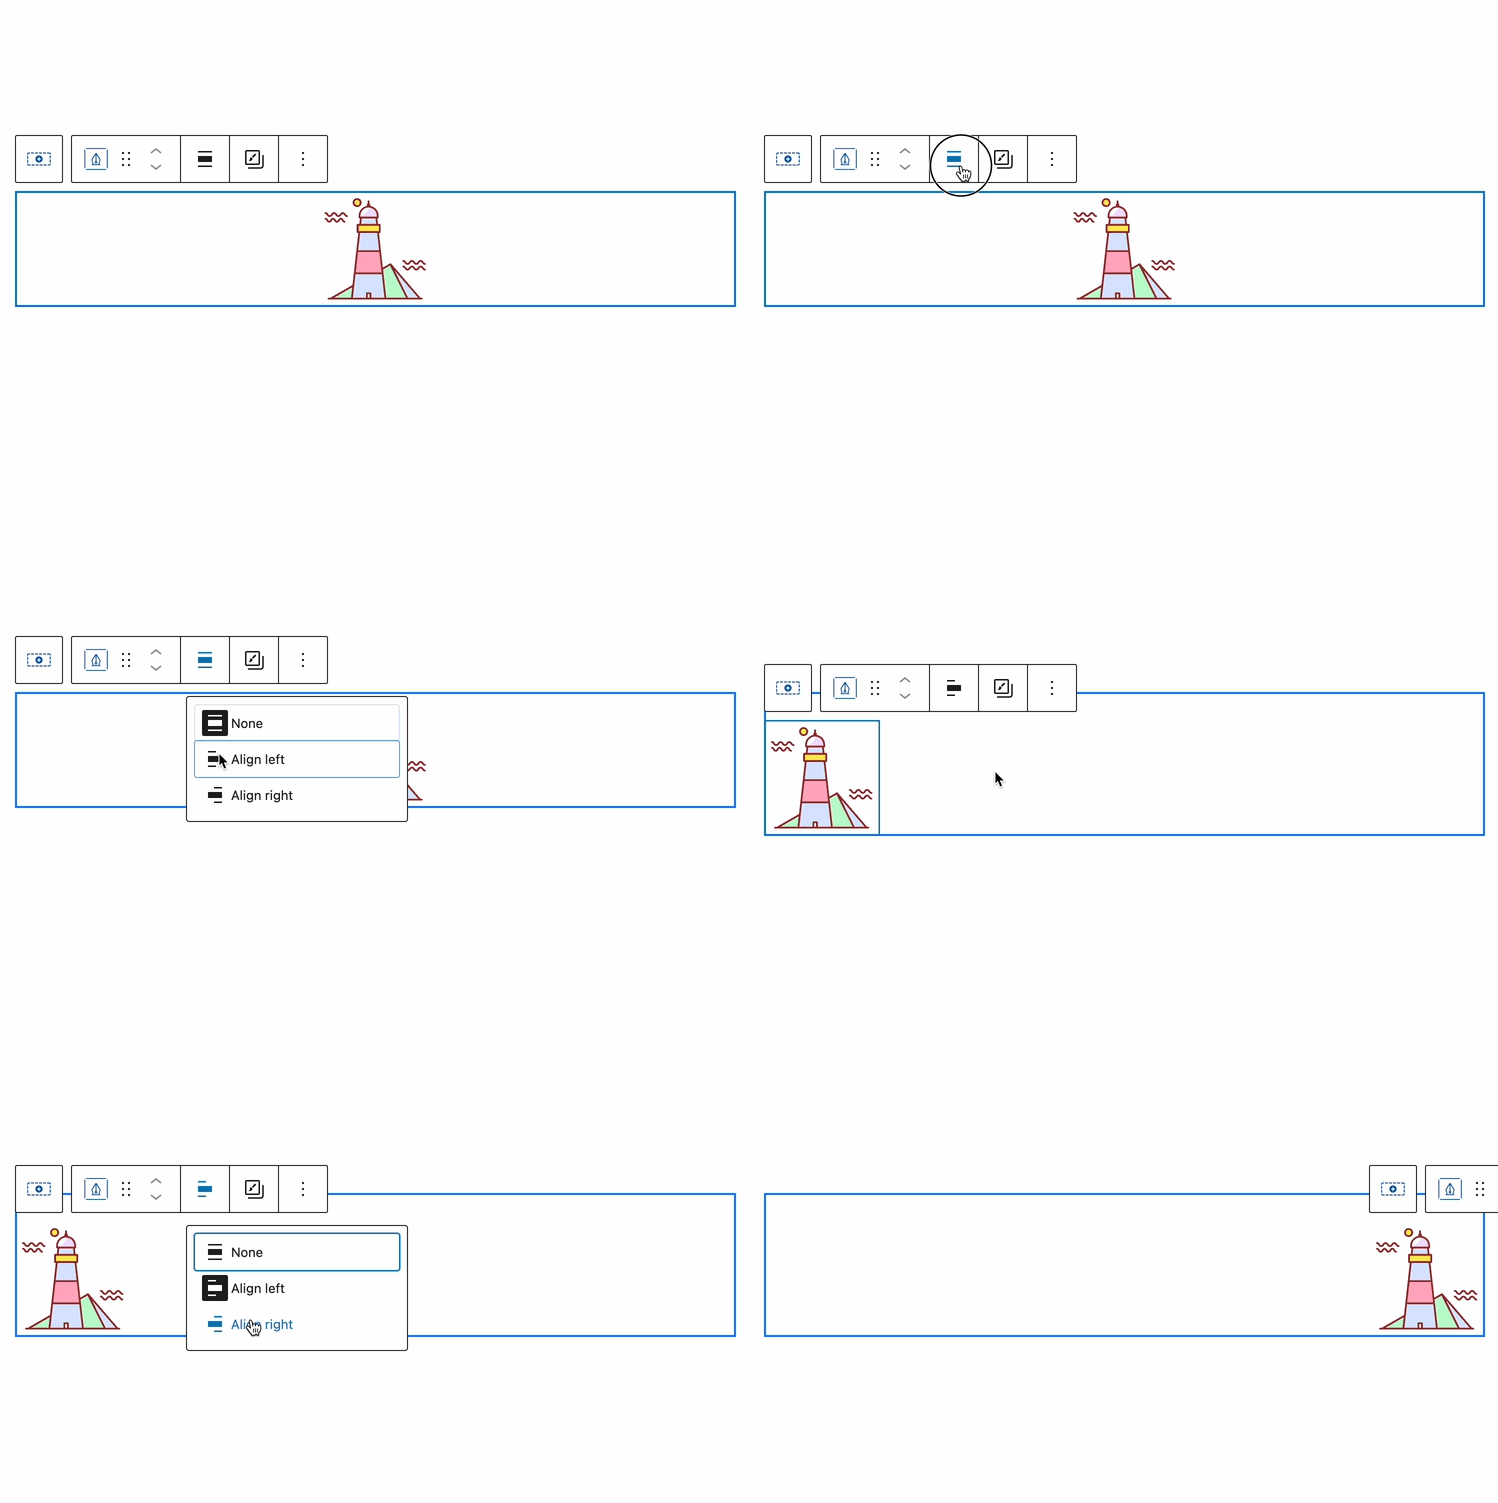
You can use the Block Toolbar to adjust the Alignment for the Vector Image. This can be set to Left, Right, or None. (Having no selection or the None selection will center the Image)
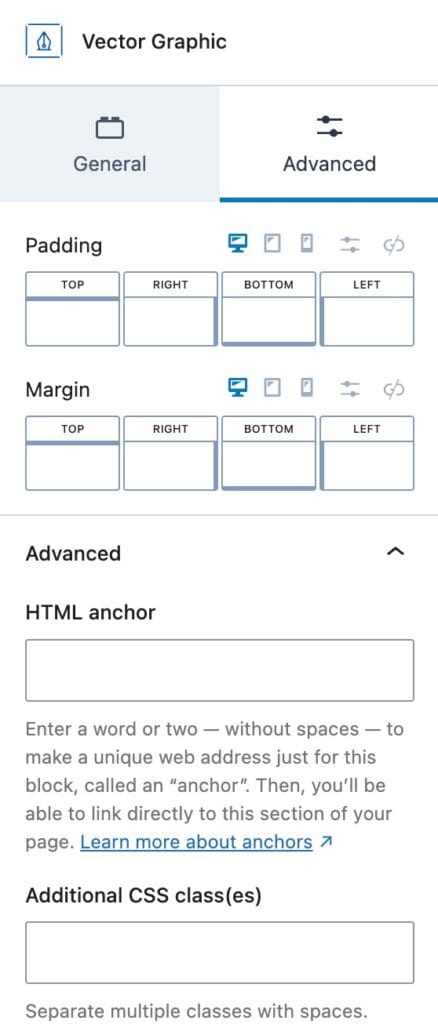
You can also access the Advanced Block Settings to add Padding or Margin to the vector graphic or to apply a Custom CSS class and/or Custom HTML anchor for further customization.
Managing existing Vector Graphics
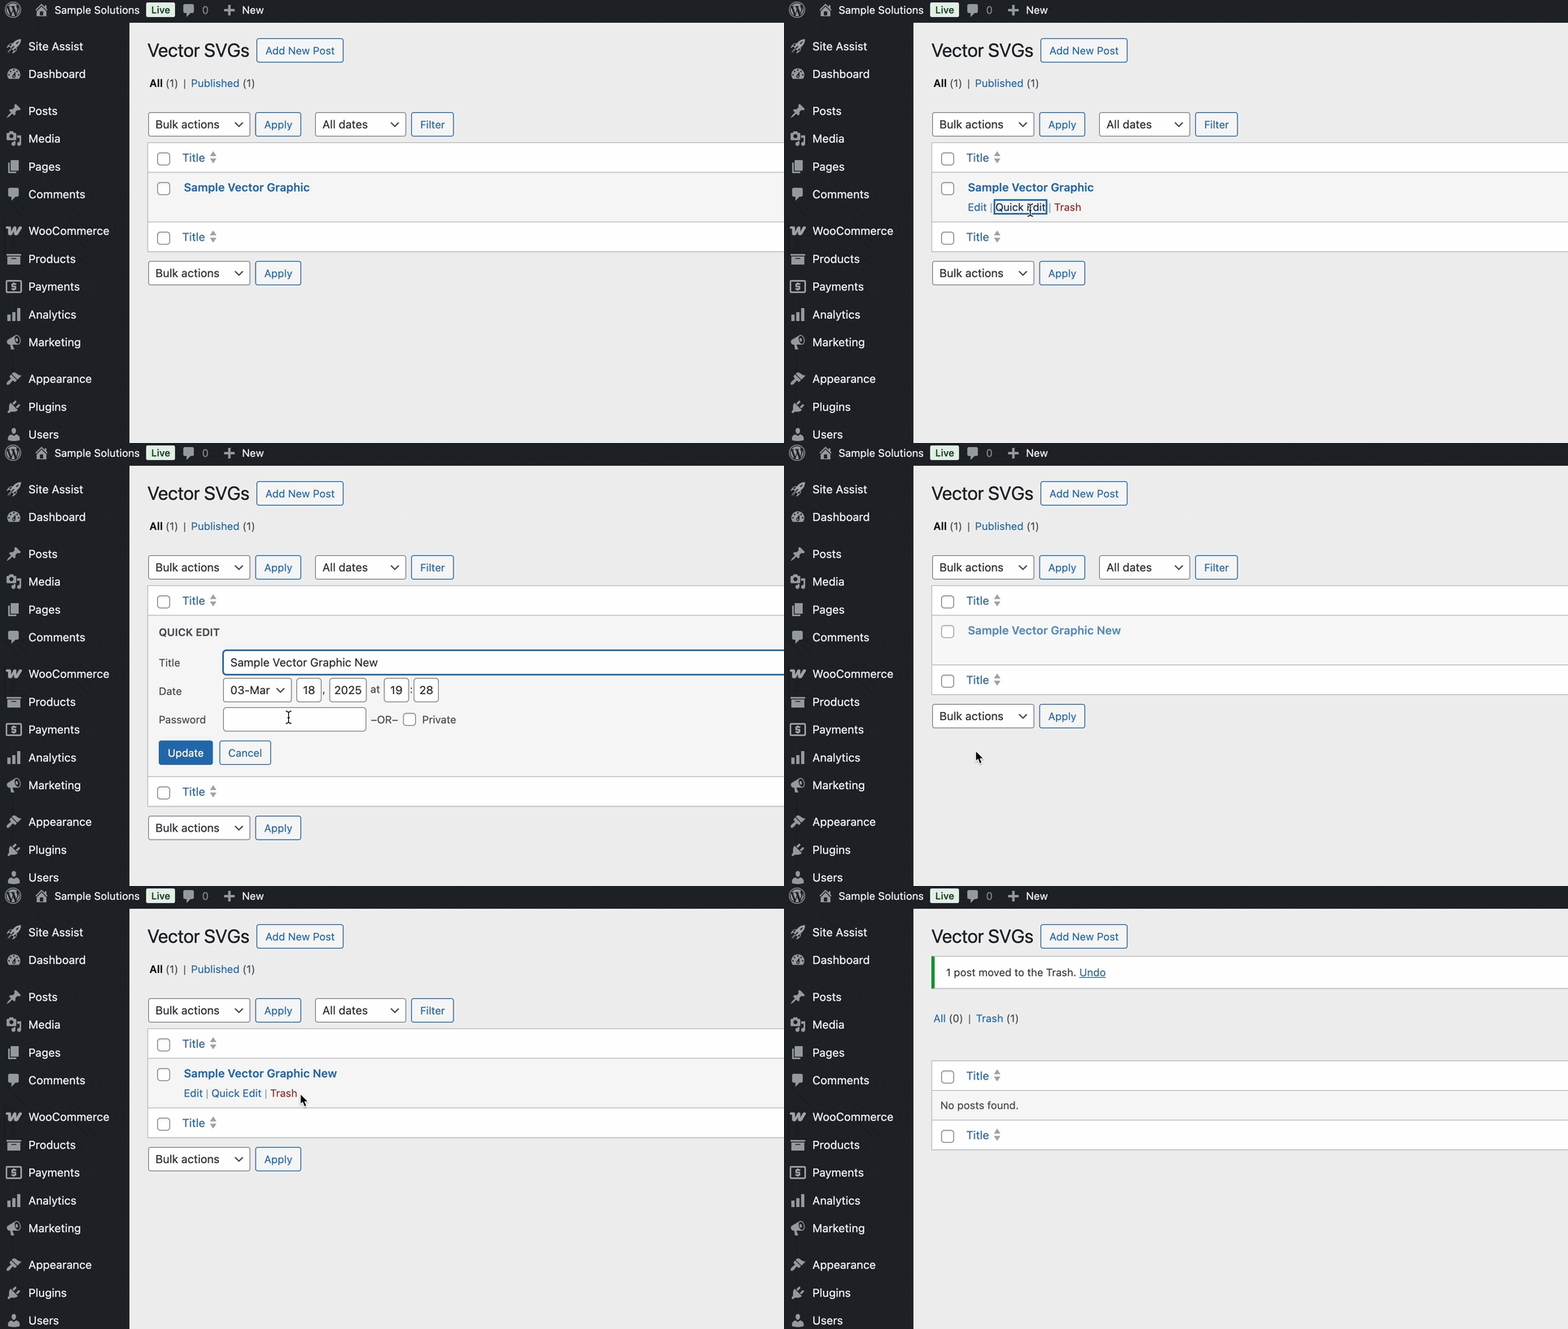
After adding a Vector Graphic to your website, you may want to rename it later or delete it entirely from the website. To do this, go to Dashboard → Kadence → Settings, then click the Manage Vector Graphics button.
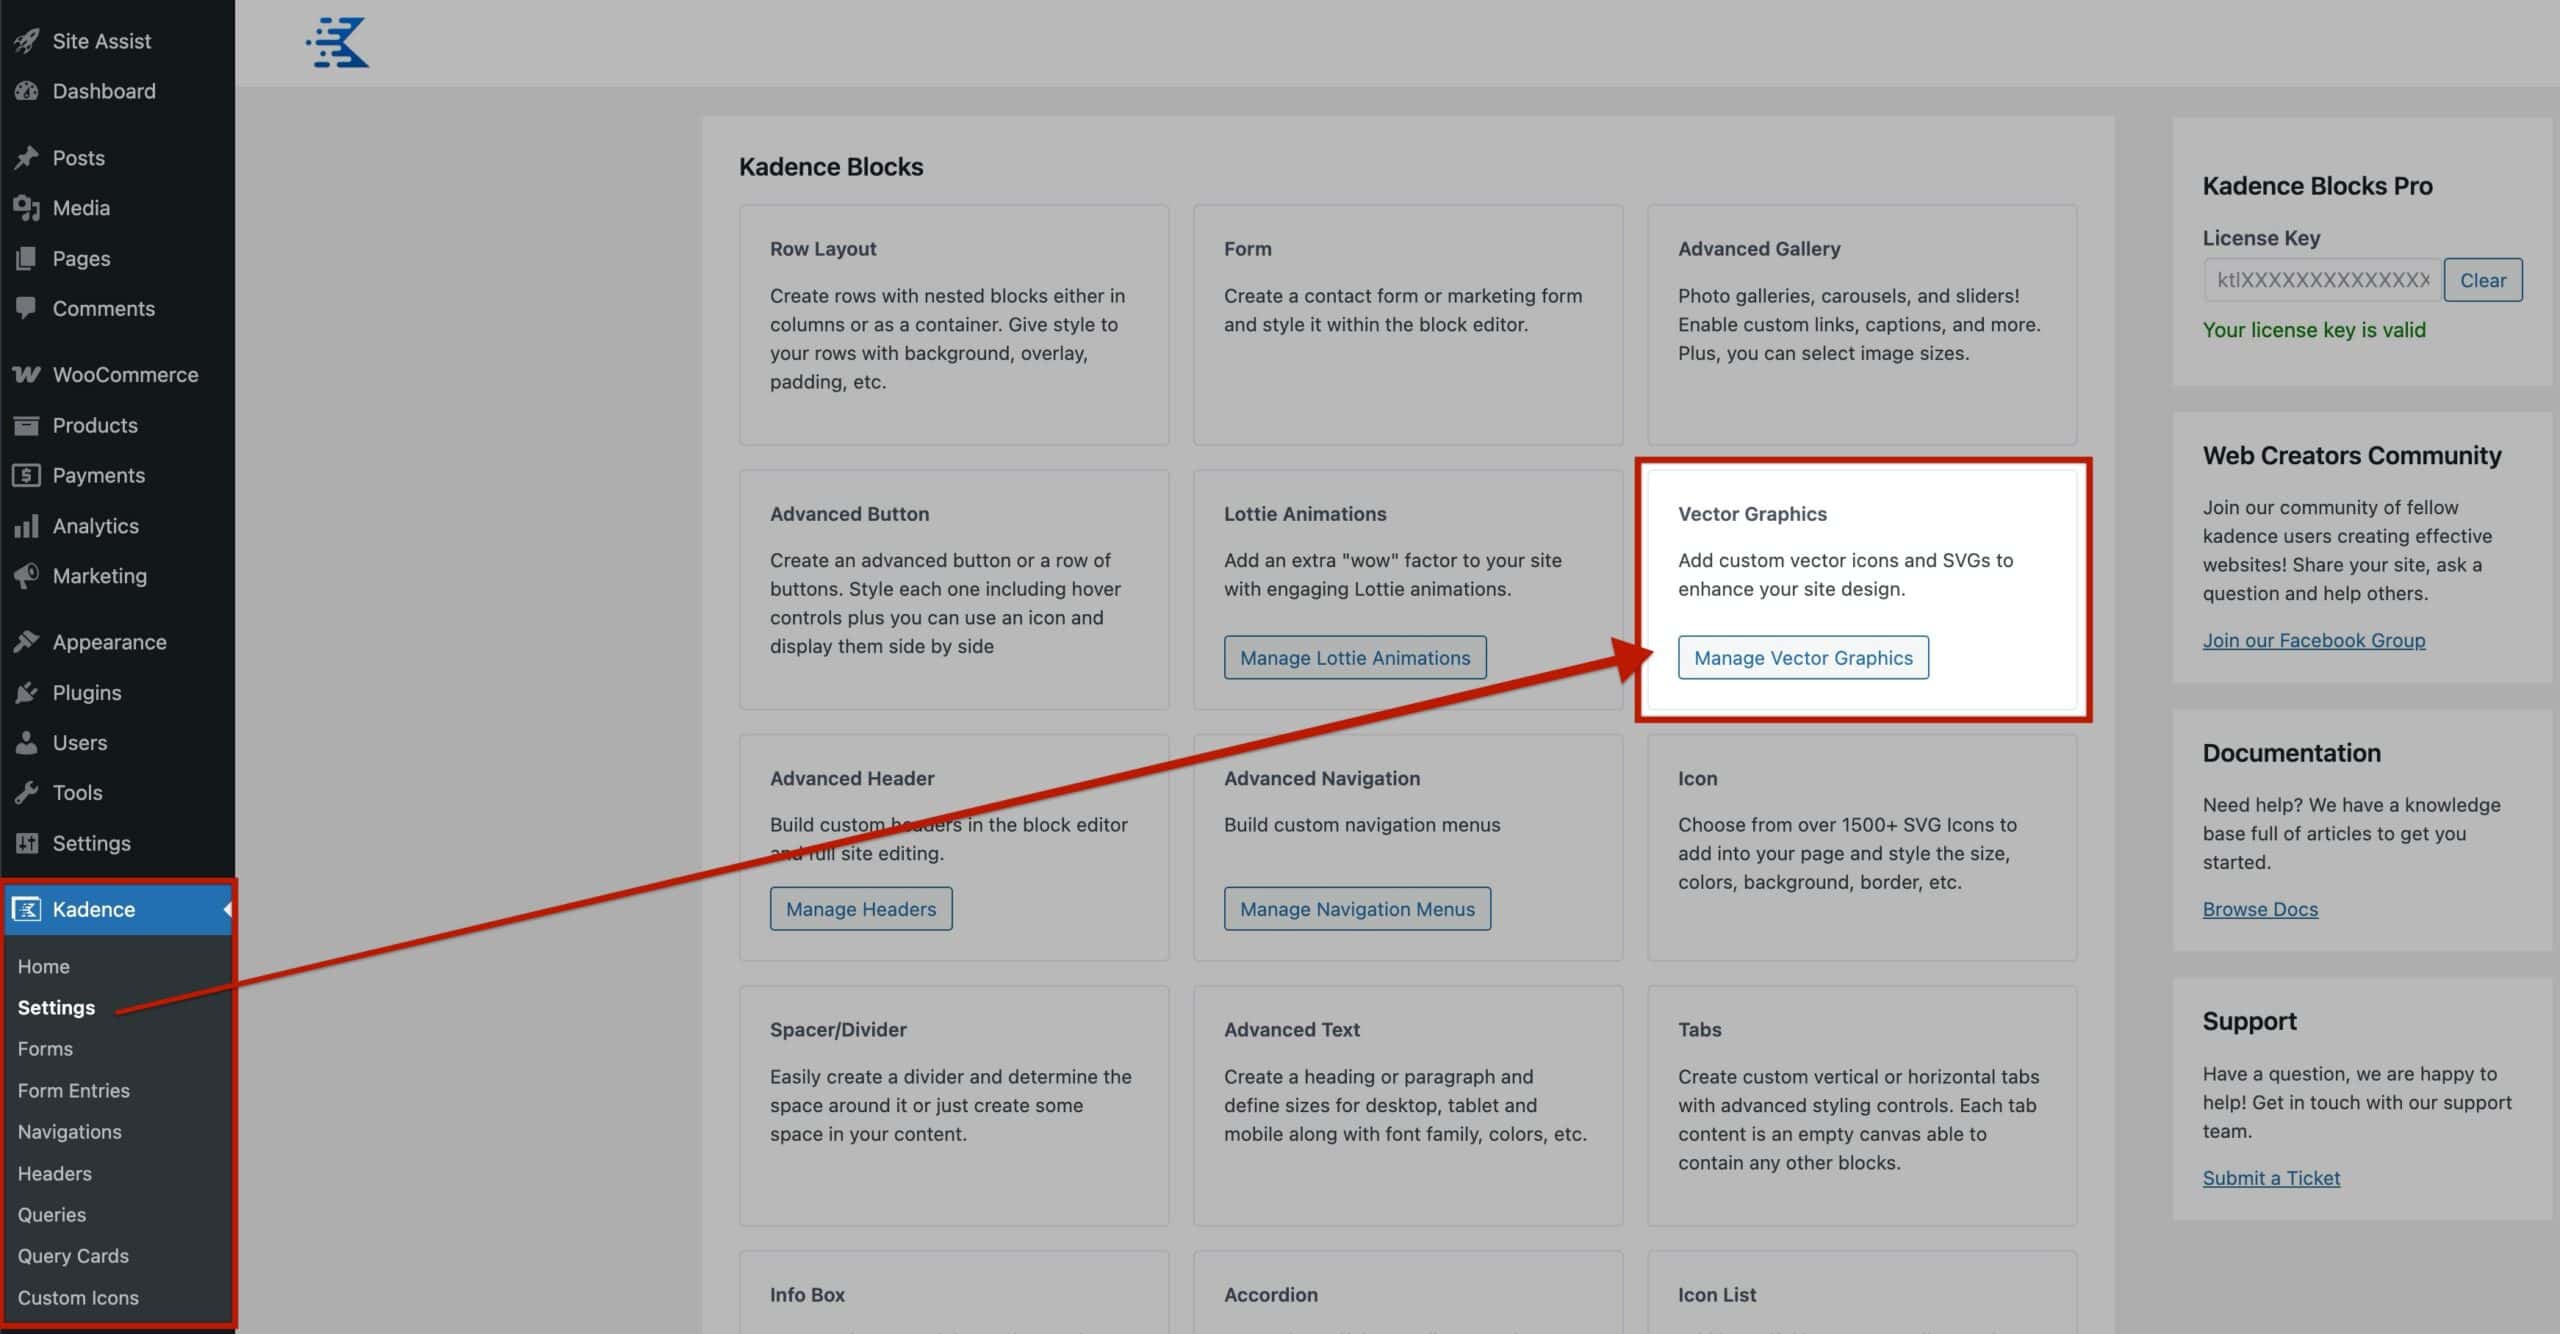
This will display a list of all Vector Graphics on your website. Hover over a vector graphic to perform a quick edit, make a full edit, or delete it from your library entirely.