Creating Windows File Shares
Windows file shares can be very useful in scenarios where you want to share file contents between servers (such as during a migration), to be able to easily publish data on another server, or to make specific data on a server more easily accessible. Creating shares involves sharing a folder or drive, setting permissions, and opening firewall ports. This article will provide the basic steps necessary to create a custom file share.
NOTE: |
| For migrations and some other cases it is easiest to use the default “Administrative” shares. Administrative shares are automatically created by Windows, are hidden, and can only be accessed by users with administrator privileges. Examples of Administrative shares are: C$ and D$. You may still need to adjust firewall settings when using administrative shares. |
Creating A File Share
- Log in to your server via Remote Desktop Protocol. For information on using RDP, see Using Remote Desktop Protocol (RDP) to Log into Your Windows Server.
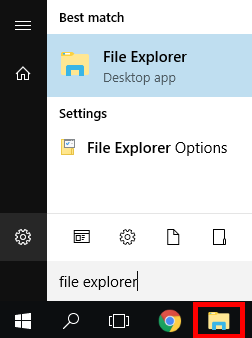
- Click on the Start Menu (bottom left corner) and type File Explorer into the search bar or click the File Explorer icon on the taskbar.
- Open File Explorer and select an existing folder or create a new folder to share.
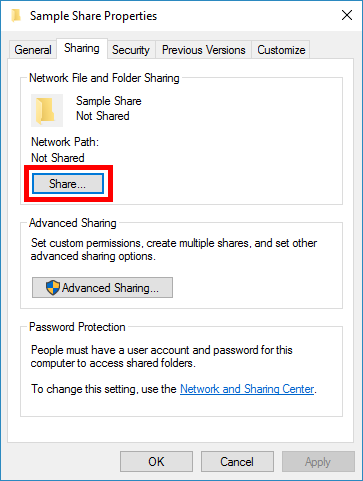
- Right-click on the folder and choose Properties. Click the Sharing tab, then the Share button.
- Type the name of specific users or groups you want to allow to access to the share, then click the Add button. Set all users to Read/Write (this sets the maximum allowable permissions on the share). Click the Share button after you are done adding users and groups. On the confirmation screen, click Done.
Setting File Permissions
Once the file share has been created, you need to set NTFS permissions on the folder to allow users to access the information inside the folder.
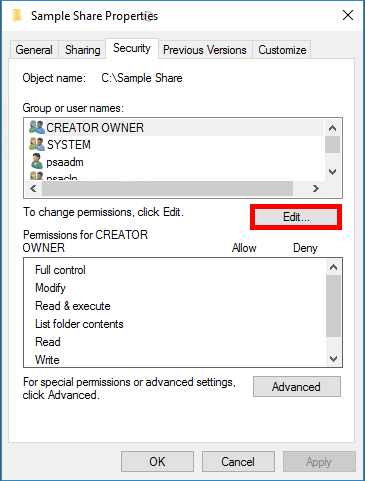
- Right-click the folder that you have shared and choose the Security tab, then click Edit.
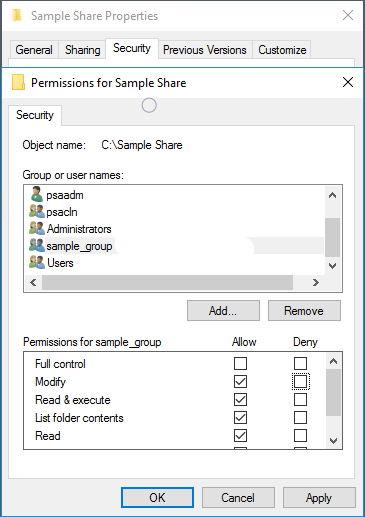
- Select the user or group and set permissions — these are NTFS permissions and will determine exactly what a user or group can do. Please note deny permissions override allow permissions. Click Apply after making changes, click OK when done setting permissions. Click OK to close the Share properties.
Opening Firewall Ports
Windows File shares can be accessed while connected by Remote Desktop to the server, or while connected over a VPN. To make them accessible directly over the internet, you need to open specific ports in the Windows Firewall or hardware firewall. To maintain security, it is recommended to scope (or restrict) these ports to specific IP addresses.
- UDP 137, File and Printer Sharing (NB-Name-In)
- UDP 138, File and Printer Sharing (NB-Datagram-In)
- TCP 139, File and Printer Sharing (NB-Session-In)
- TCP 445, File and Printer Sharing (SMB-In)
For more information on managing your Windows firewall and scoping ports, see Scoping Ports in Windows Firewall.
NOTE: |
| Windows File Shares may create significant security vulnerabilities if configured incorrectly and are considered outside our scope of support. See Windows Scope of Support for information about our support offerings. |