Select Storage Options in VMware Multi-Tenant
Introduction
VMware Multi-Tenant Private Cloud now has two options for Storage Tiers (called Storage Policies in your Virtual Data Center). The storage options allow you to select the Standard Policy which uses SAS based hard drive space (the standard, large capacity, low cost storage solution) or the Performance Policy which uses SSD based hard drive space for higher speed applications.
If you are ordering a new Virtual Data Center (VDC), you can specify in your order if you want one or both storage options available for use in your Virtual Machines (VMs). If you have an existing VDC, you will need to reach out to our Solutions team if you want to add the Performance Storage Policy to your system. Once our Support team has enabled the Performance Storage Policy, you can migrate existing drives from Standard to Performance (or back) or create new drives using whichever Storage Policy is appropriate for your needs.
Step by step instructions
Adding a Performance Storage Policy Drive
Adding a new hard drive using the Performance Storage Policy works the same as adding a new drive to any existing VM.
- Log in to your Virtual Data Center (VDC). For help logging in, see Logging in to the VDC in VMware Multi-Tenant.
- Click the box containing the details of the VDC with the VM that you want to update.
- In the Virtual Machines section, click the name of the VM to open the VM details.
- Click Hardware -> Hard Disks to view the current hard disk configuration for the VM.
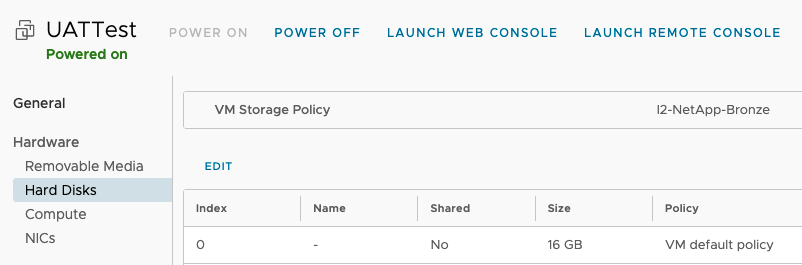
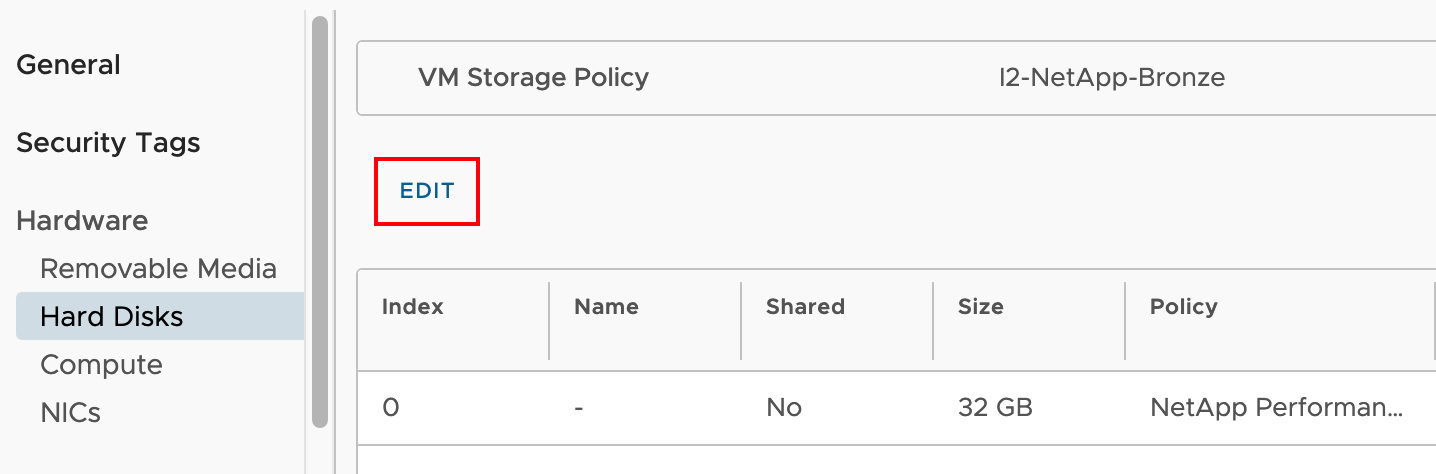
- Click Edit to access the details for the hard disks associated with the VM.
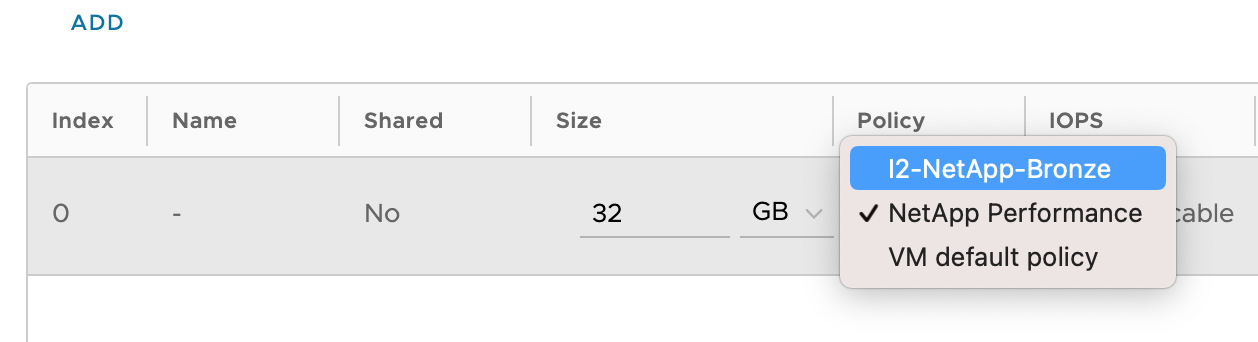
- Click ADD to add a hard drive to the VM.
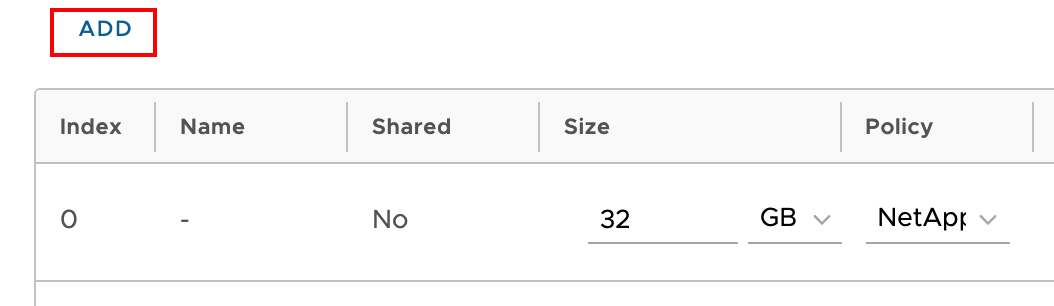
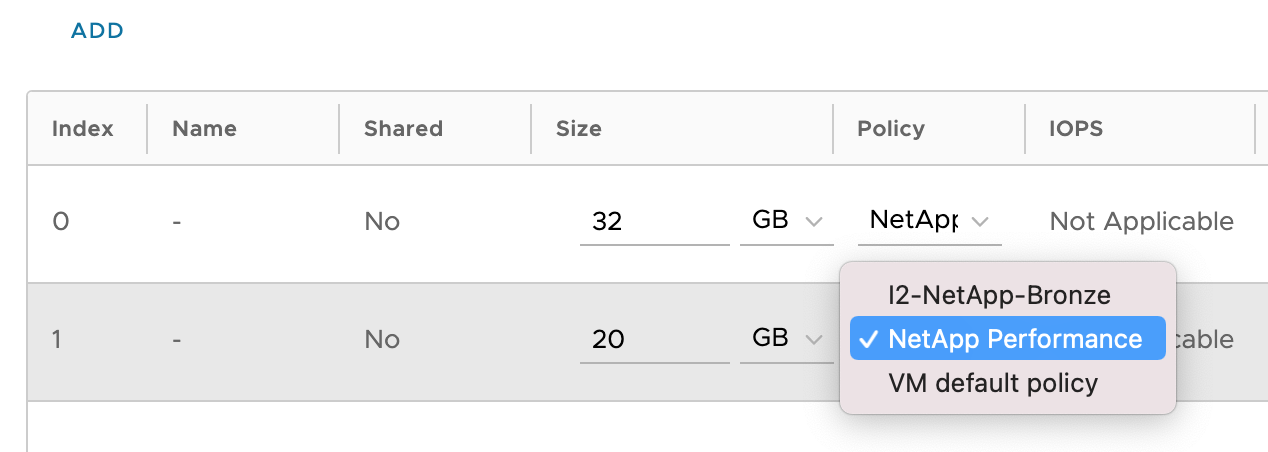
- Specify the size and policy that are required for the new drive. NOTE: the boot drive for the VM should always be Unit 0. Additional drives should be numbered higher than the boot drive.
- Click SAVE to create the new drive.
Changing Storage Policies for Existing Drives
You can change a hard drive from Standard to Performance or from Performance to Standard with a few simple steps. You don’t even need to power off the VM to make the change.
- Log in to your Virtual Data Center (VDC). For help logging in, see Logging in to the VDC in VMware Multi-Tenant.
- Click the box containing the details of the VDC with the VM that you want to update.
- In the Virtual Machines section, click the name of the VM to open the VM details.
- Click Hardware -> Hard Disks to view the current hard disk configuration for the VM.
- Click Edit to access the details for the hard disks associated with the VM.
- Select a new Storage Policy from the Policy drop-down menu.
- Click SAVE to save the change to the hard drive.