Renewing an SSL Certificate
All SSL certificates eventually expire. This guide walks you through the renewal process, which is very similar to ordering a brand new certificate.
If you’ve installed an SSL certificate on your site, you’ll eventually have to renew your certificate. When you first order your SSL certificate, you choose how long you want your certificate to last. When that time is up, it’s time to renew! This article will walk you through that process. Renewing an SSL certificate is very similar to ordering a new SSL.
- Log into your Liquid Web account.
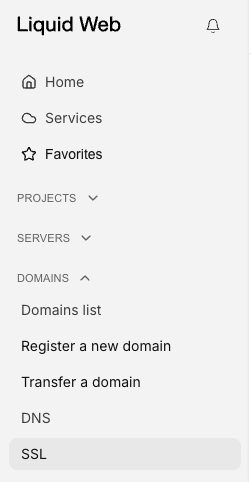
- Scroll down to the SSL section on the left side and click SSL.

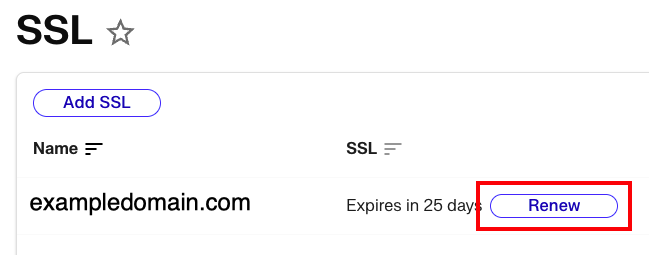
- Here you’ll find a list of the SSLs purchased for your domain through Liquid Web.
- If you have any SSLs that are expiring in the near future, you can click on Renew button next to the expiration date.

- On the pop up window, you can review the charges and click Submit to renew your domain.
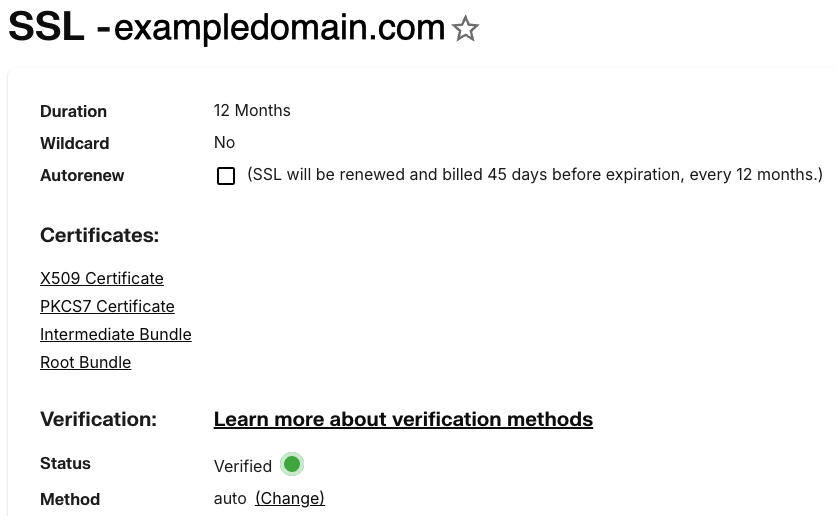
- Once your certificate has been ordered, click the Certificate Name to open the SSL detail page.
- This page will display how long the Certificate is valid and if it has been verified. If the status is Verified, you’re ready to install your certificate! If you don’t install your certificate, your SSL renewal won’t be complete. If your certificate is not verified, you’ll need to verify it before installing your certificate. (NOTE: you can also enable Autorenew on this page so your SSL renews automatically in the future).

Once you’ve renewed your SSL certificate in your Liquid Web account, you must verify and install the new certificate on your domain.
If you do not install the new SSL, your site will not be able to use the new SSL.