What is a Virtual IP?
When you create a virtual IP (VIP) address with Liquid Web you will receive both a Public VIP and Private VIP. The public VIP can be configured on a Cloud VPS or Bare Metal Cloud server just as a non-virtual, or standard, IP would be configured. Connecting to a public service, such as HTTP or FTP, on the Public VIP occurs just as it would on a standard IP.
The Private VIP can be configured on a Cloud server’s private interface just as a standard private IP would be configured. Connecting to a private service, such as MySQL or Puppet, on the Private VIP also occurs just as it would on a standard private IP.
So why use a VIP? When utilizing multiple servers, having a VIP is beneficial due to its ability to “float” between servers. This allows the VIP to remain highly reachable in circumstances in which a non-virtual (or standard) IP may be otherwise unreachable. It is possible to move both the Public VIP and Private VIP between Cloud servers!
Both Public and Private VIPs can be configured on any Cloud server on your account so long is that server is in the Zone where the VIPs were created. Typically software, such as the ones listed below, is used to manage on which server a VIP resides.
Use Cases for VIPs
Here are some of the things that you can do with Virtual IP addresses:
- High Availability Databases (MySQL, Percona, MariaDB)
- Non-DNS-based Service Migrations
- High Availability Web Applications (in tandem with or in place of load balancer)
Examples of Software That Can Use VIPs
This is just some of the software that you can use with Virtual IP addresses:
- Pacemaker
- Heartbeat
Adding a Virtual IP to your account
Virtual IPs are added to your account through the Services menu.
- Log in to your Liquid Web account.
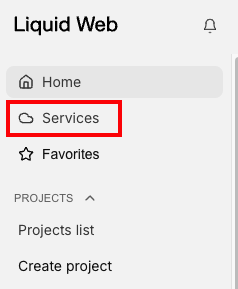
- Click on Services in the left side menu.

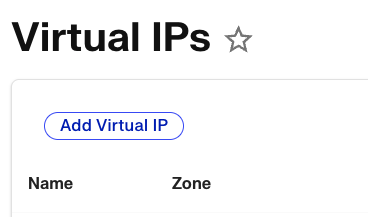
- Click on Virtual IPs in the Network Services group.

- Click Add Virtual IP to begin.

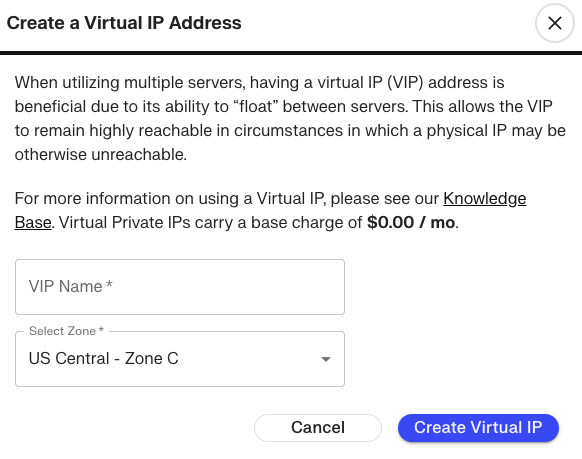
- Select a name for the Virtual IP (this is simply a nickname to help you organize these virtual IP addresses). Select the Zone in which you want to use the virtual IP (this must be the same zone that the server(s) are located). Finally, click Create Virtual IP to create the new IP addresses.

Both public and private virtual IPs can be configured on any Cloud VPS or Bare Metal Cloud servers located in the same zone as the virtual ip.