How to configure DNS records in the Client Portal
Learn how to add and manage DNS records in the Nexcess Client Portal. This guide covers adding A, CNAME, MX, and SPF records for your domain.
What you need
- A non-cloud dedicated account, or any Nexcess Cloud service.
- You need your my.nexcess.net username and password. If you cannot locate this information, click Forgot Password? on the login page.
Method
Allow up to 48 hours for full DNS propagation. In rare cases, it may take longer.
- Log in to my.nexcess.net.
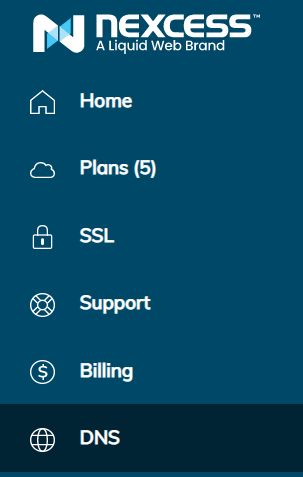
- From the portal, click DNS.

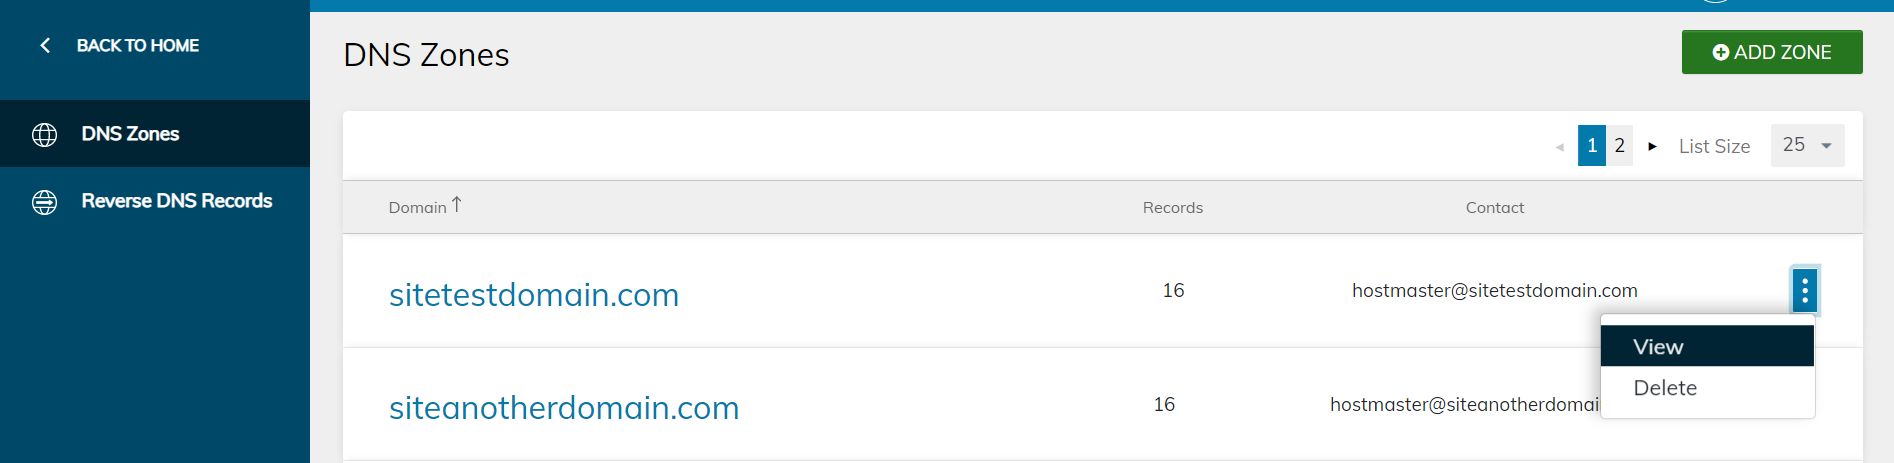
- You will see all current DNS zones associated with your account. If the DNS zone already exists, skip to Step 4. If you wish to create a new one, first follow the instructions in How to create and edit DNS zones in the Client Portal.
- On the DNS Zones page, locate the desired domain. Either click the name, or select the menu toggle, then click View.

- From the DNS Record List, select the desired type, then click the corresponding Add button.
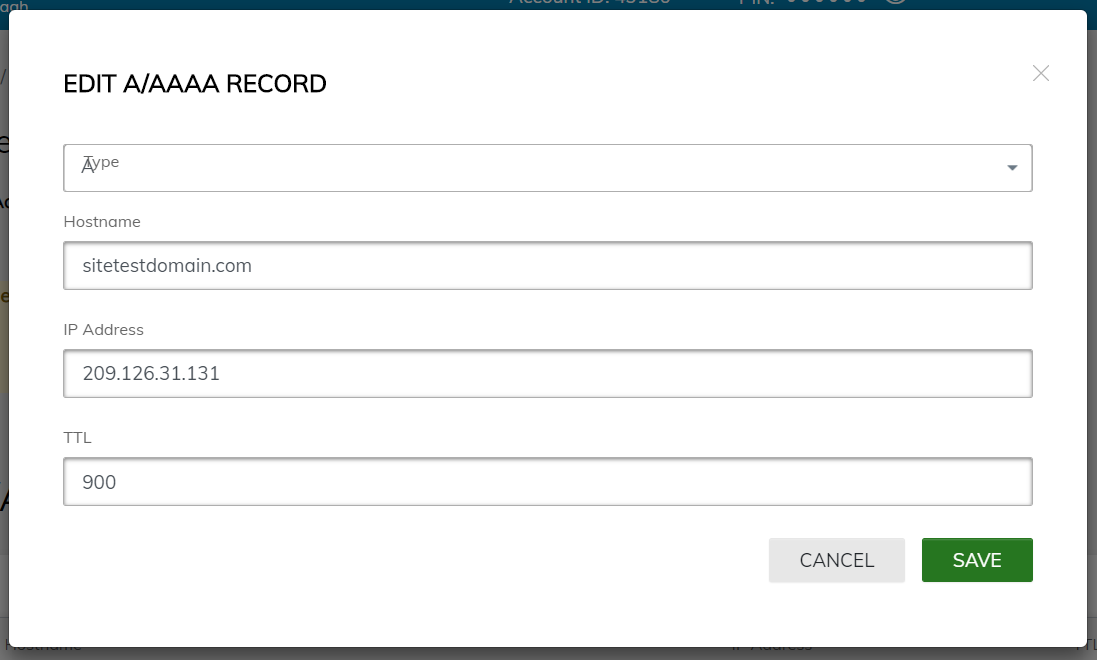
- If your domain name is not already present under A/AAAA Records, In view, click “Add A/AAAA Record,” then re-enter the domain name. Your IP address can be found in your Plan Dashboard’s view of all our sites (go to Plan, then use the plan “…” menu to navigate to the Plan Dashboard).
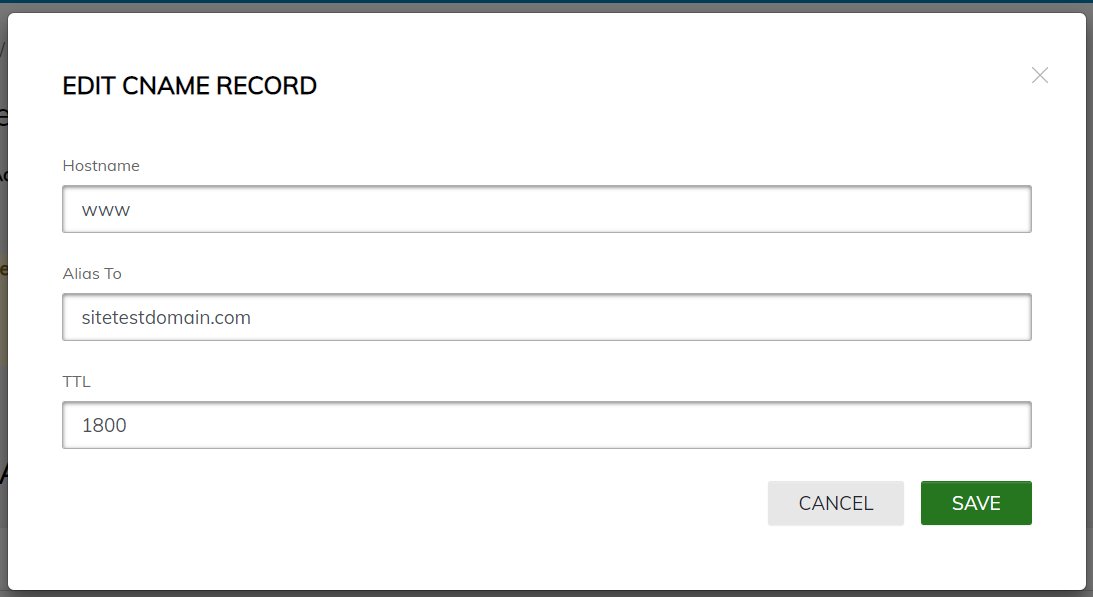
- Repeat Step 3 for CNAME records, if records are not already present. Set your hostname to “www.yourdomainname.com” and the alias to “yourdomainname.com”
- If planning on using webmail, also configure MX records by clicking the corresponding button.
- Also configure SPF records as outlined in this article.