Configuring DNS for your OpenStack Server
The Domain Name System (or DNS) is the roadmap of the Internet. In order for anyone else in the world to find and use your website, the DNS records for the domain must be pointed to the correct IP address (for more information about DNS, see What Is the Domain Name System (DNS)?)
Because your OpenStack Server infrastructure utilizes a Load Balancer, DNS for your domain should point to the Load Balancer’s IP address. Your DNS records can be hosted wherever you want (see Where Is My DNS Hosted?). When you are ready for the domain to go live on your OpenStack Server, the A record for the domain will need to be added with the IP address of the Load Balancer (see Adding and Editing DNS Records).
You can find the IP address of the Load Balancer in your Project overview page.
- Login to your Liquid Web account.
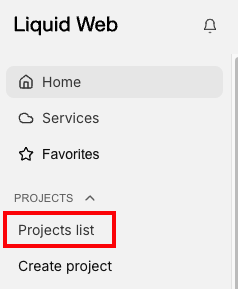
- Click on Projects list at the left of the screen.

- Click the Project that contains your OpenStack Server.
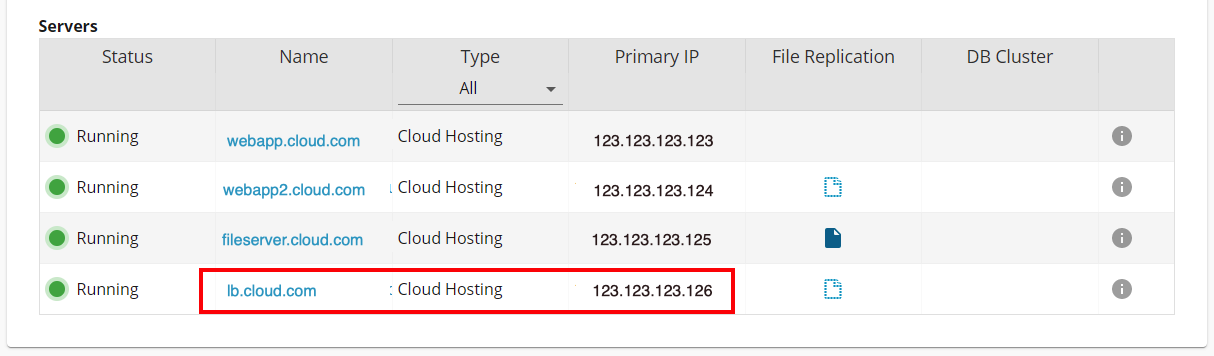
- Find the Load Balancer in the list of servers for the OpenStack Server Project. By default, the Load Balancer’s Name will be lb.domain.com.
- The IP address of the Load Balancer will be listed to the right in the Primary IP column. Use this IP address for any domain hosted on the OpenStack Server Project. In this example, the Load Balancer’s IP address is 123.123.123.126.