How to Create Custom (Private) Nameservers at Nexcess
Custom, or private, nameservers allow you to brand your hosting services by replacing the default Nexcess nameservers (ns1.nexcess.net) with your own (e.g., ns1.yourdomain.com). This is a common practice for our Reseller, VPS, and Dedicated server clients who want to provide a white-labeled experience for their own customers.
This guide explains how to register your nameservers at the registrar level. These steps are for domains registered with Nexcess and must be completed before configuring them on your server. A second guide is referenced at the end which actually configures your nameservers in Nodeworx at the server level.
Prerequisites
A dedicated, VPS, or Reseller account with Nexcess
- A domain which uses Nexcess as the registrar.
Step-by-step Instructions
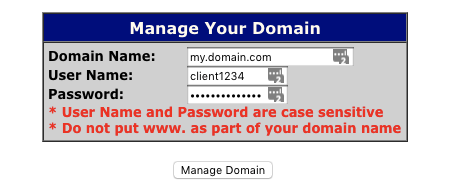
- Log in to the OpenSRS control panel. Enter your Domain Name, User Name, and Password, then click Manage Domain. If you are unsure of your login information, contact our support team.

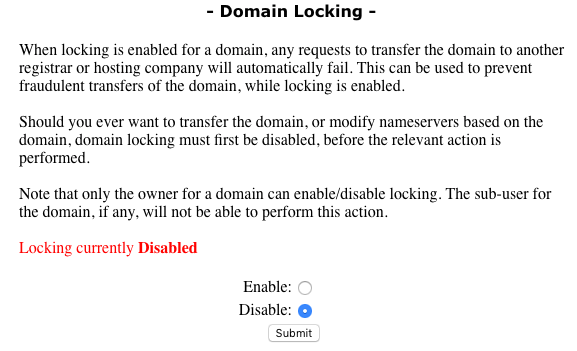
- Scroll down to click Domain Locking. If your domain is set to “Disable”, proceed to Step 3. If your domain is set to “Enable”, click “Disable”, then Submit.

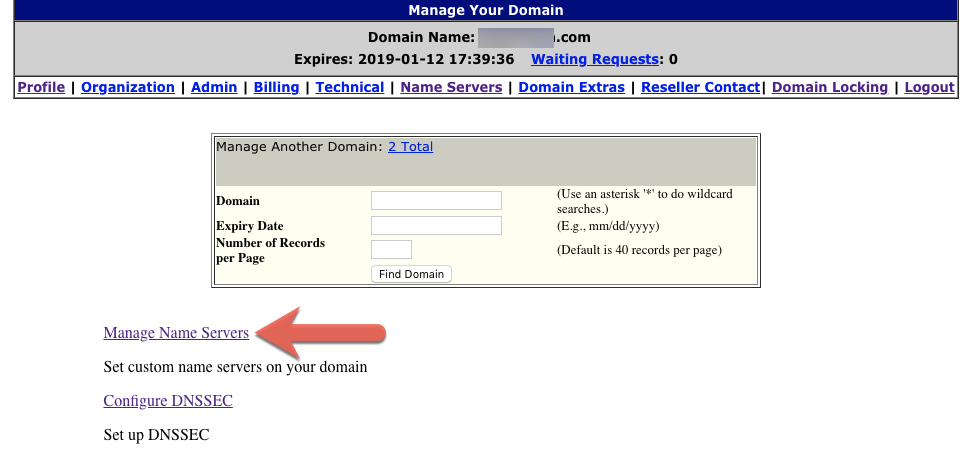
At the top of the main page, click Name Servers.
Click Manage Name Servers.
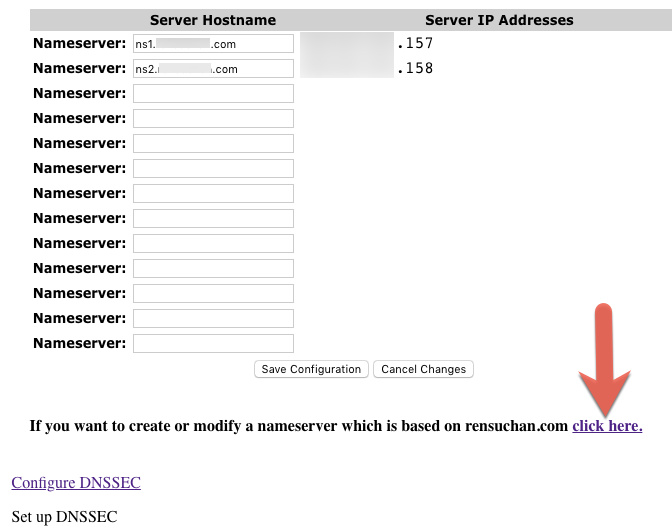
Near the bottom of the page, you will see a message: “If you want to create or modify a nameserver which is based on yourdomain.com, click here,”. Click as directed.
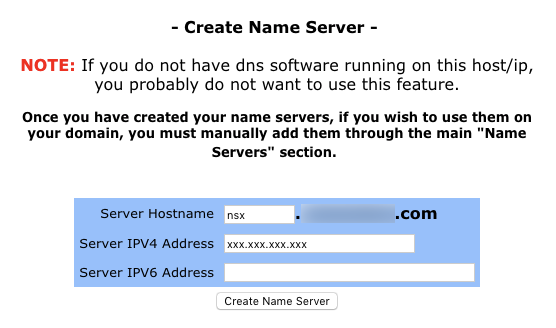
- In the Create Name Server section, enter the Server Hostname and Server IP Address, then click Create Name Server.
- Proceed to configure your nameservers in Nodeworx.